Baseboard Construction - Baseboard Complete
Inclined Section Construction - 50% Complete
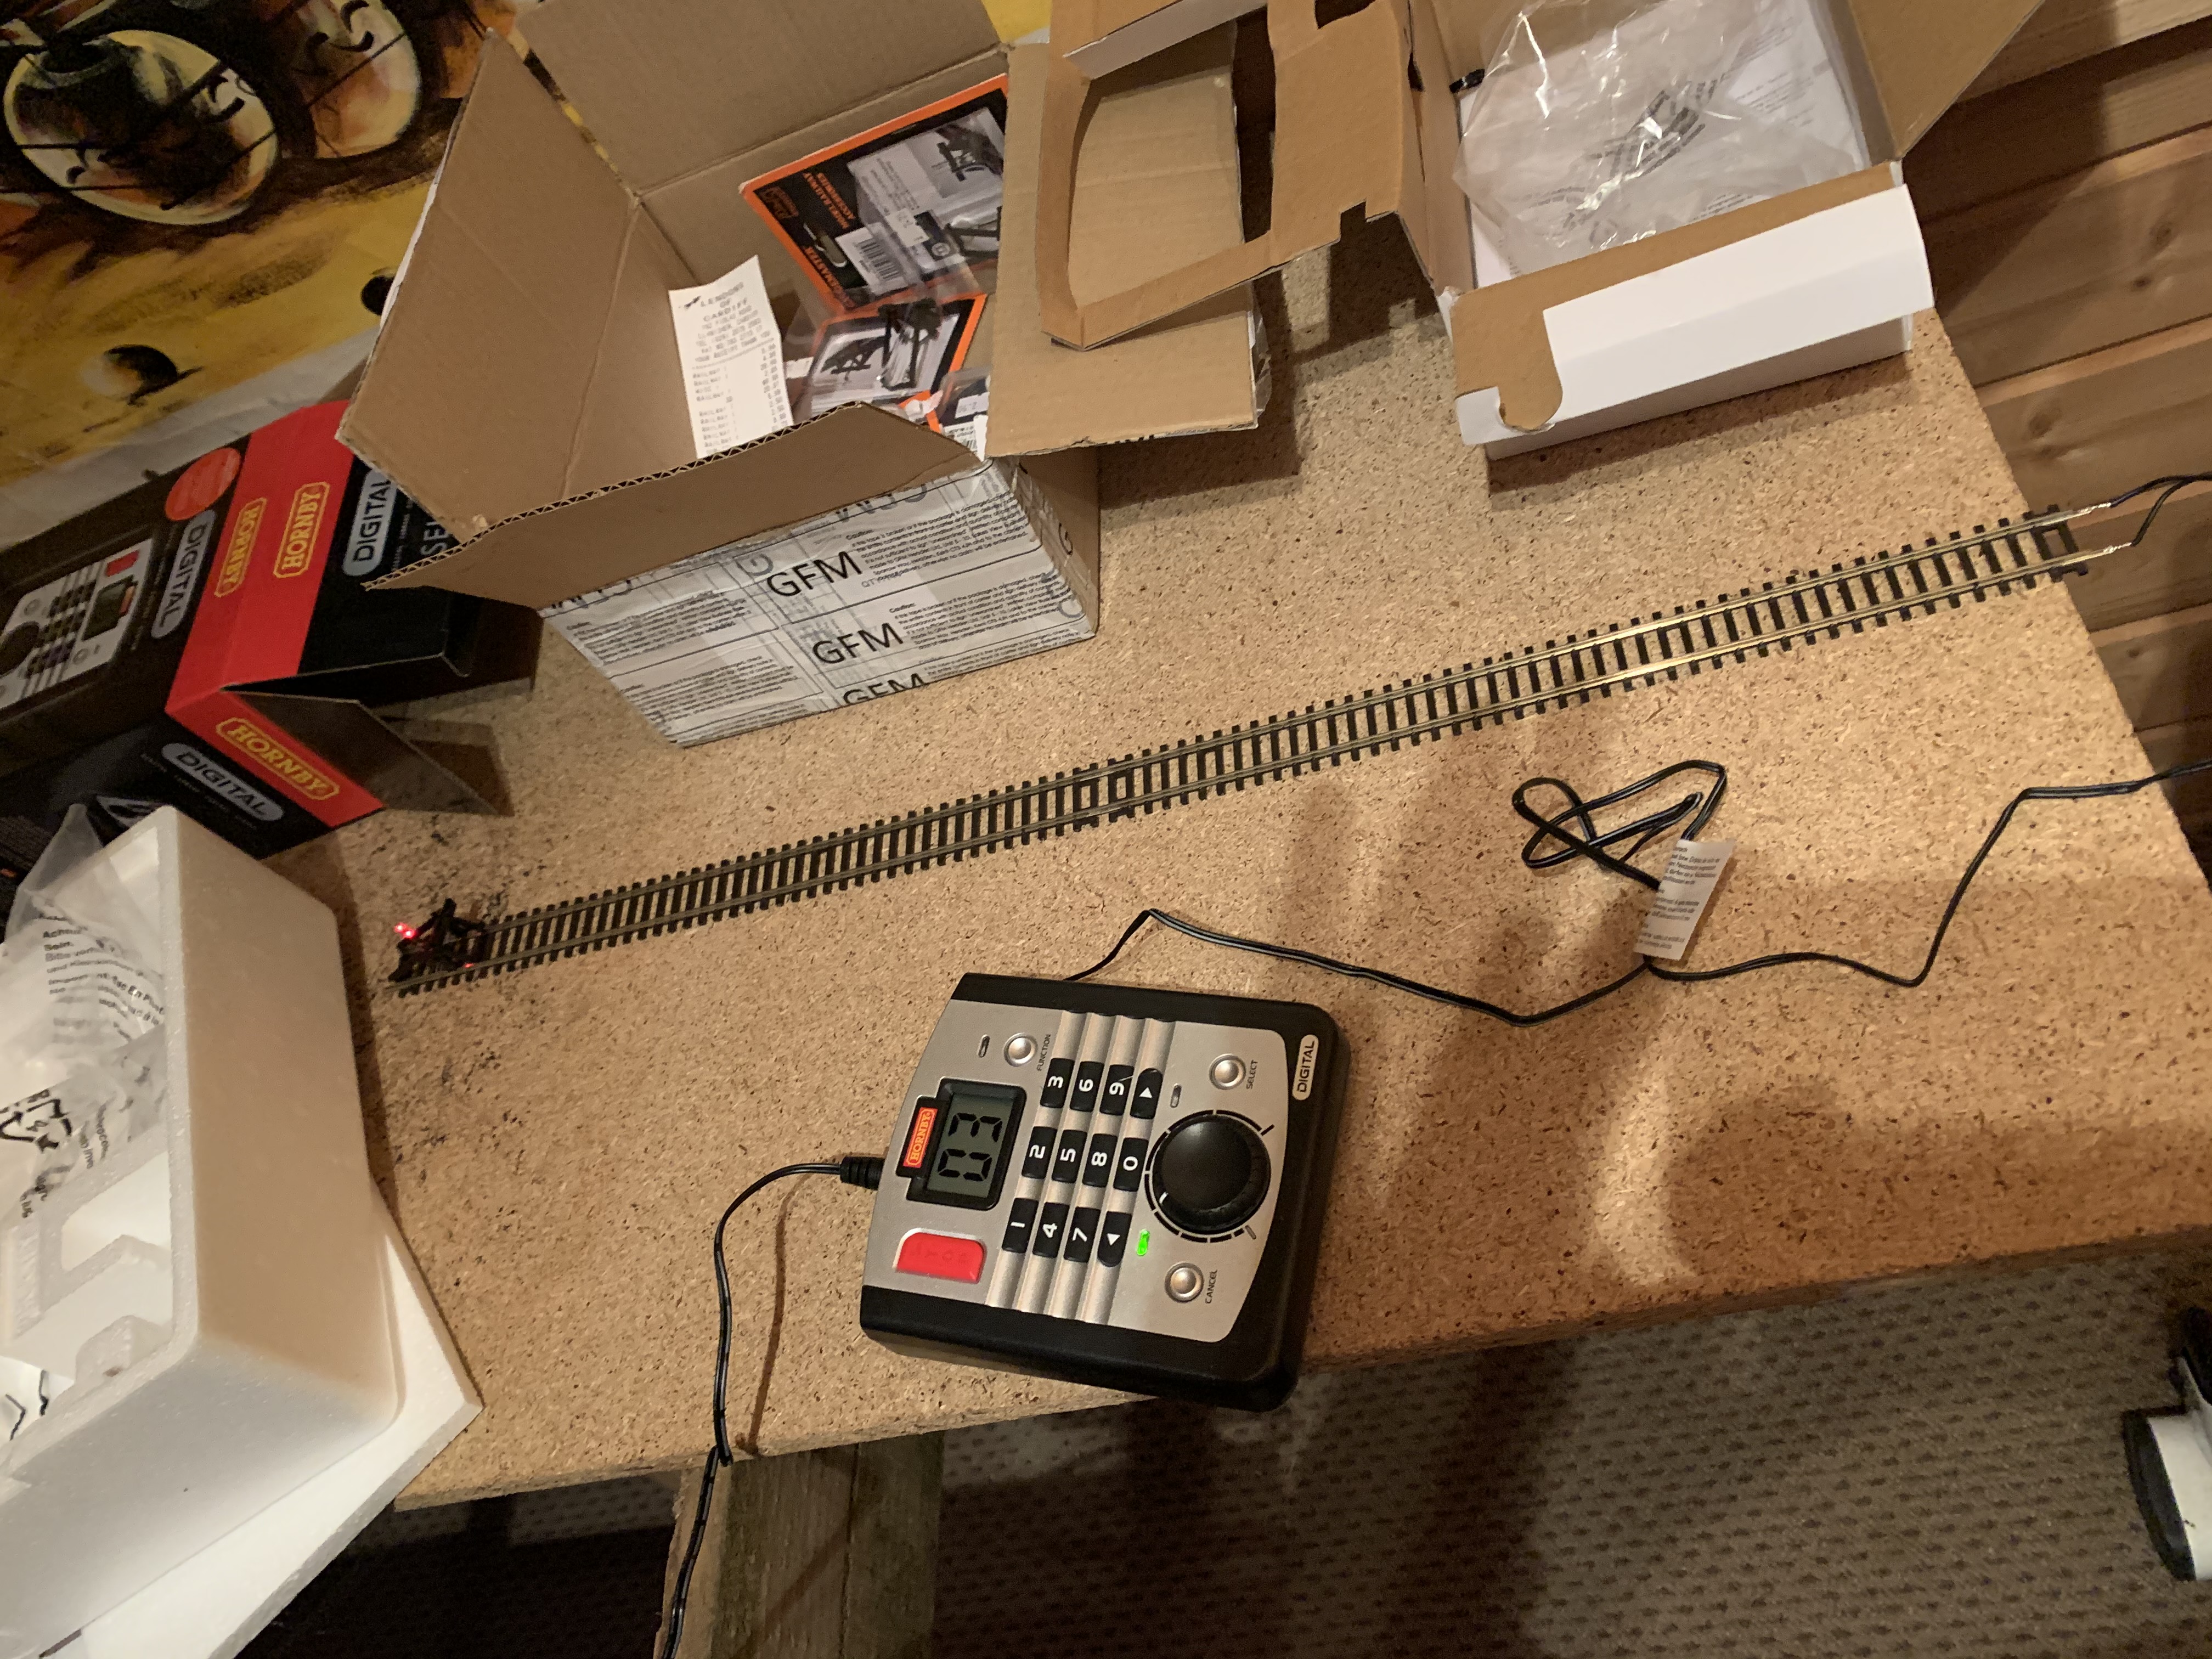
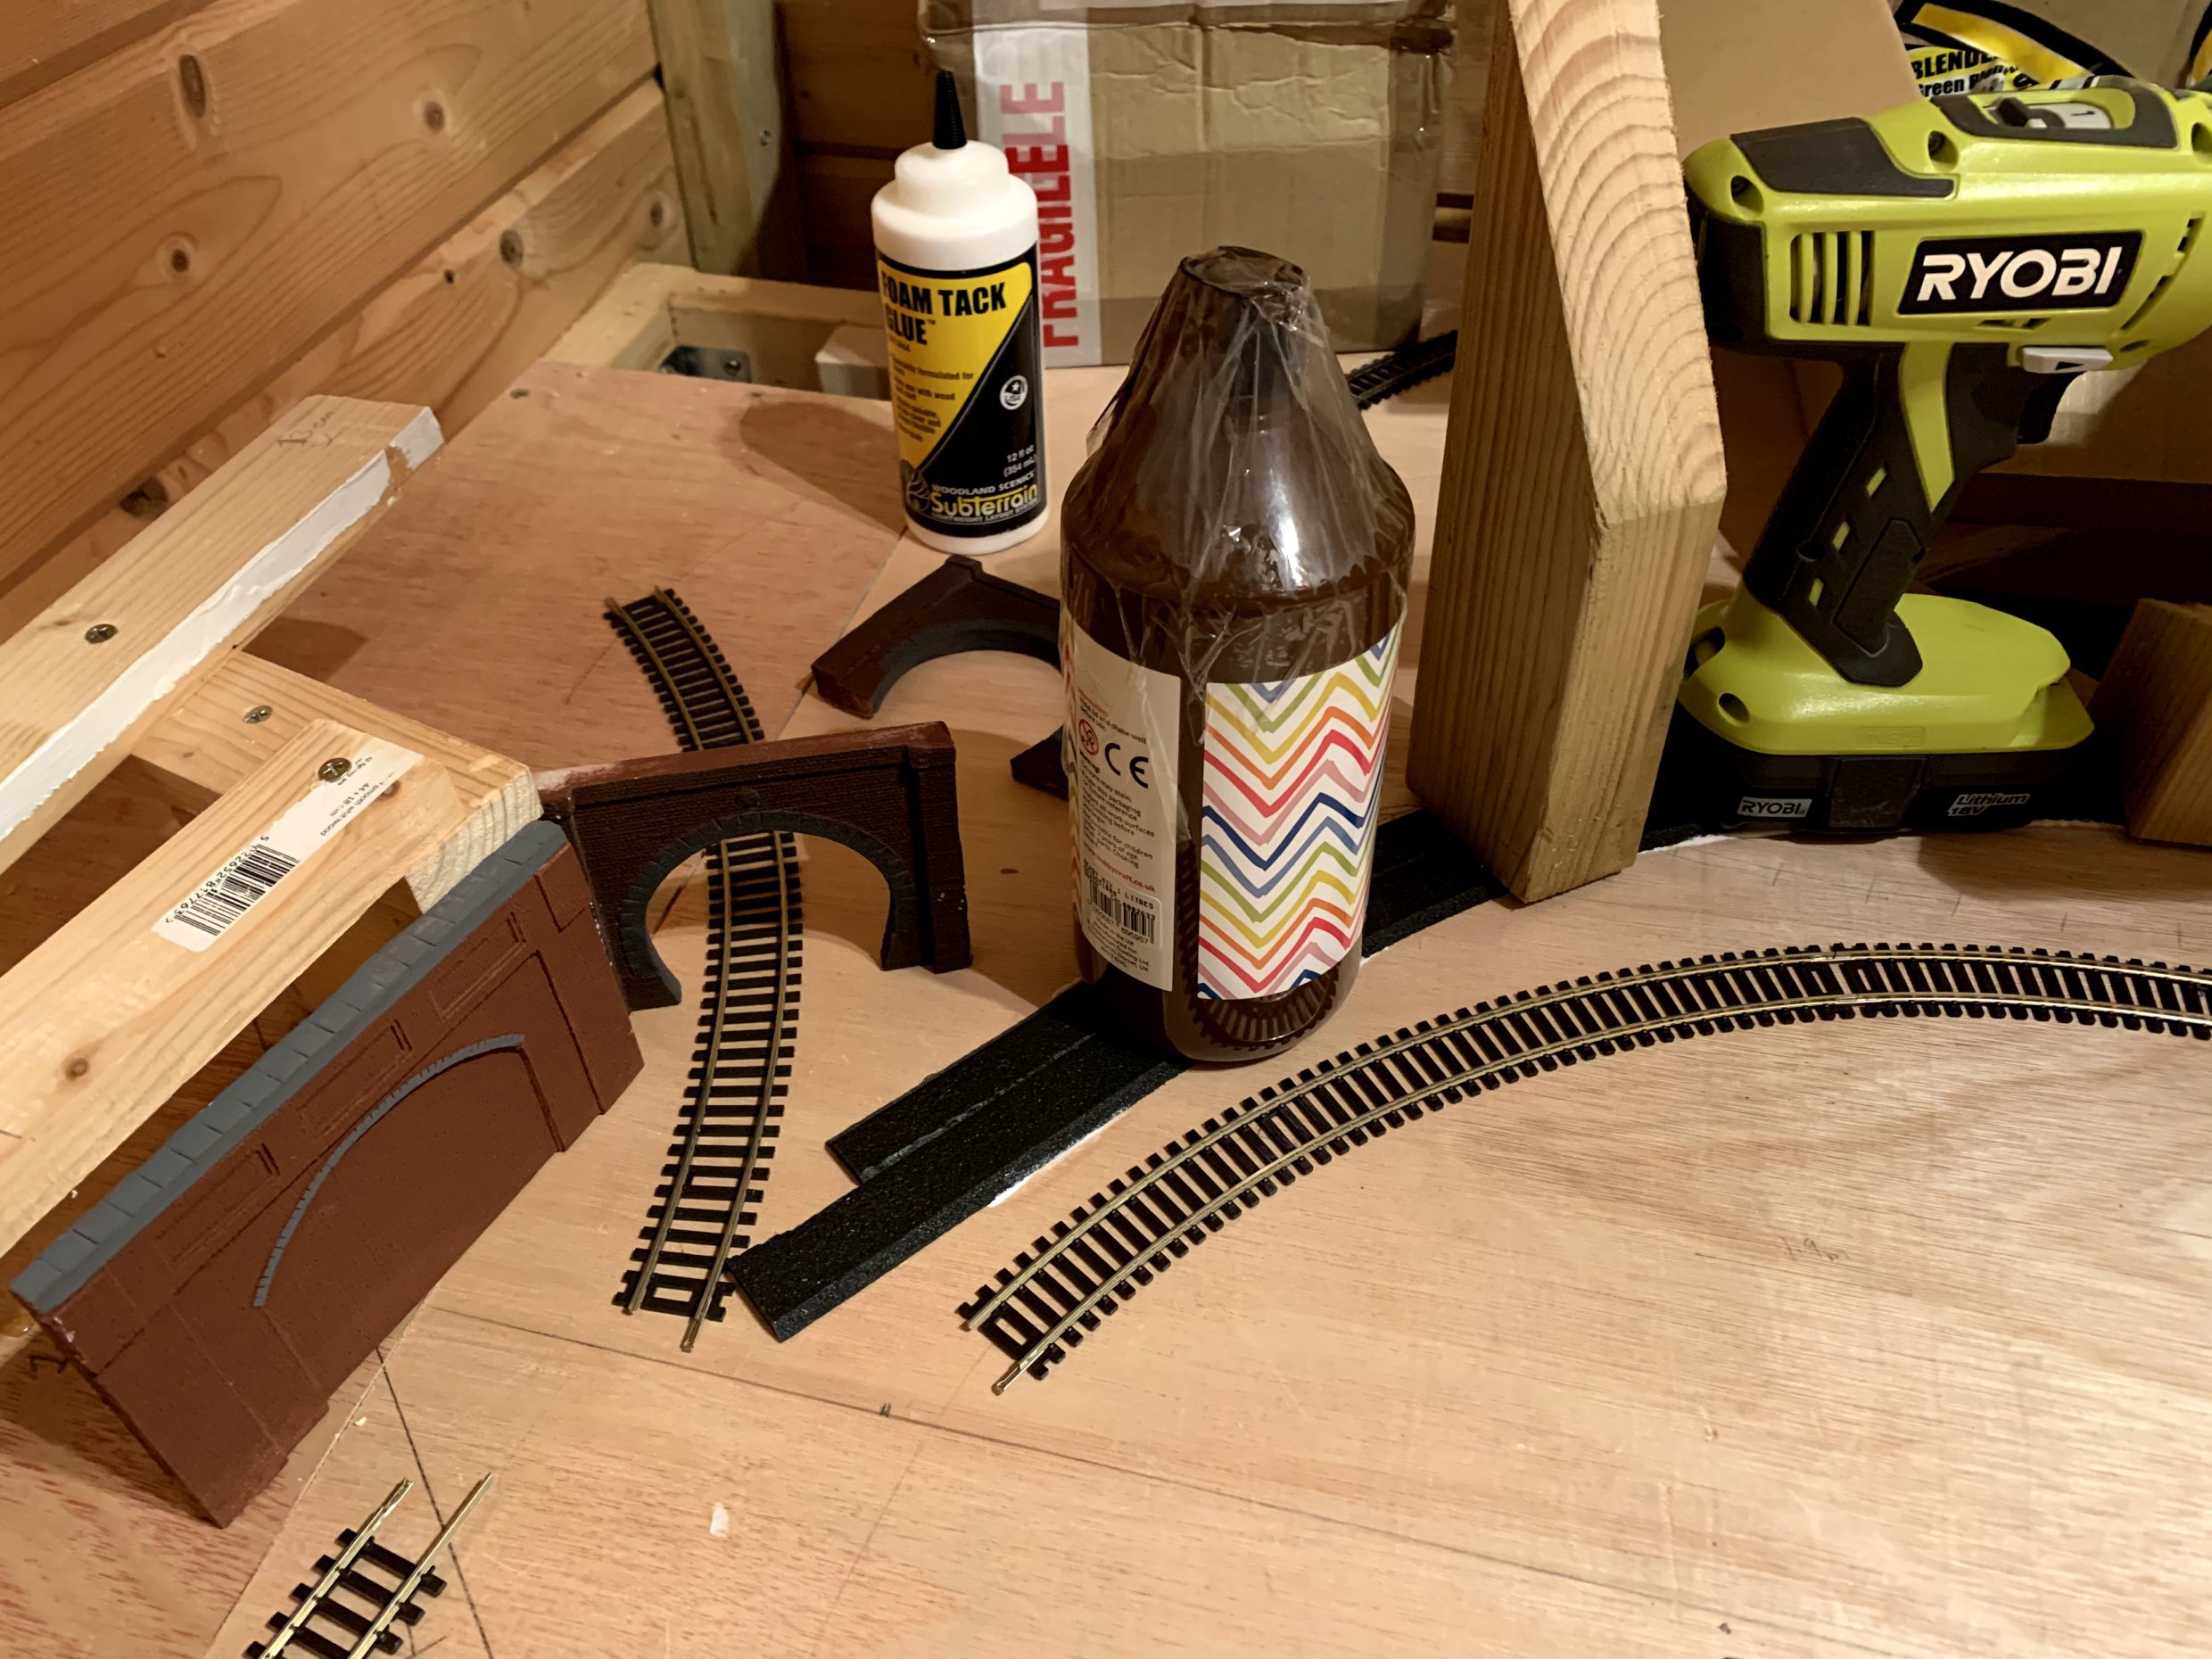
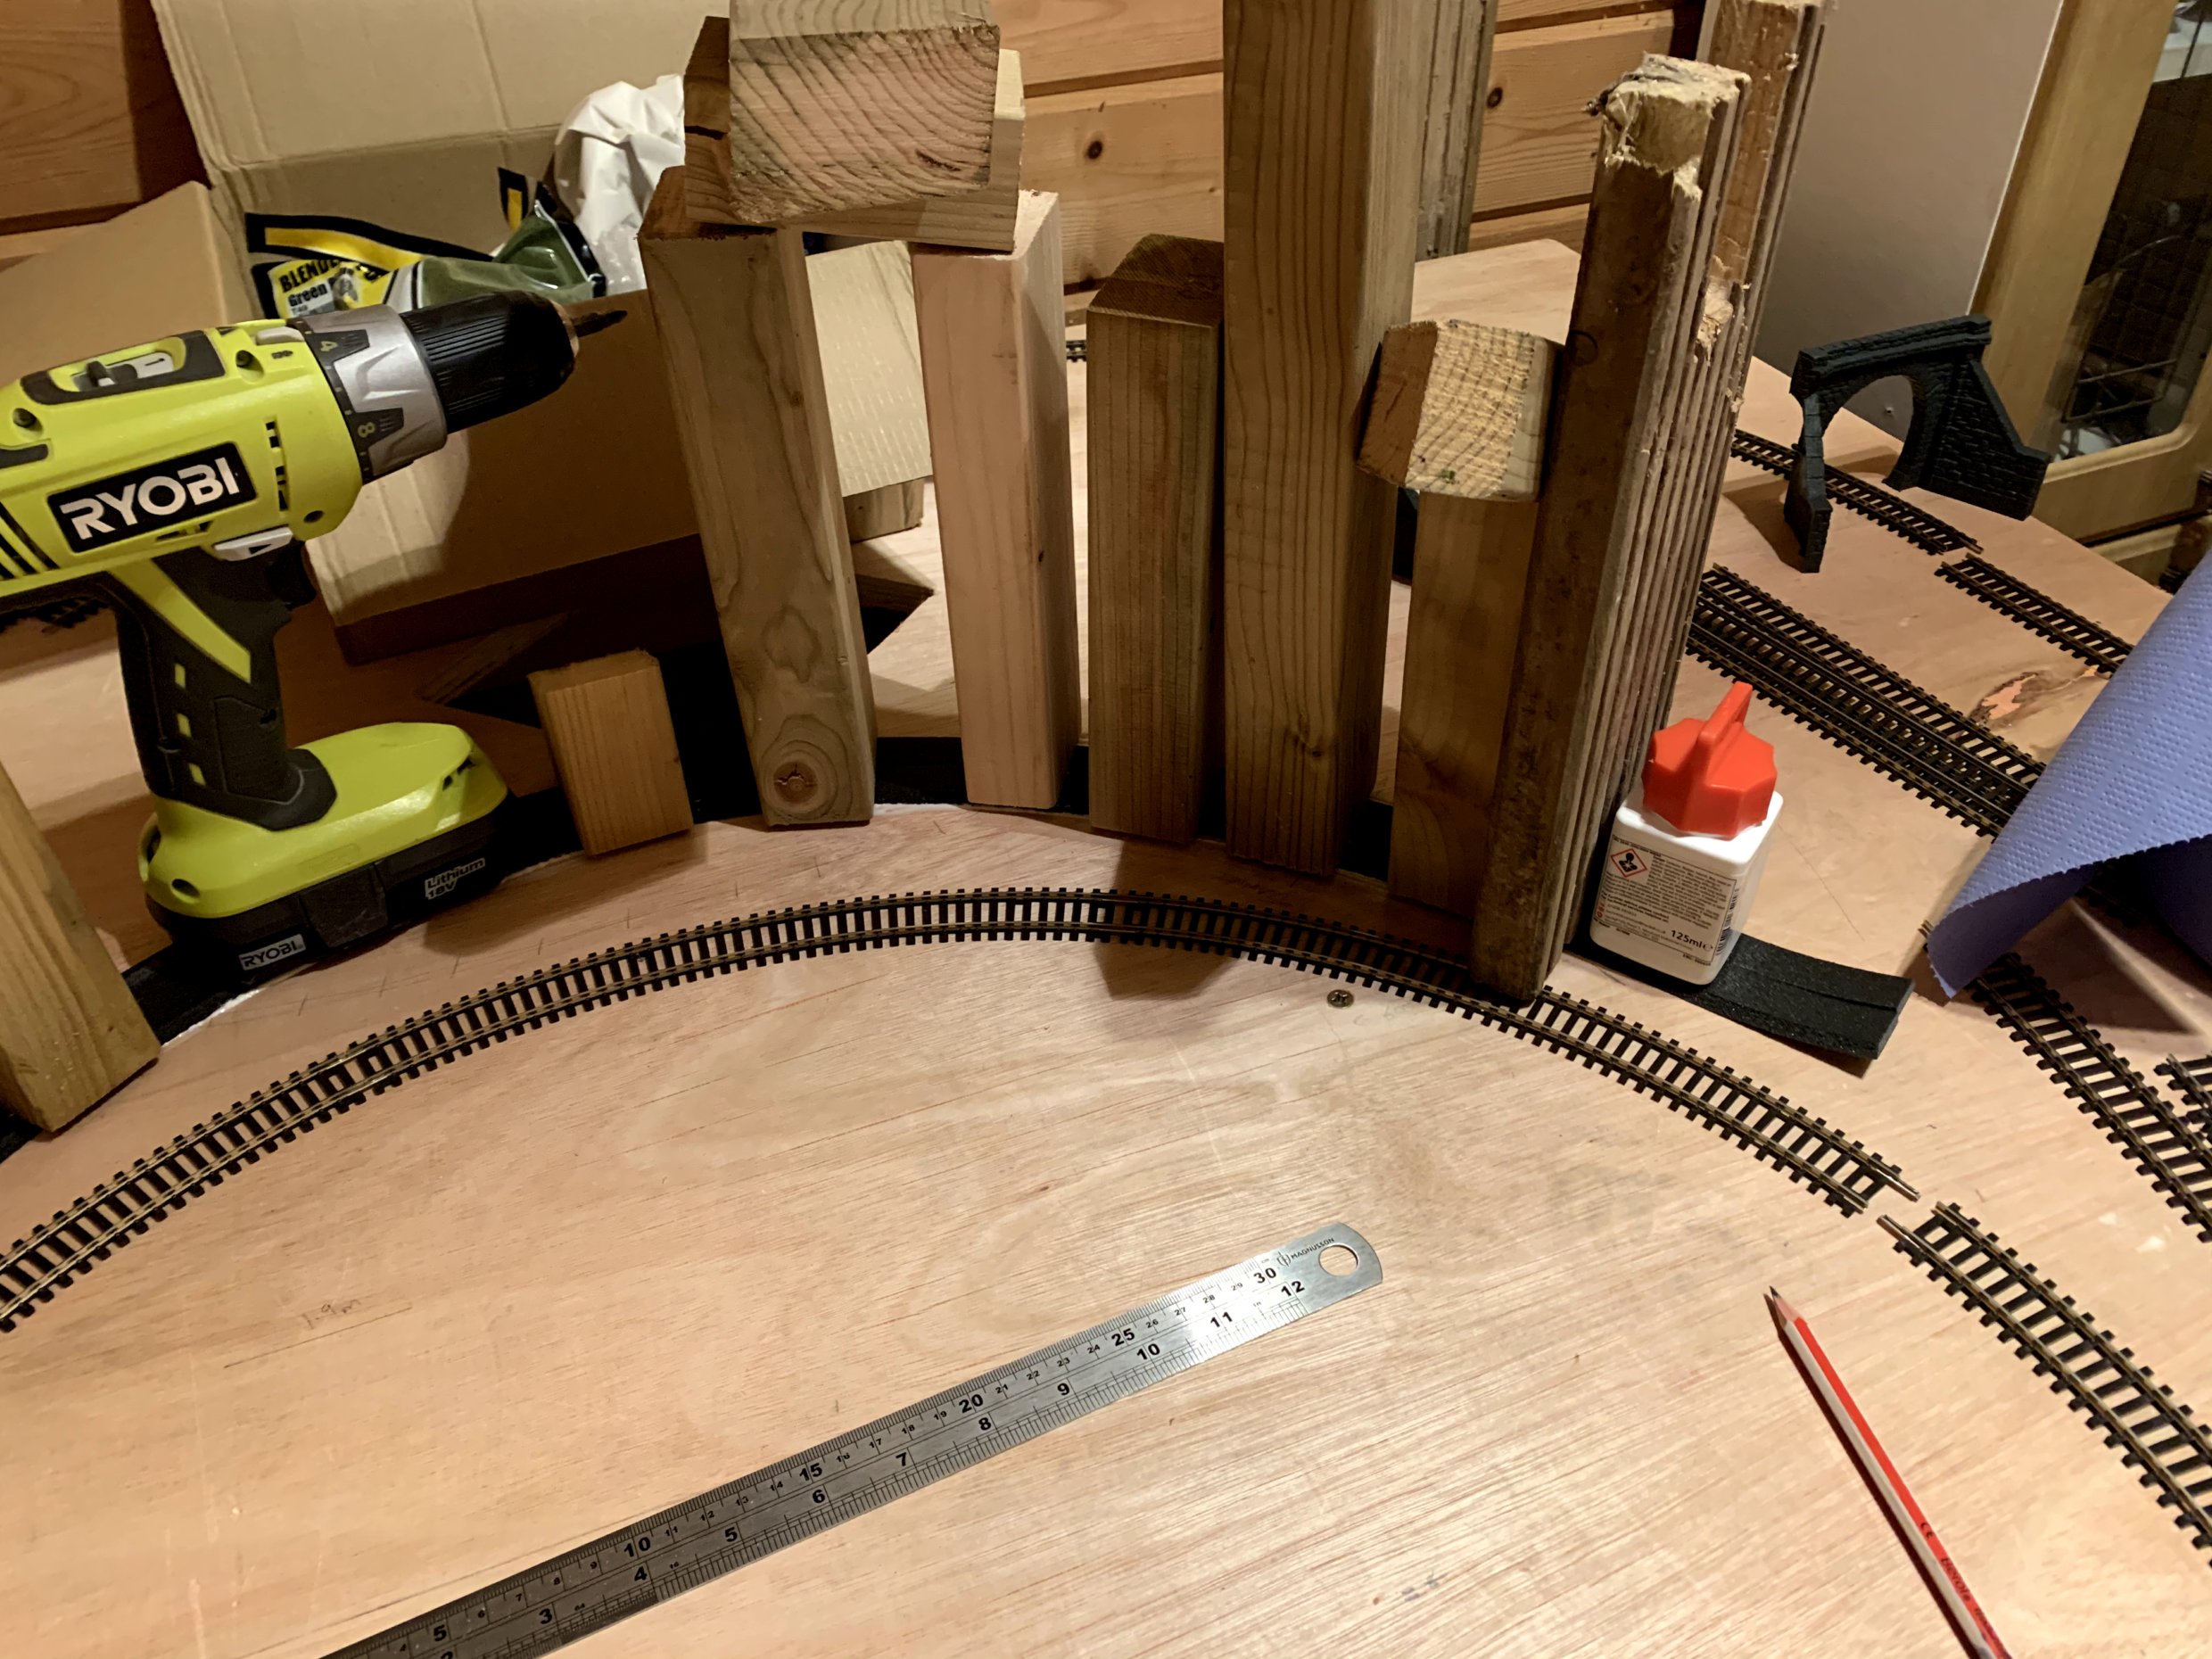
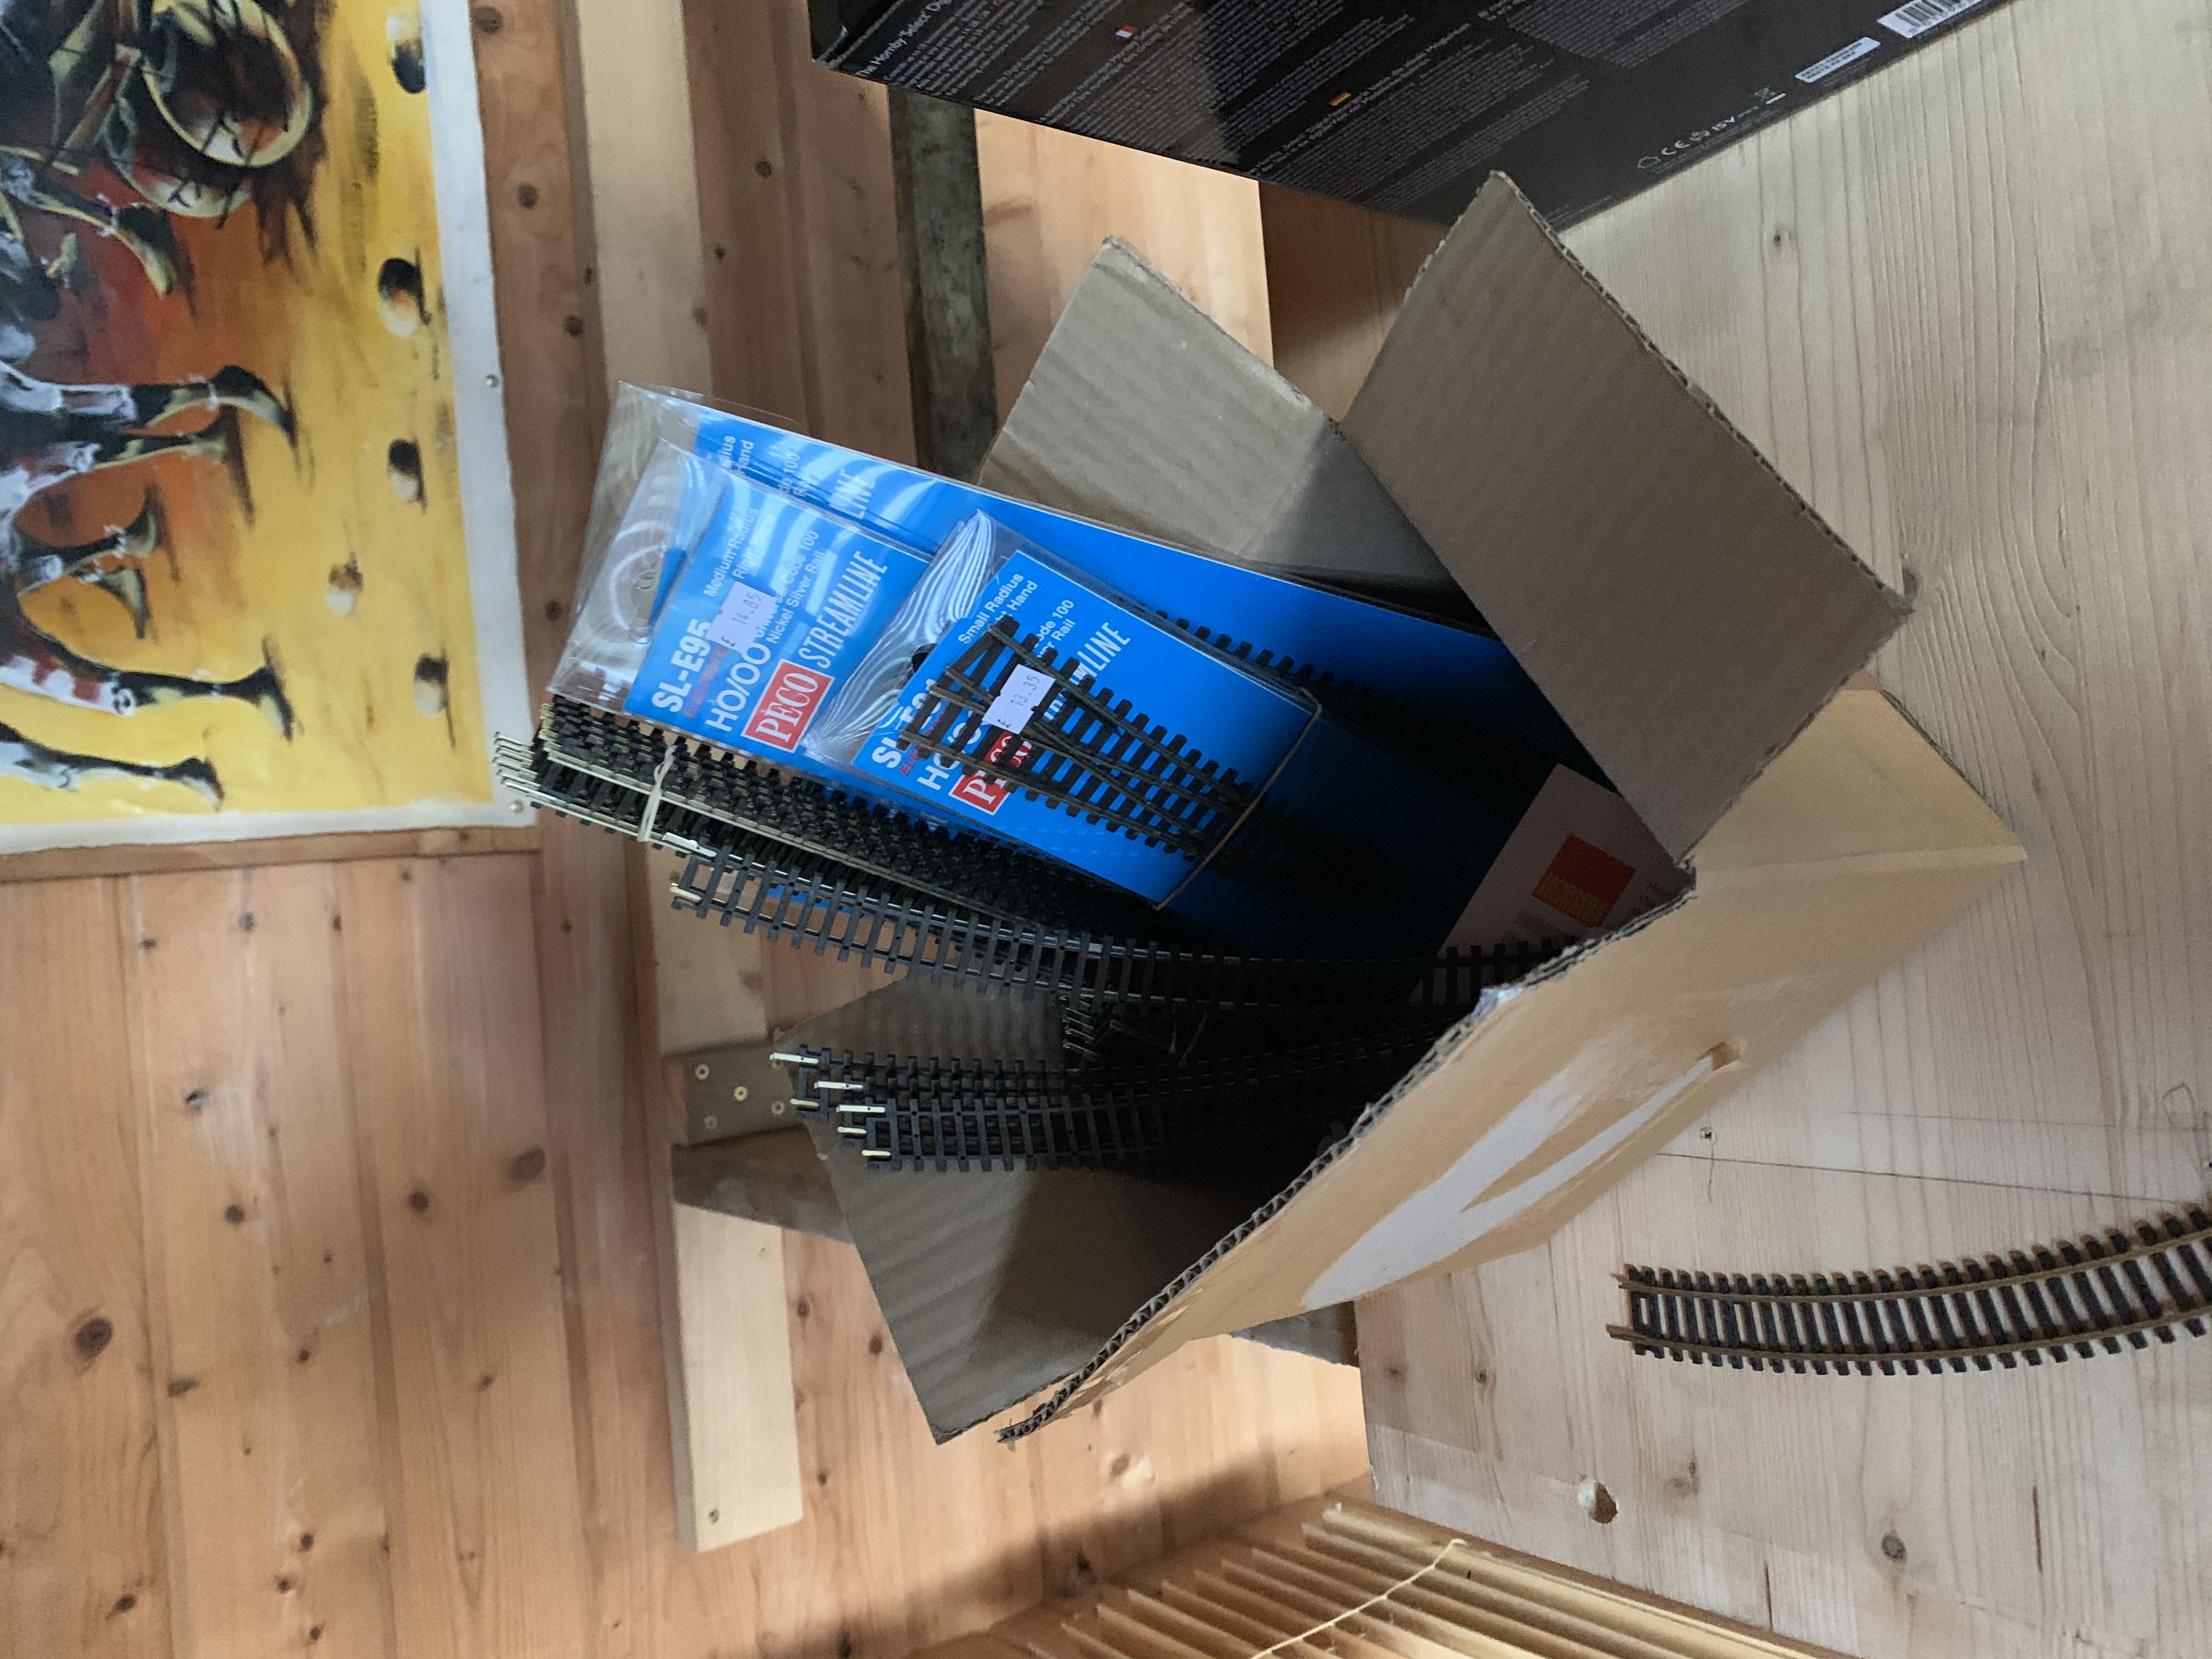
Laying the first track section - Started
Constructing the Mountain - Concept Stage
Building the Underground Mine - Blue Sky Thinking
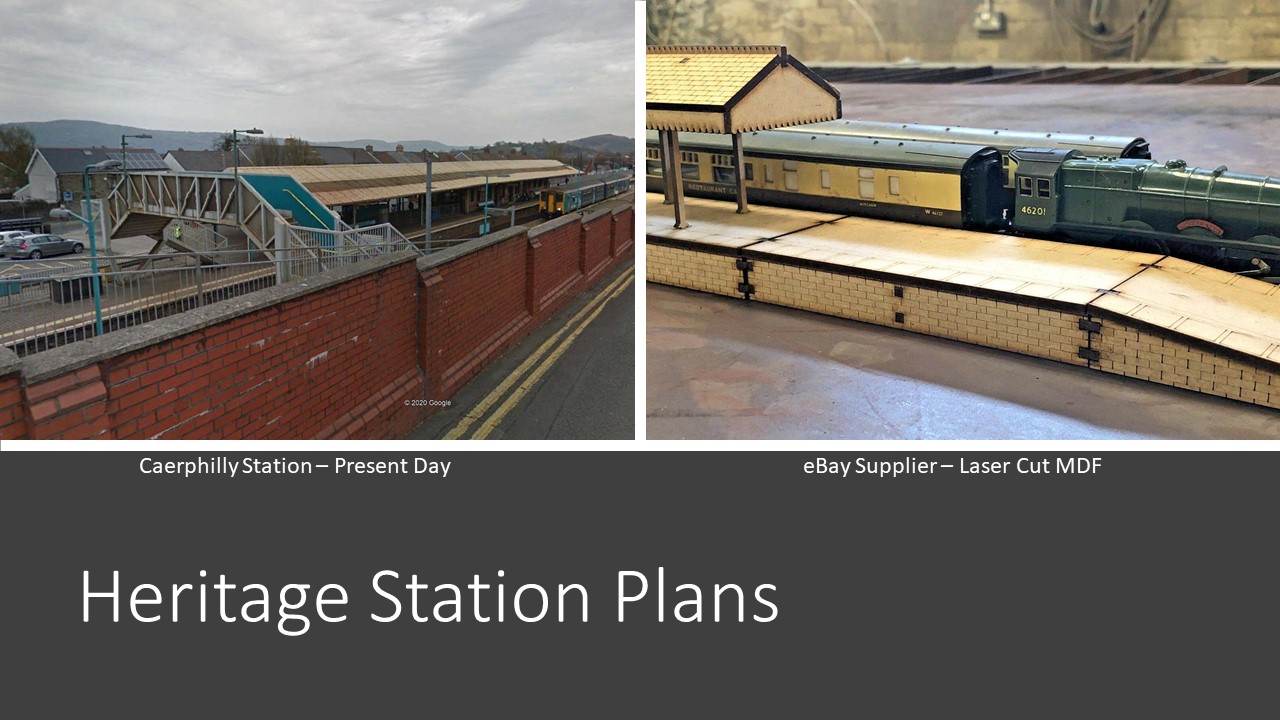
Developing the Heritage Station - Concept Stage
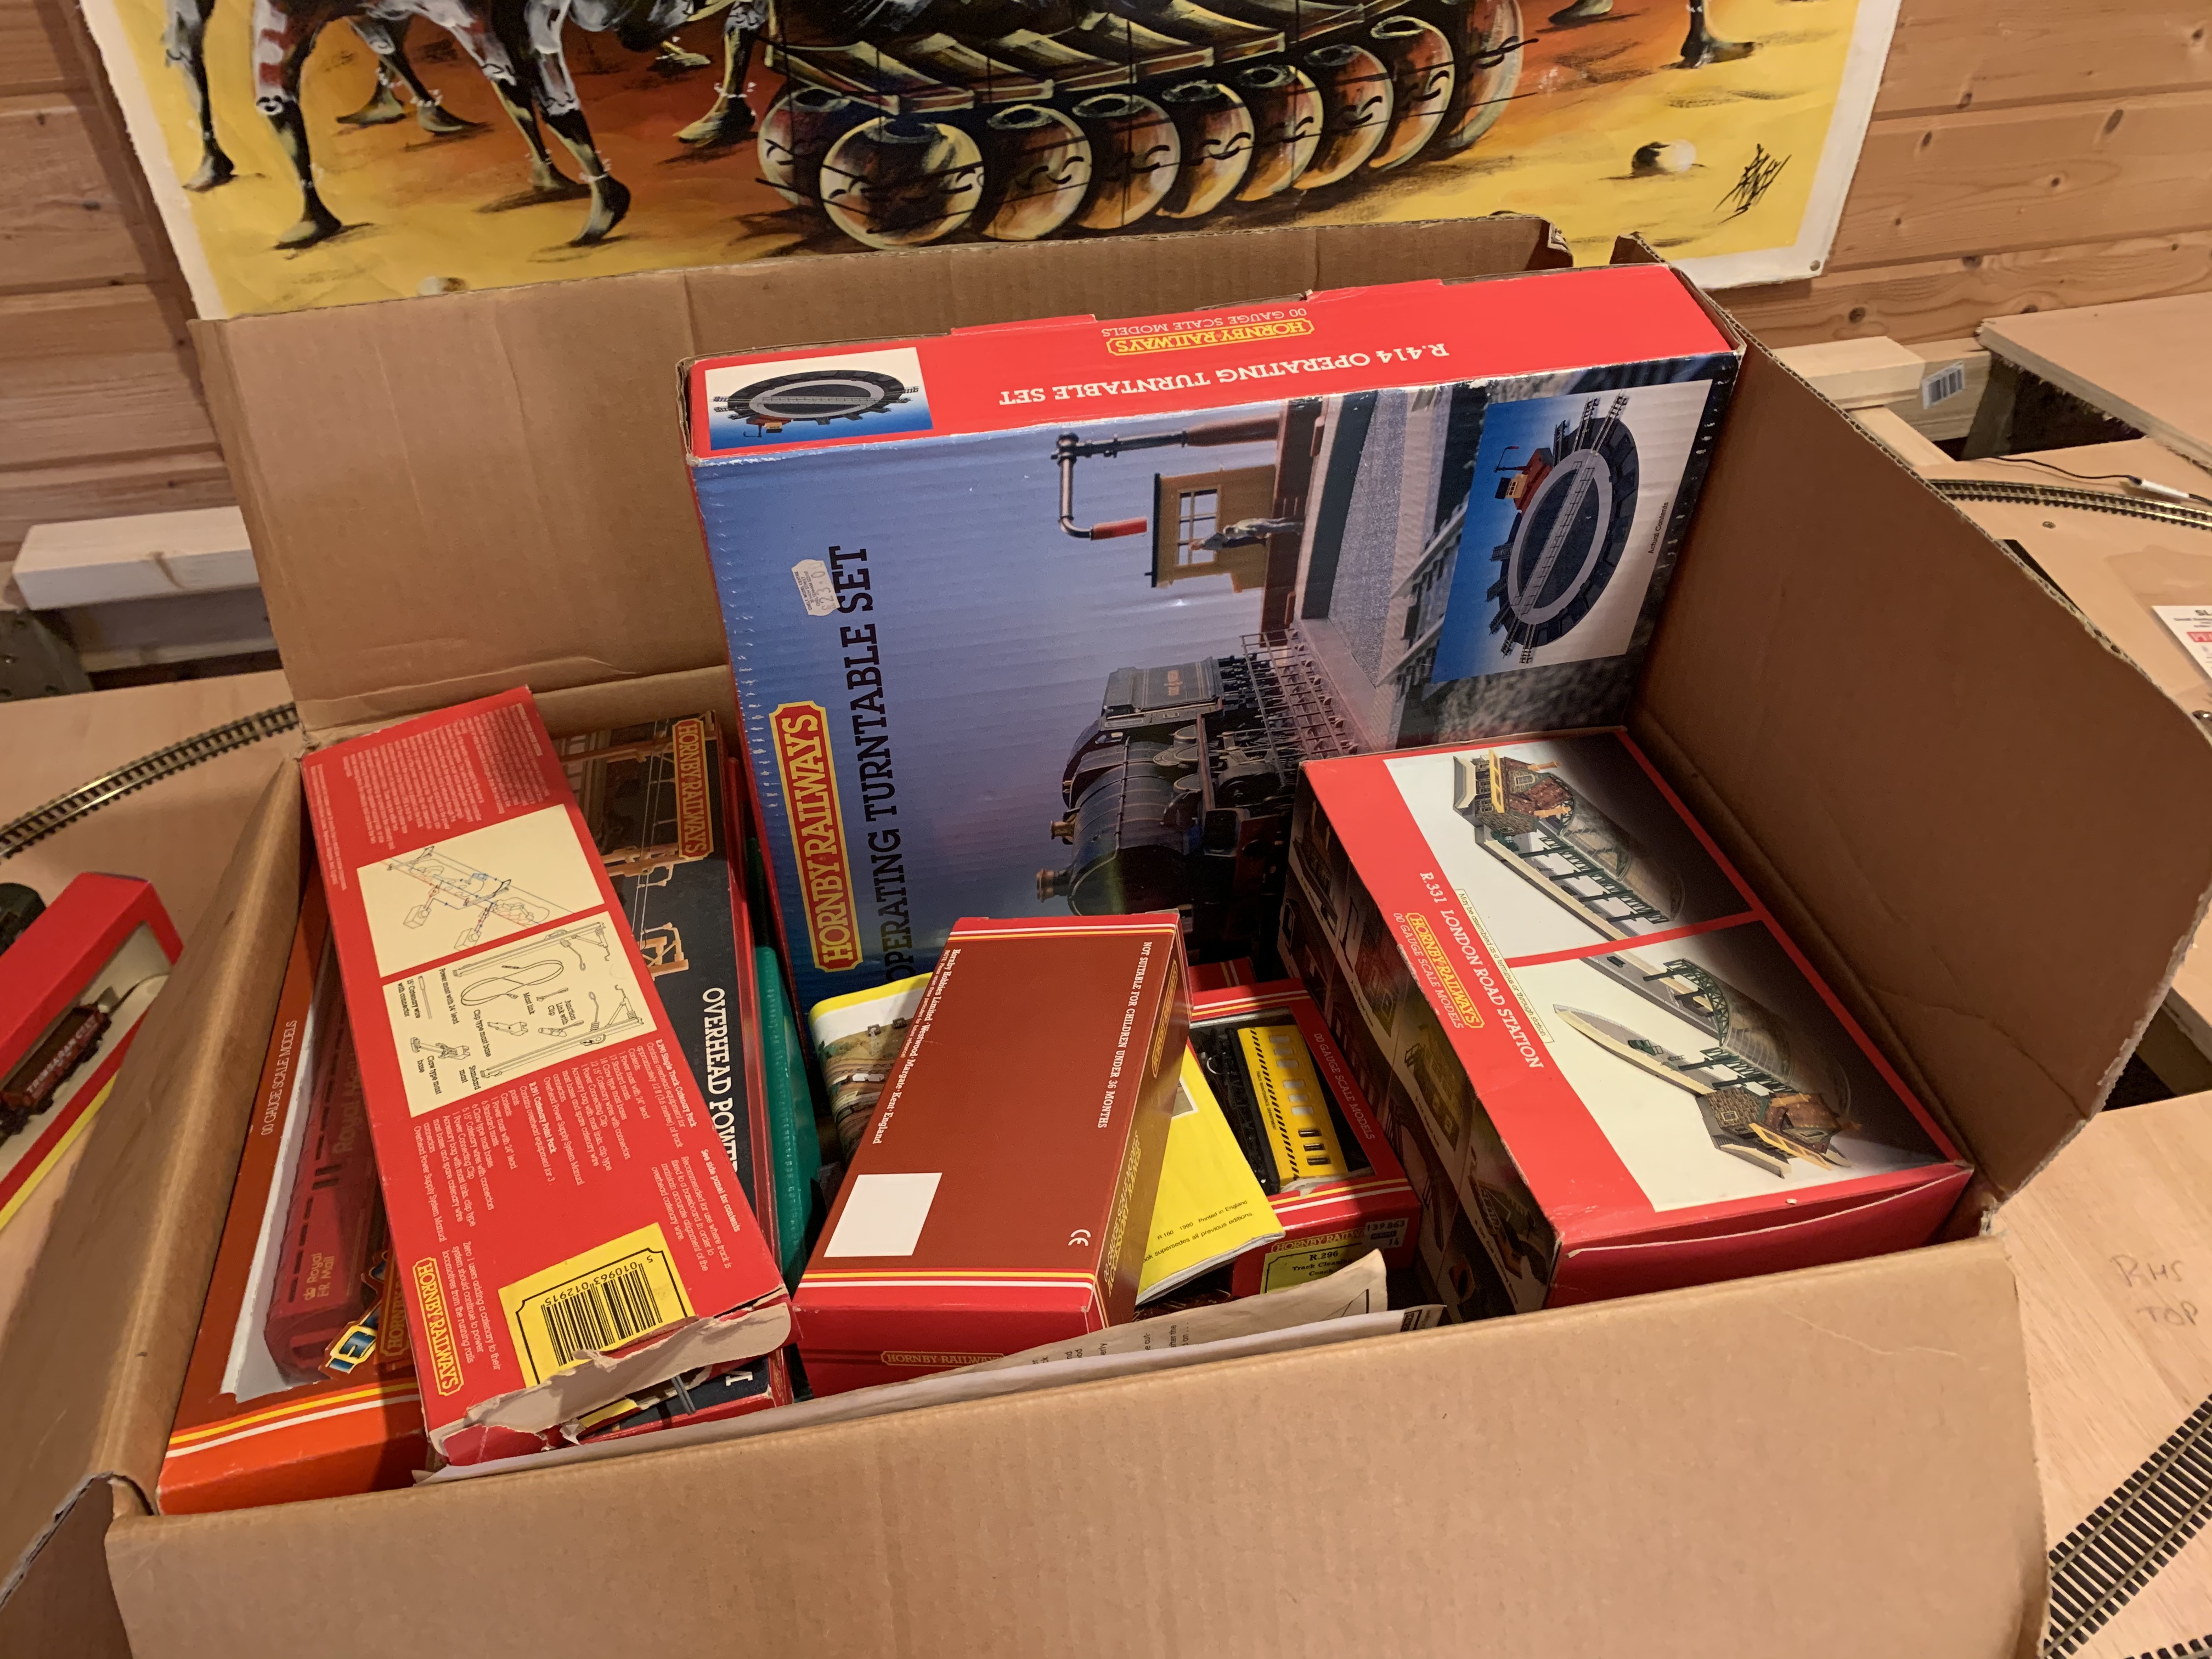
Constructing a coal loading dock - Track laying phase
As I mentioned on my home page I am in the process of constructing the base and legs for my baseboard (NOW COMPLETED, see here). As we are currently (at time of writing) in lockdown, wherever possible I have been reusing bits and bobs that I have lying around my garden. This is really good for the environment (and the trees), however unlike bulk construction work that I typically get involved with, the tolerances required for modelling work are a bit tighter, hence if you have quite "bendy/curved" wood it can be slightly problematic. Luckily I think once the baseboard is installed it will hide a multitude of sins and should hold everything nicely in place....Video below:
I will be providing the next batch of photos for the legwork of stages 2 and 3 later this week (W/C 11th May 2020).
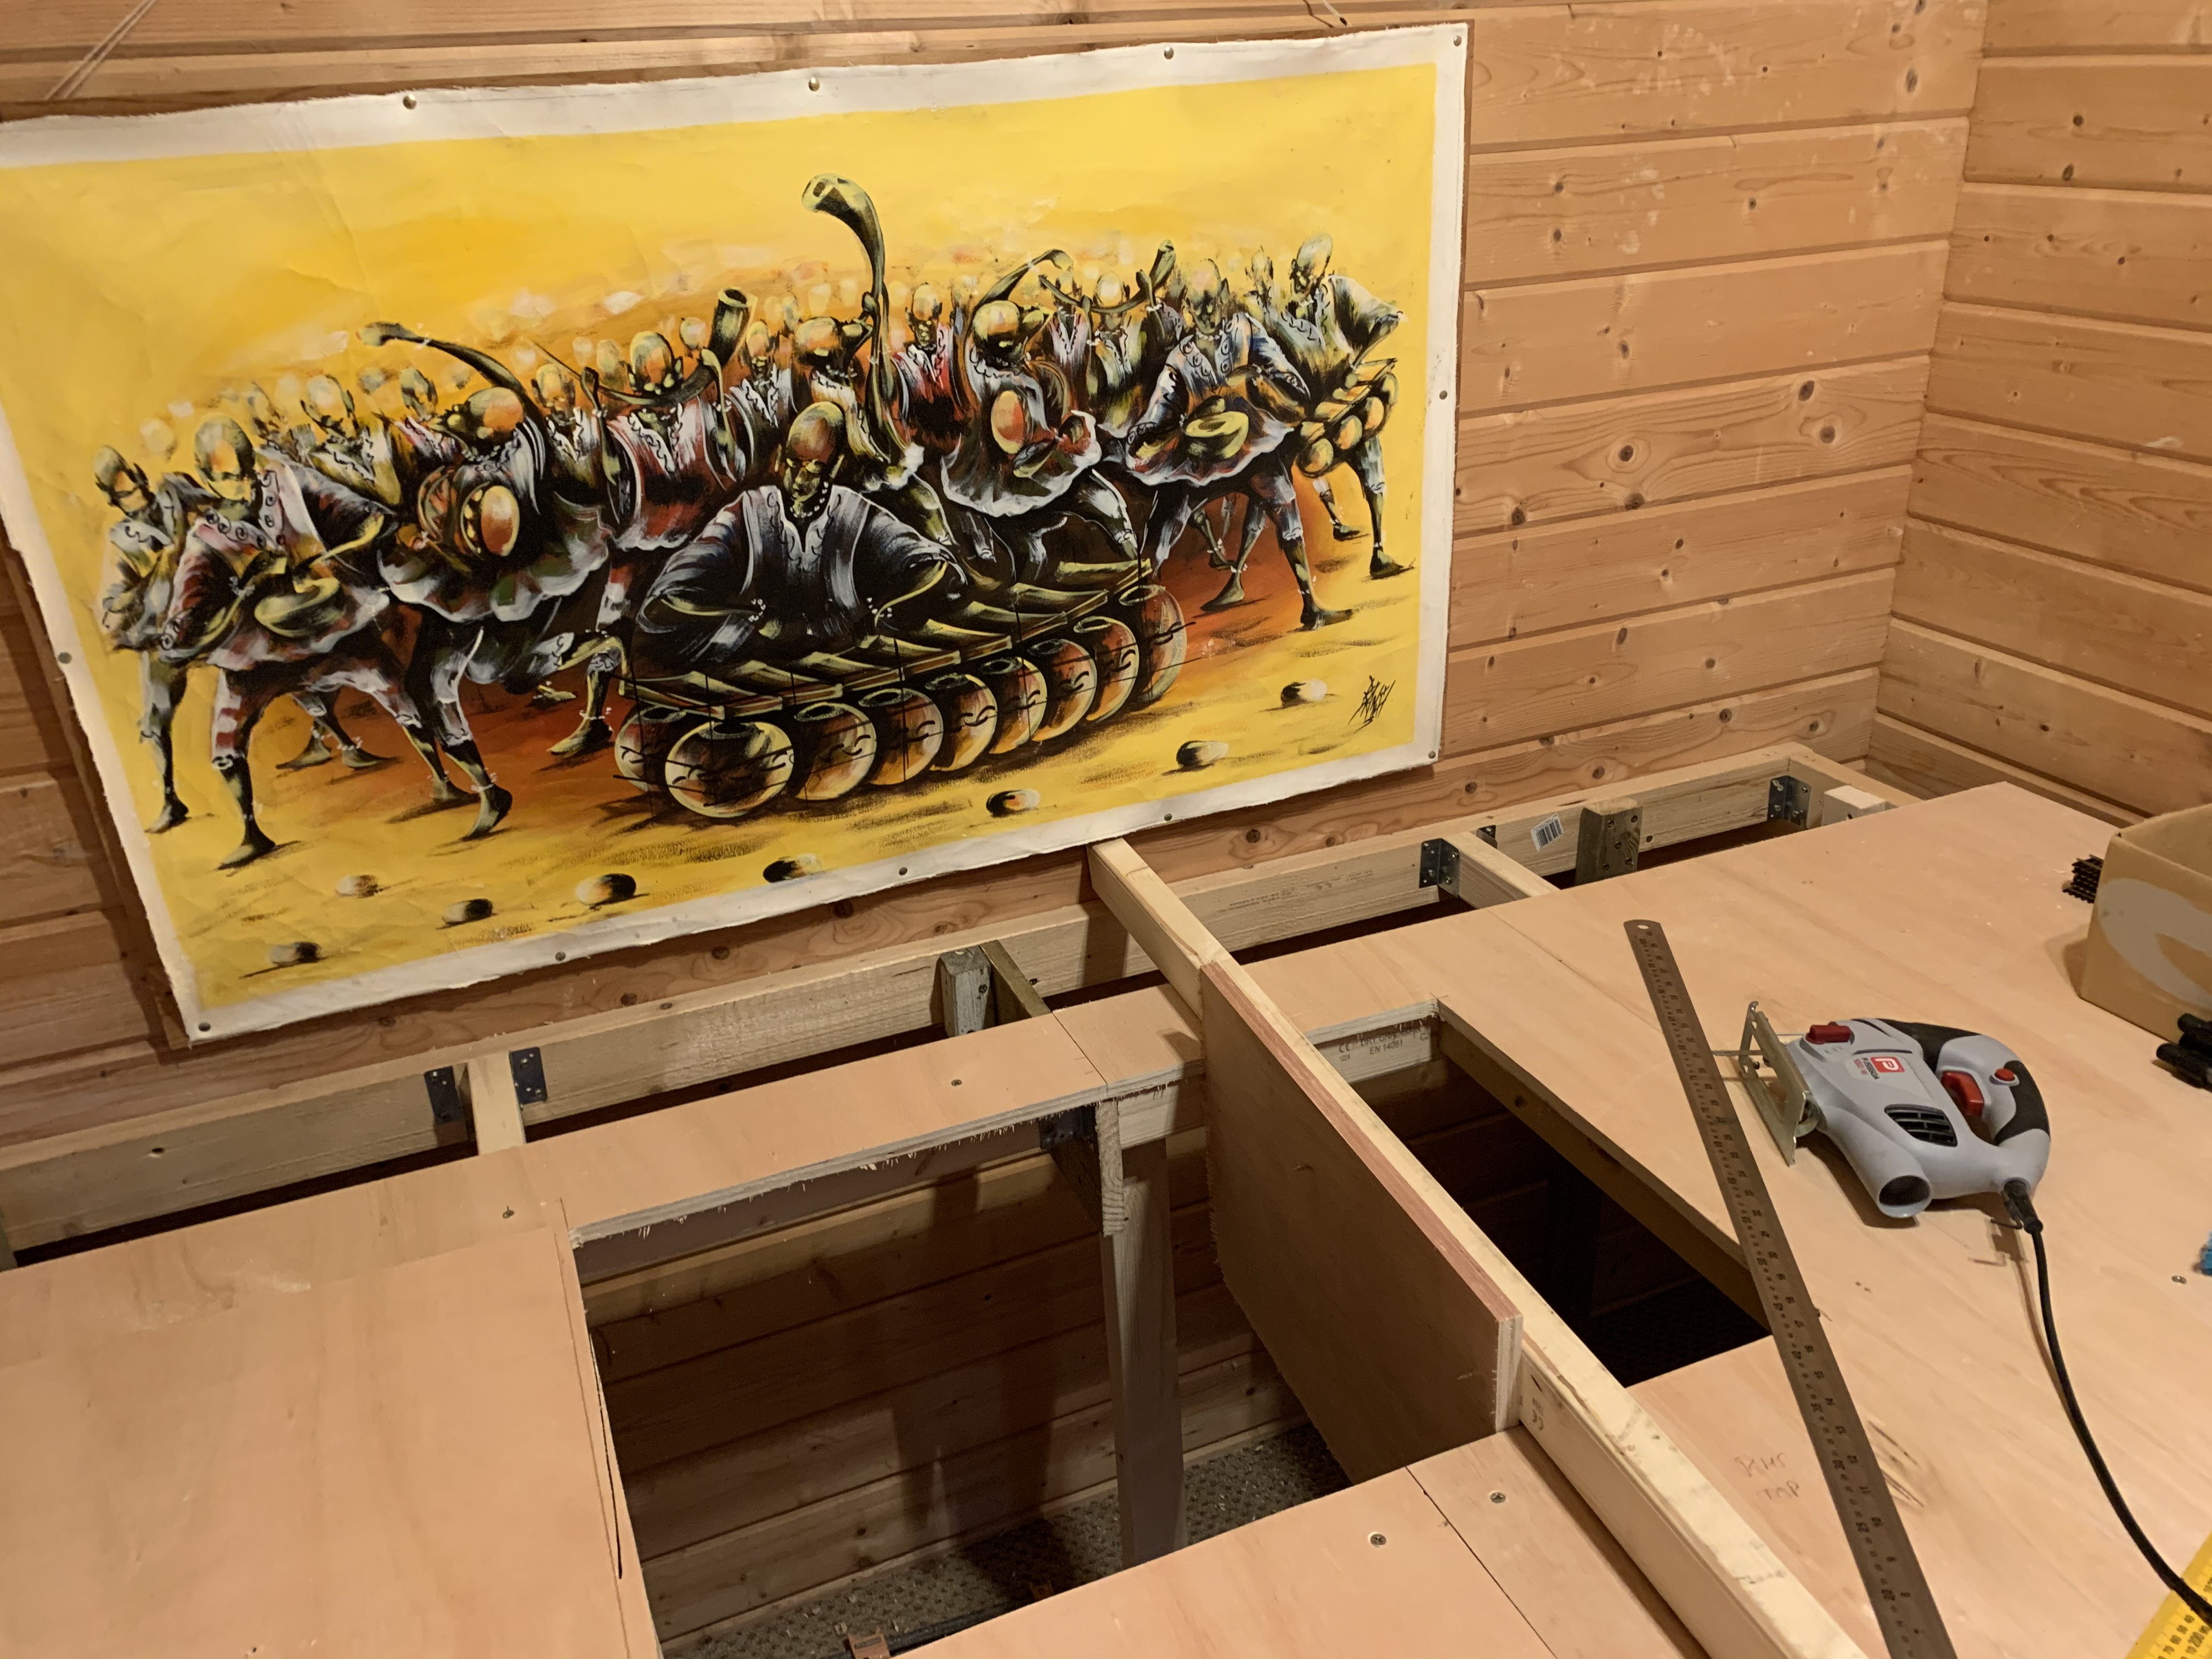
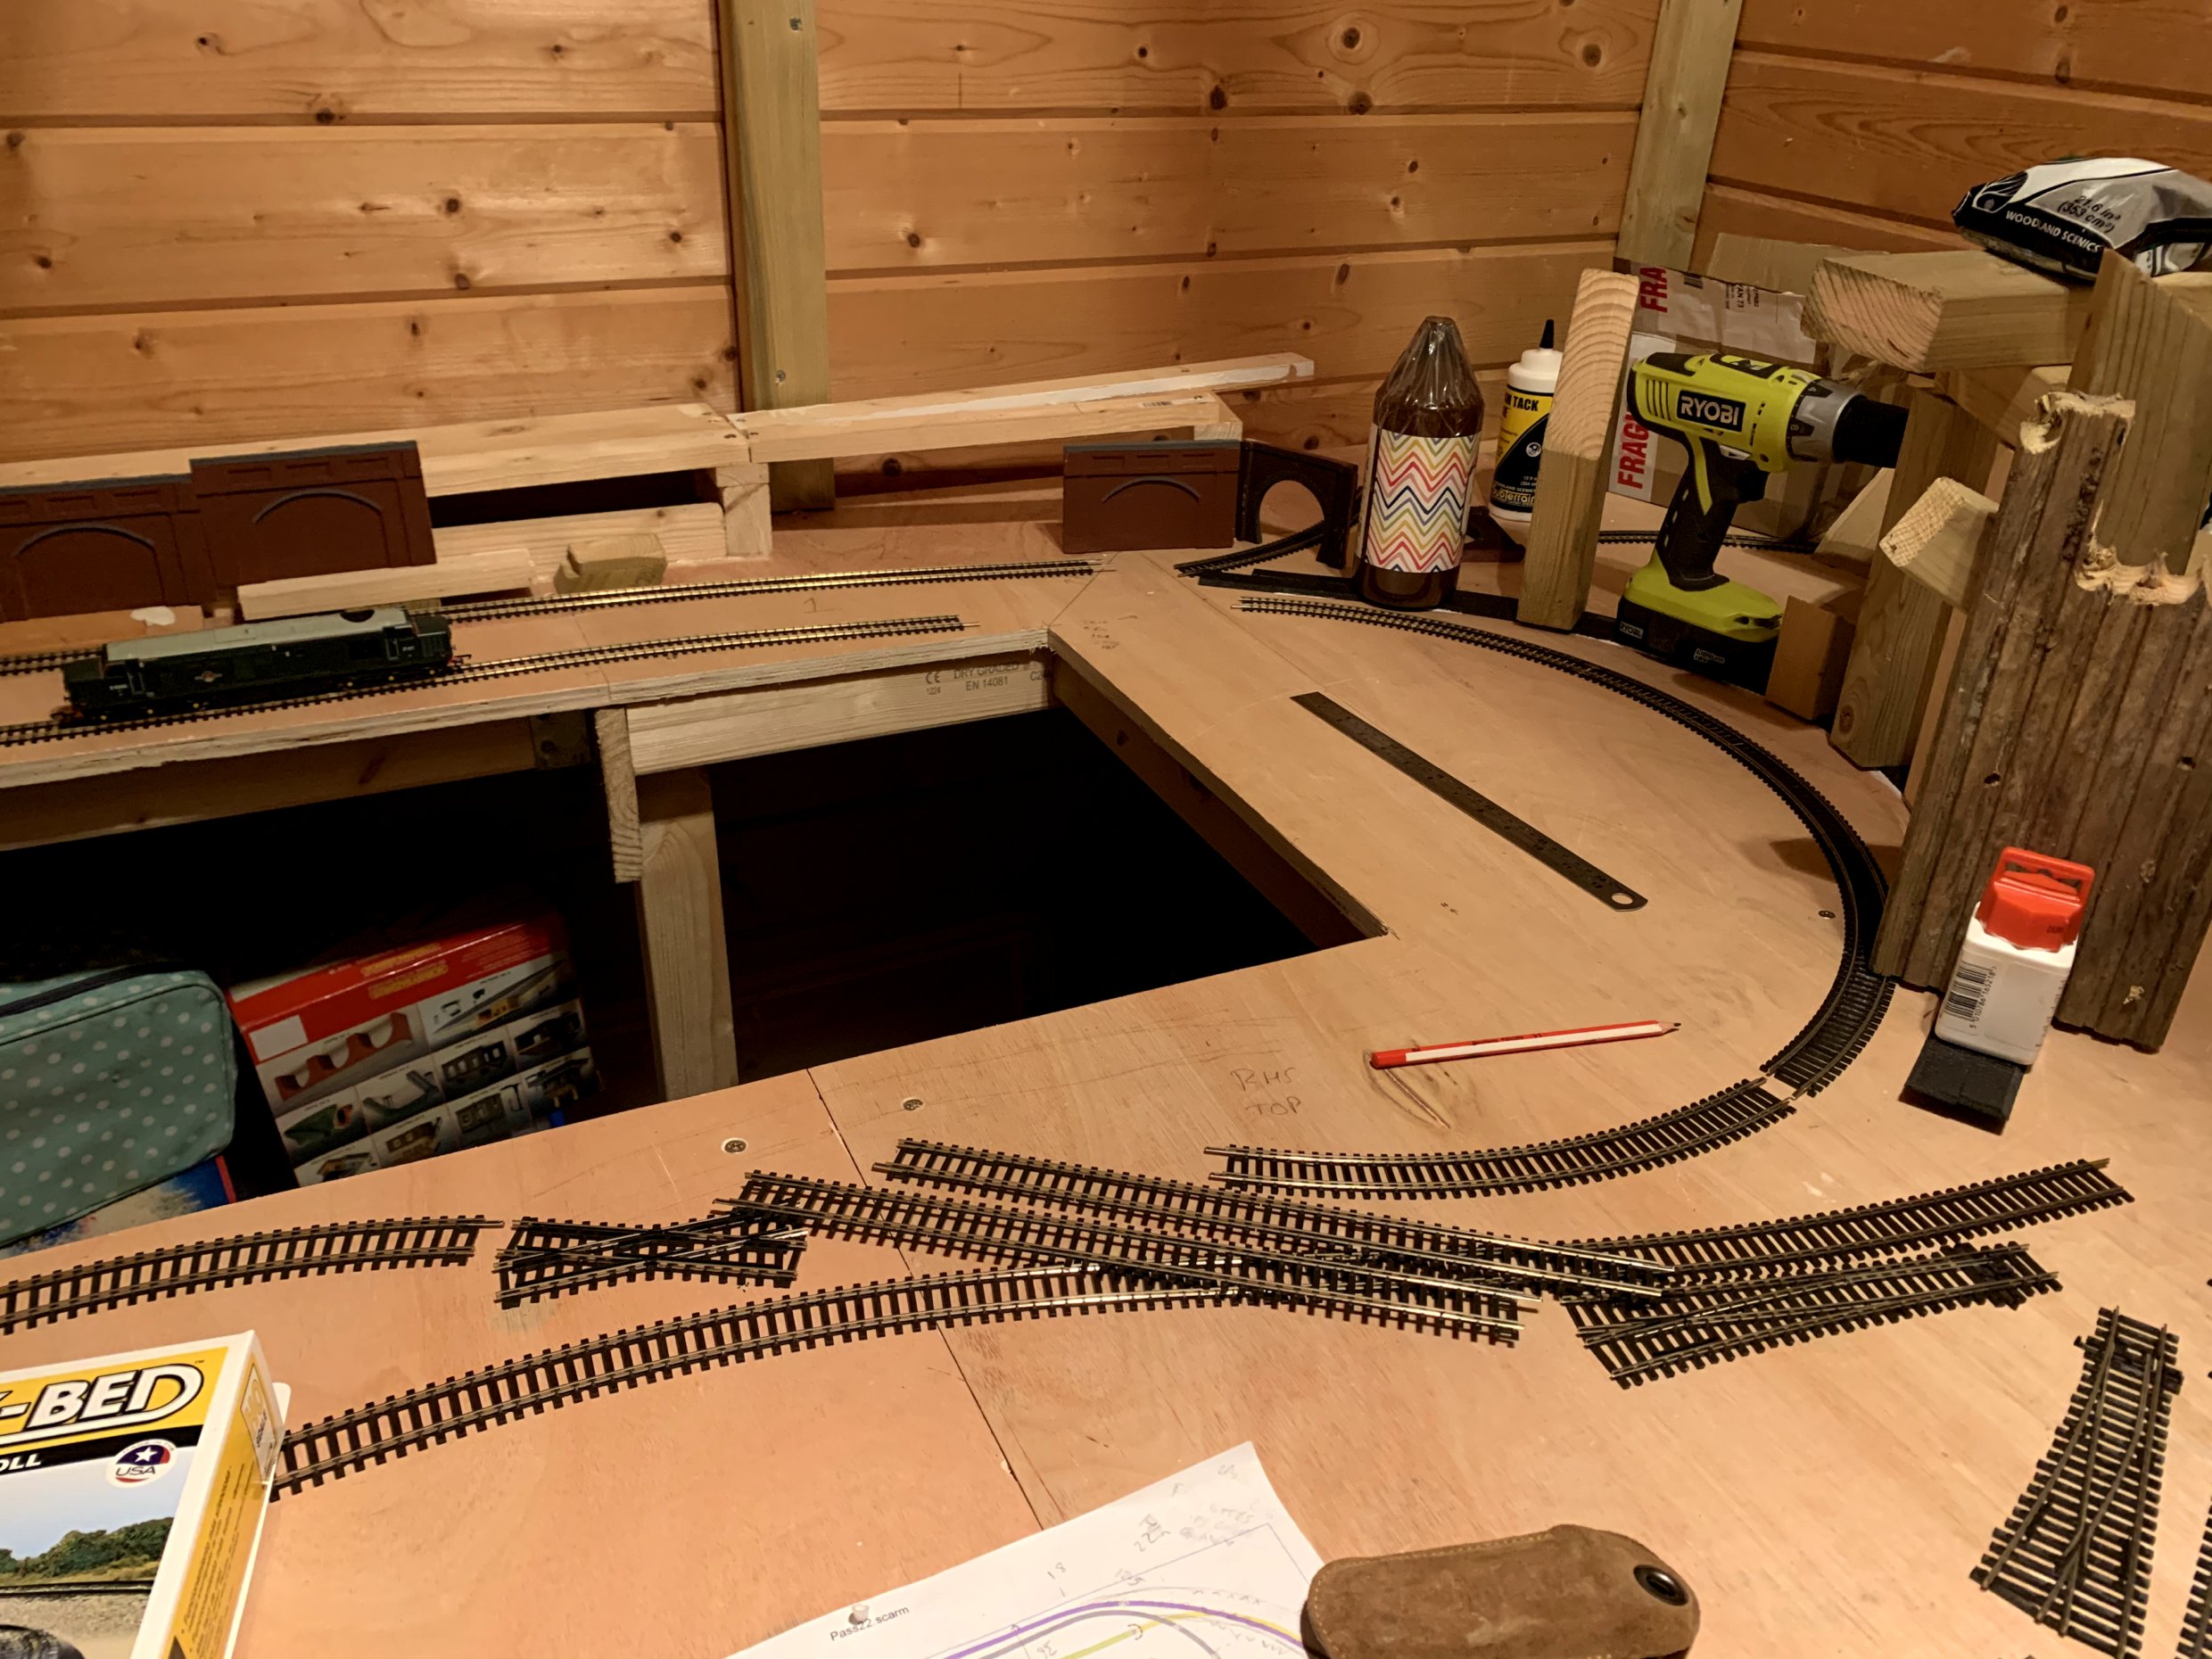
The size of my layout is constrained by the size of my shed, I've roughly split it half and half, as I still need space for all the usual shed stuff. This means that the available space for my layout was approximately 2.6m x 1.35m. Now, as I come to below, my reachability means that I've also had to put in a little access nook that I can stand in, to either operate, or reach corners of the layout, which is a 50x50cm "nook" with it's left hand side edged by the end of the right side of the board in this photo:
The other thing which dictated the size of my baseboard was my "reachability". I'm an averagely sized (just under actually) human male, which means at a push (bending at the waist) I can reach a metre-ish (3ft), hence the nook. The eagle eyed amongst you will notice that I still don't have access to the corners completely, so if something derails etc. in either of them I will have to get creative..... Maybe I need to rig up a recovery crane. You'll see from my Layout Design page that I now have a central well, it seems I'm not as gigantic as I thought I was!
The other thing to note (which as a "newbie" I hadn't!!) is that you also need to get access to the corners to do all the track laying and scenery etc. Seems obvious now and after watching 1000's of hours of YouTube videos you think I would have cottoned on too. I was always confused why people used small sections of baseboard that they could lift on and off, now I get it and have ordered my baseboards in suitably small sizes that I can manhandle them myself (1.3 x 1.3m 18mm plywood). Overkill I know, but the 18mm was all I could get my hands on easily. It's been quite expensive, as in normal (non-lockdown) times I would have gone to B&Q and got them to cut (they do a few cuts for free) a 2.4 x 1.2m board into the sizes I needed, it would have been a lot cheaper. Fair play to a small supplier (through amazon) they came through for me and allowed me to crack on!
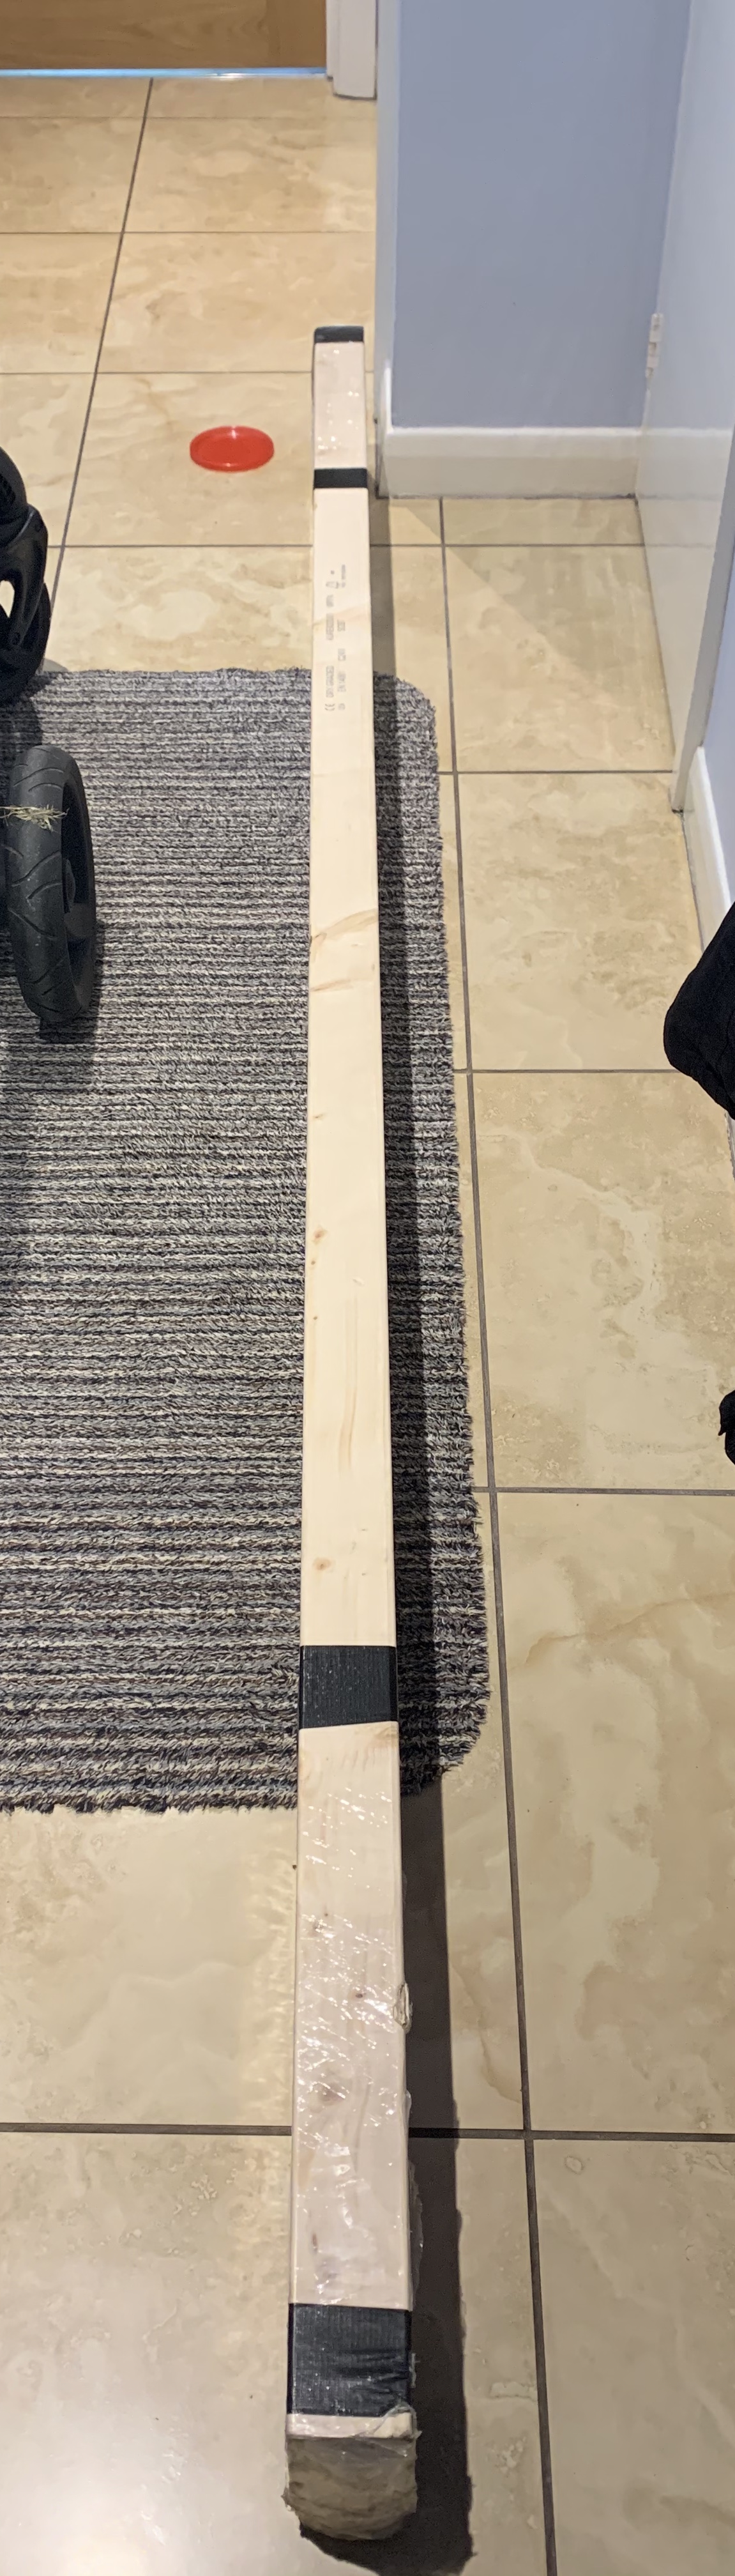
The CLS (2.4m x 40mm x 65mm):
Link on Amazon*AL: https://amzn.to/3m6GLV5
In fact at time of writing the plywood that I bought from Amazon for 37 quid a sheet, has now gone up to 45 quid, I bought external ply as my shed tends to be quite damp and I didn't want it to warp, plus the 18mm should help that:
Link on Amazon*AL: https://amzn.to/3czdbEF
For ease of handling materials (as I have no construction area really) I have constructed each of the baseboard areas independently:
Whole Baseboard:
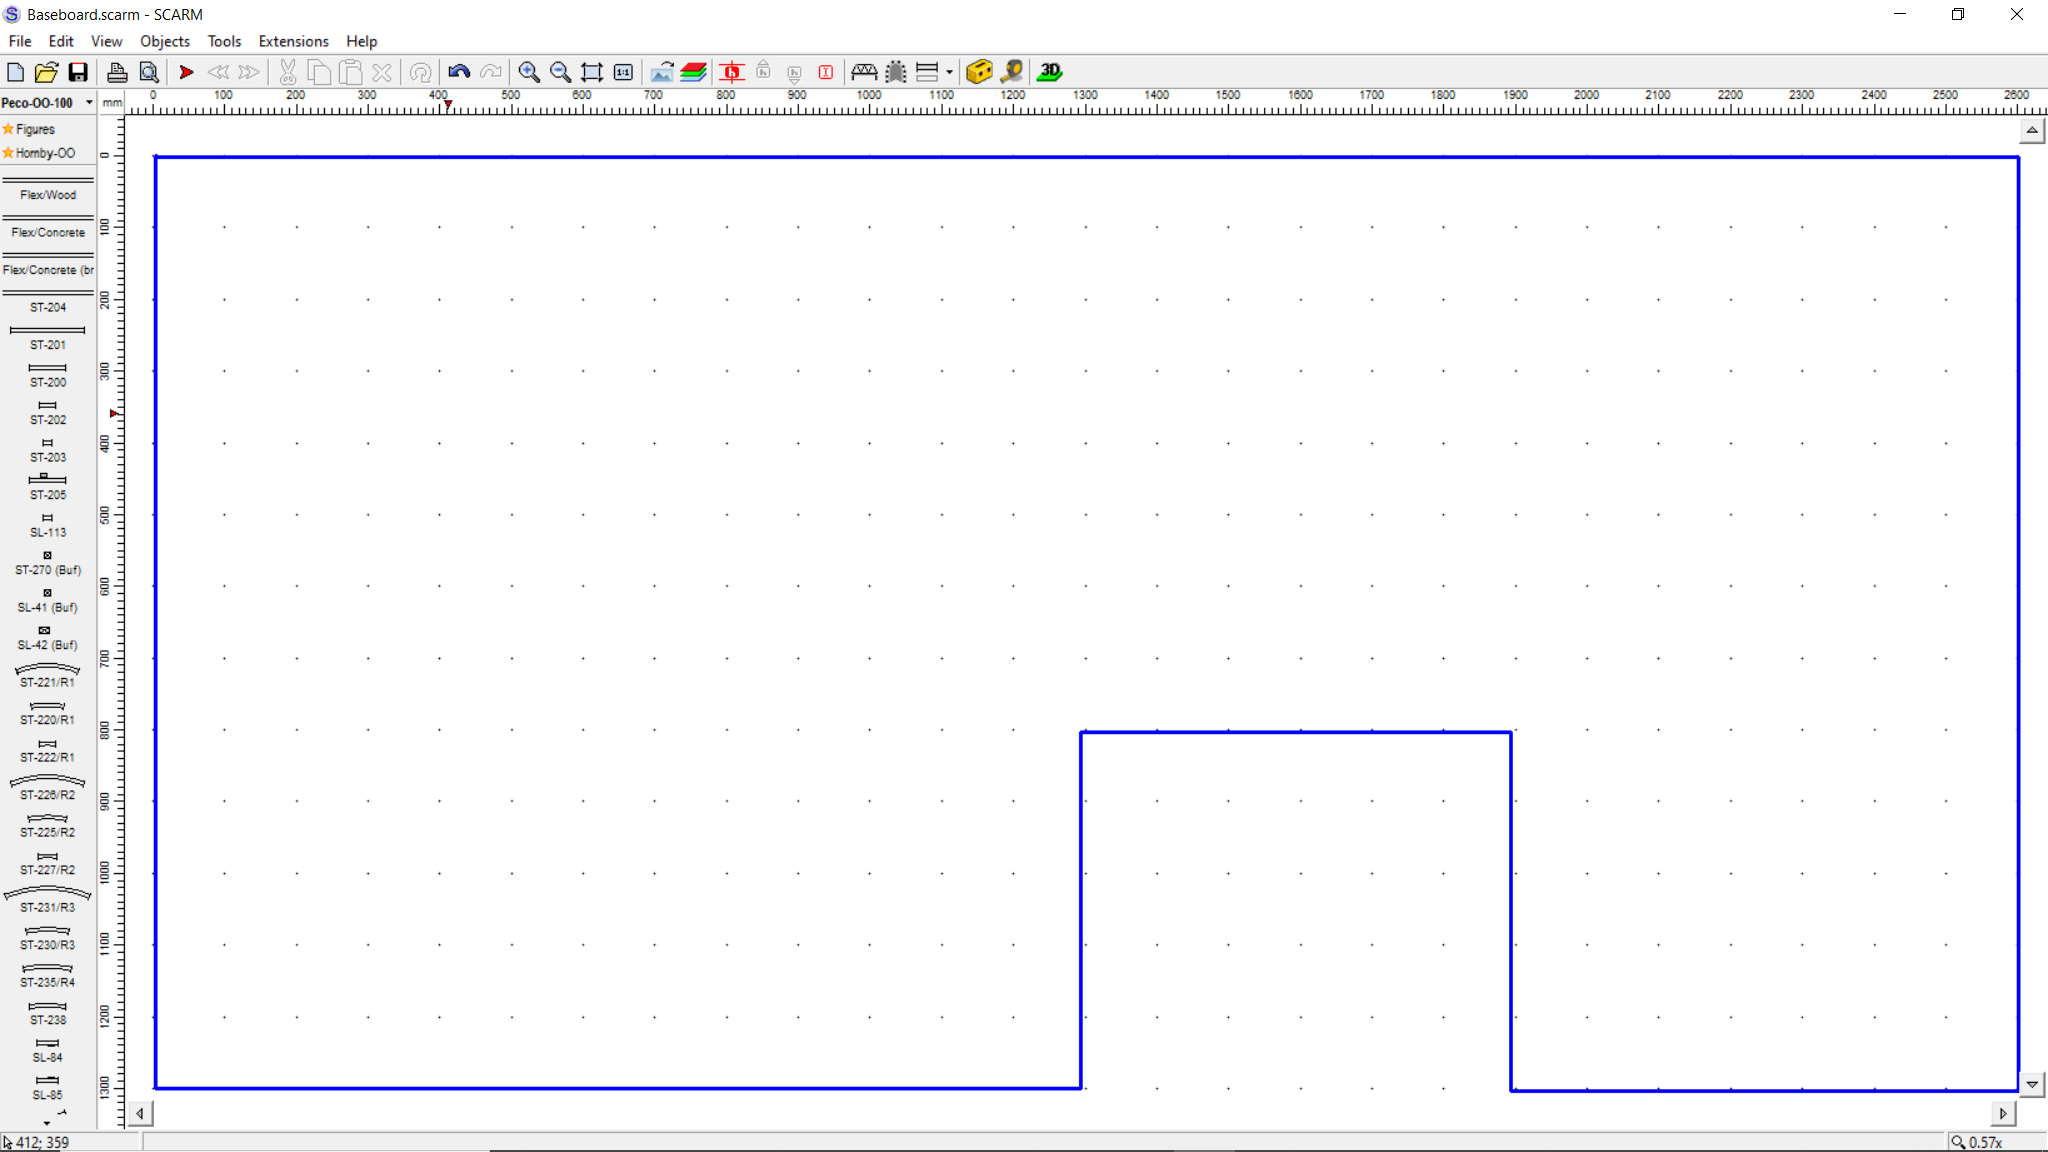
Baseboard support areas:
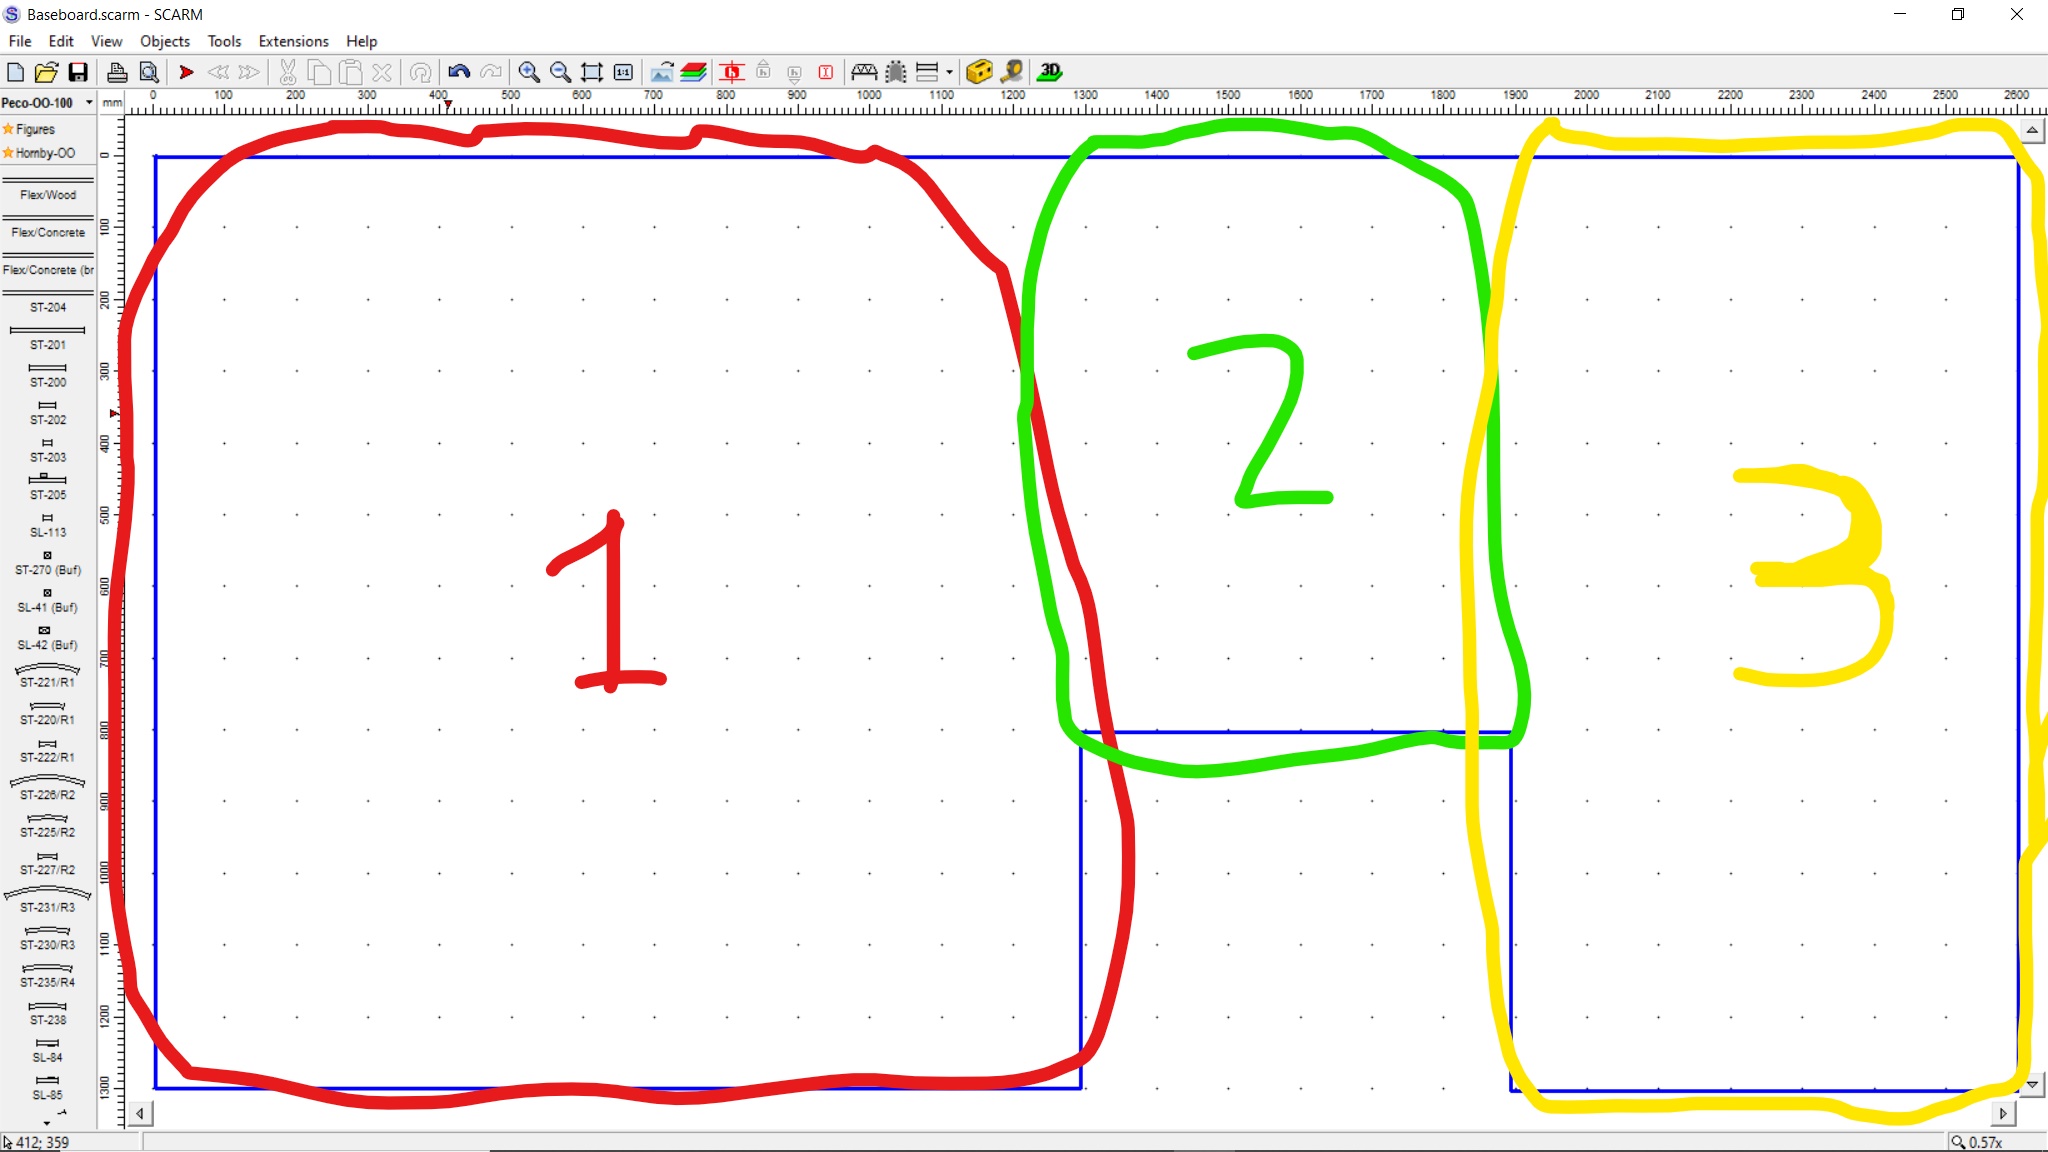
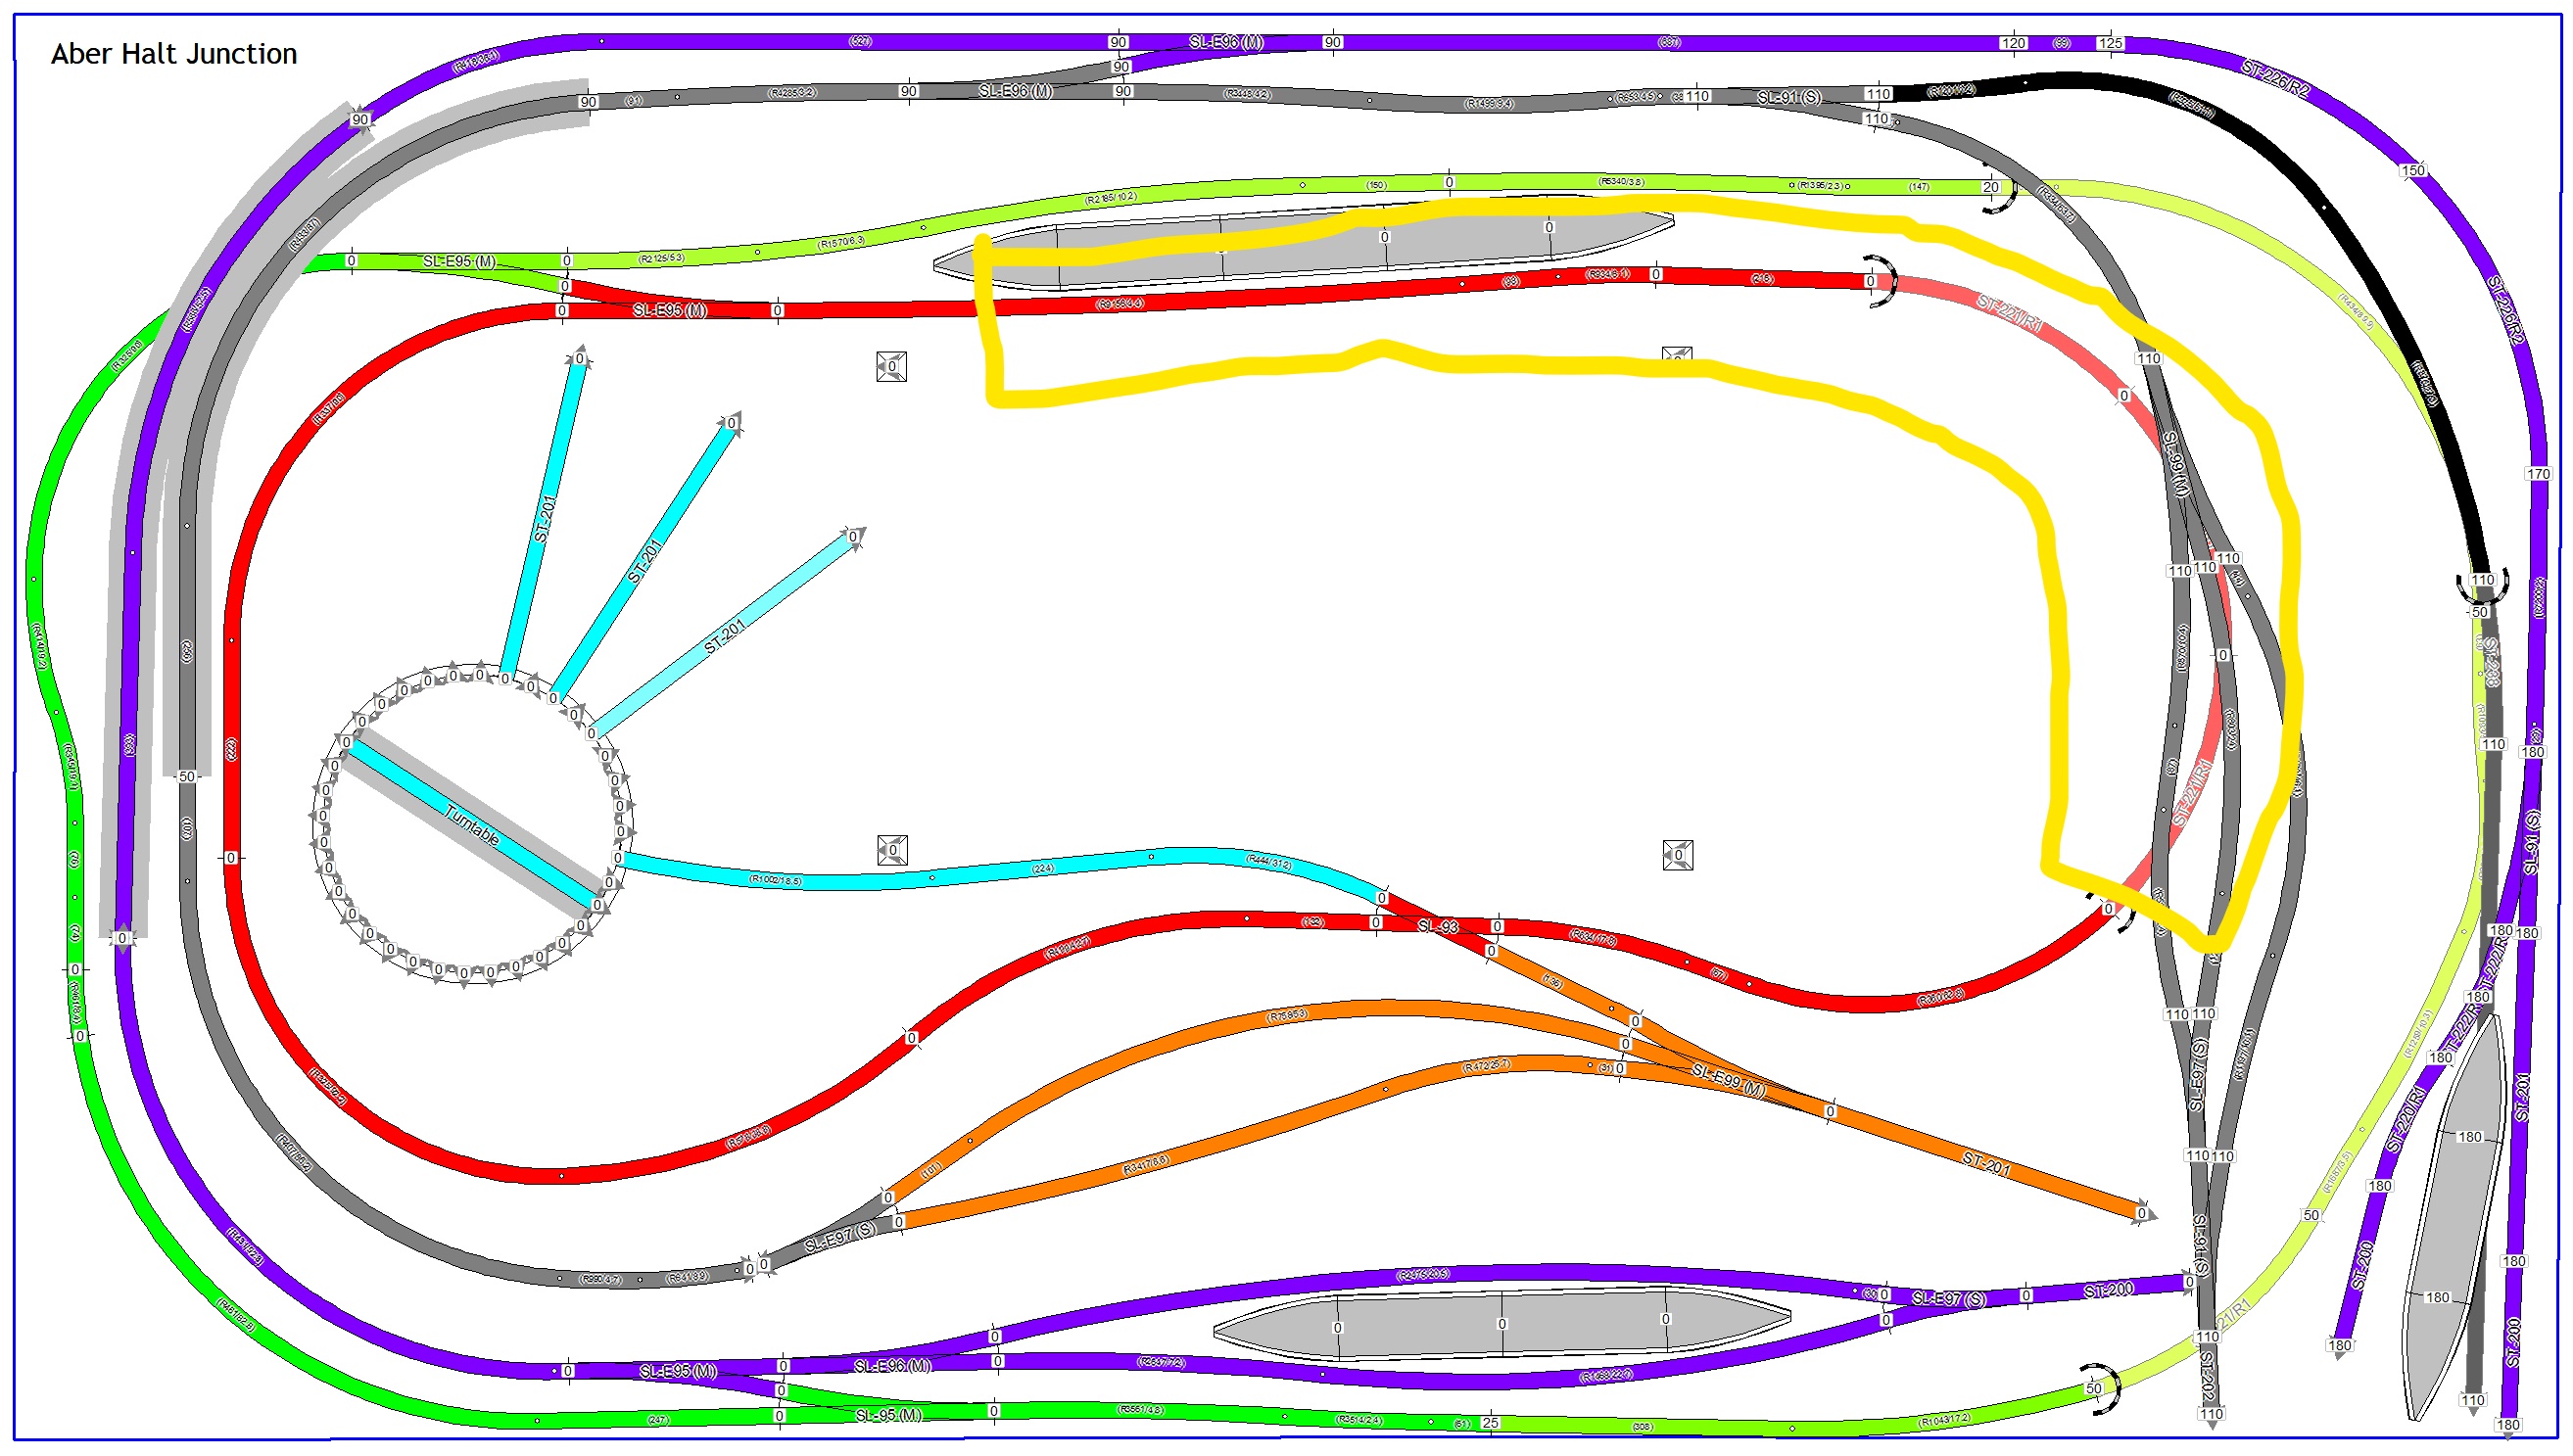
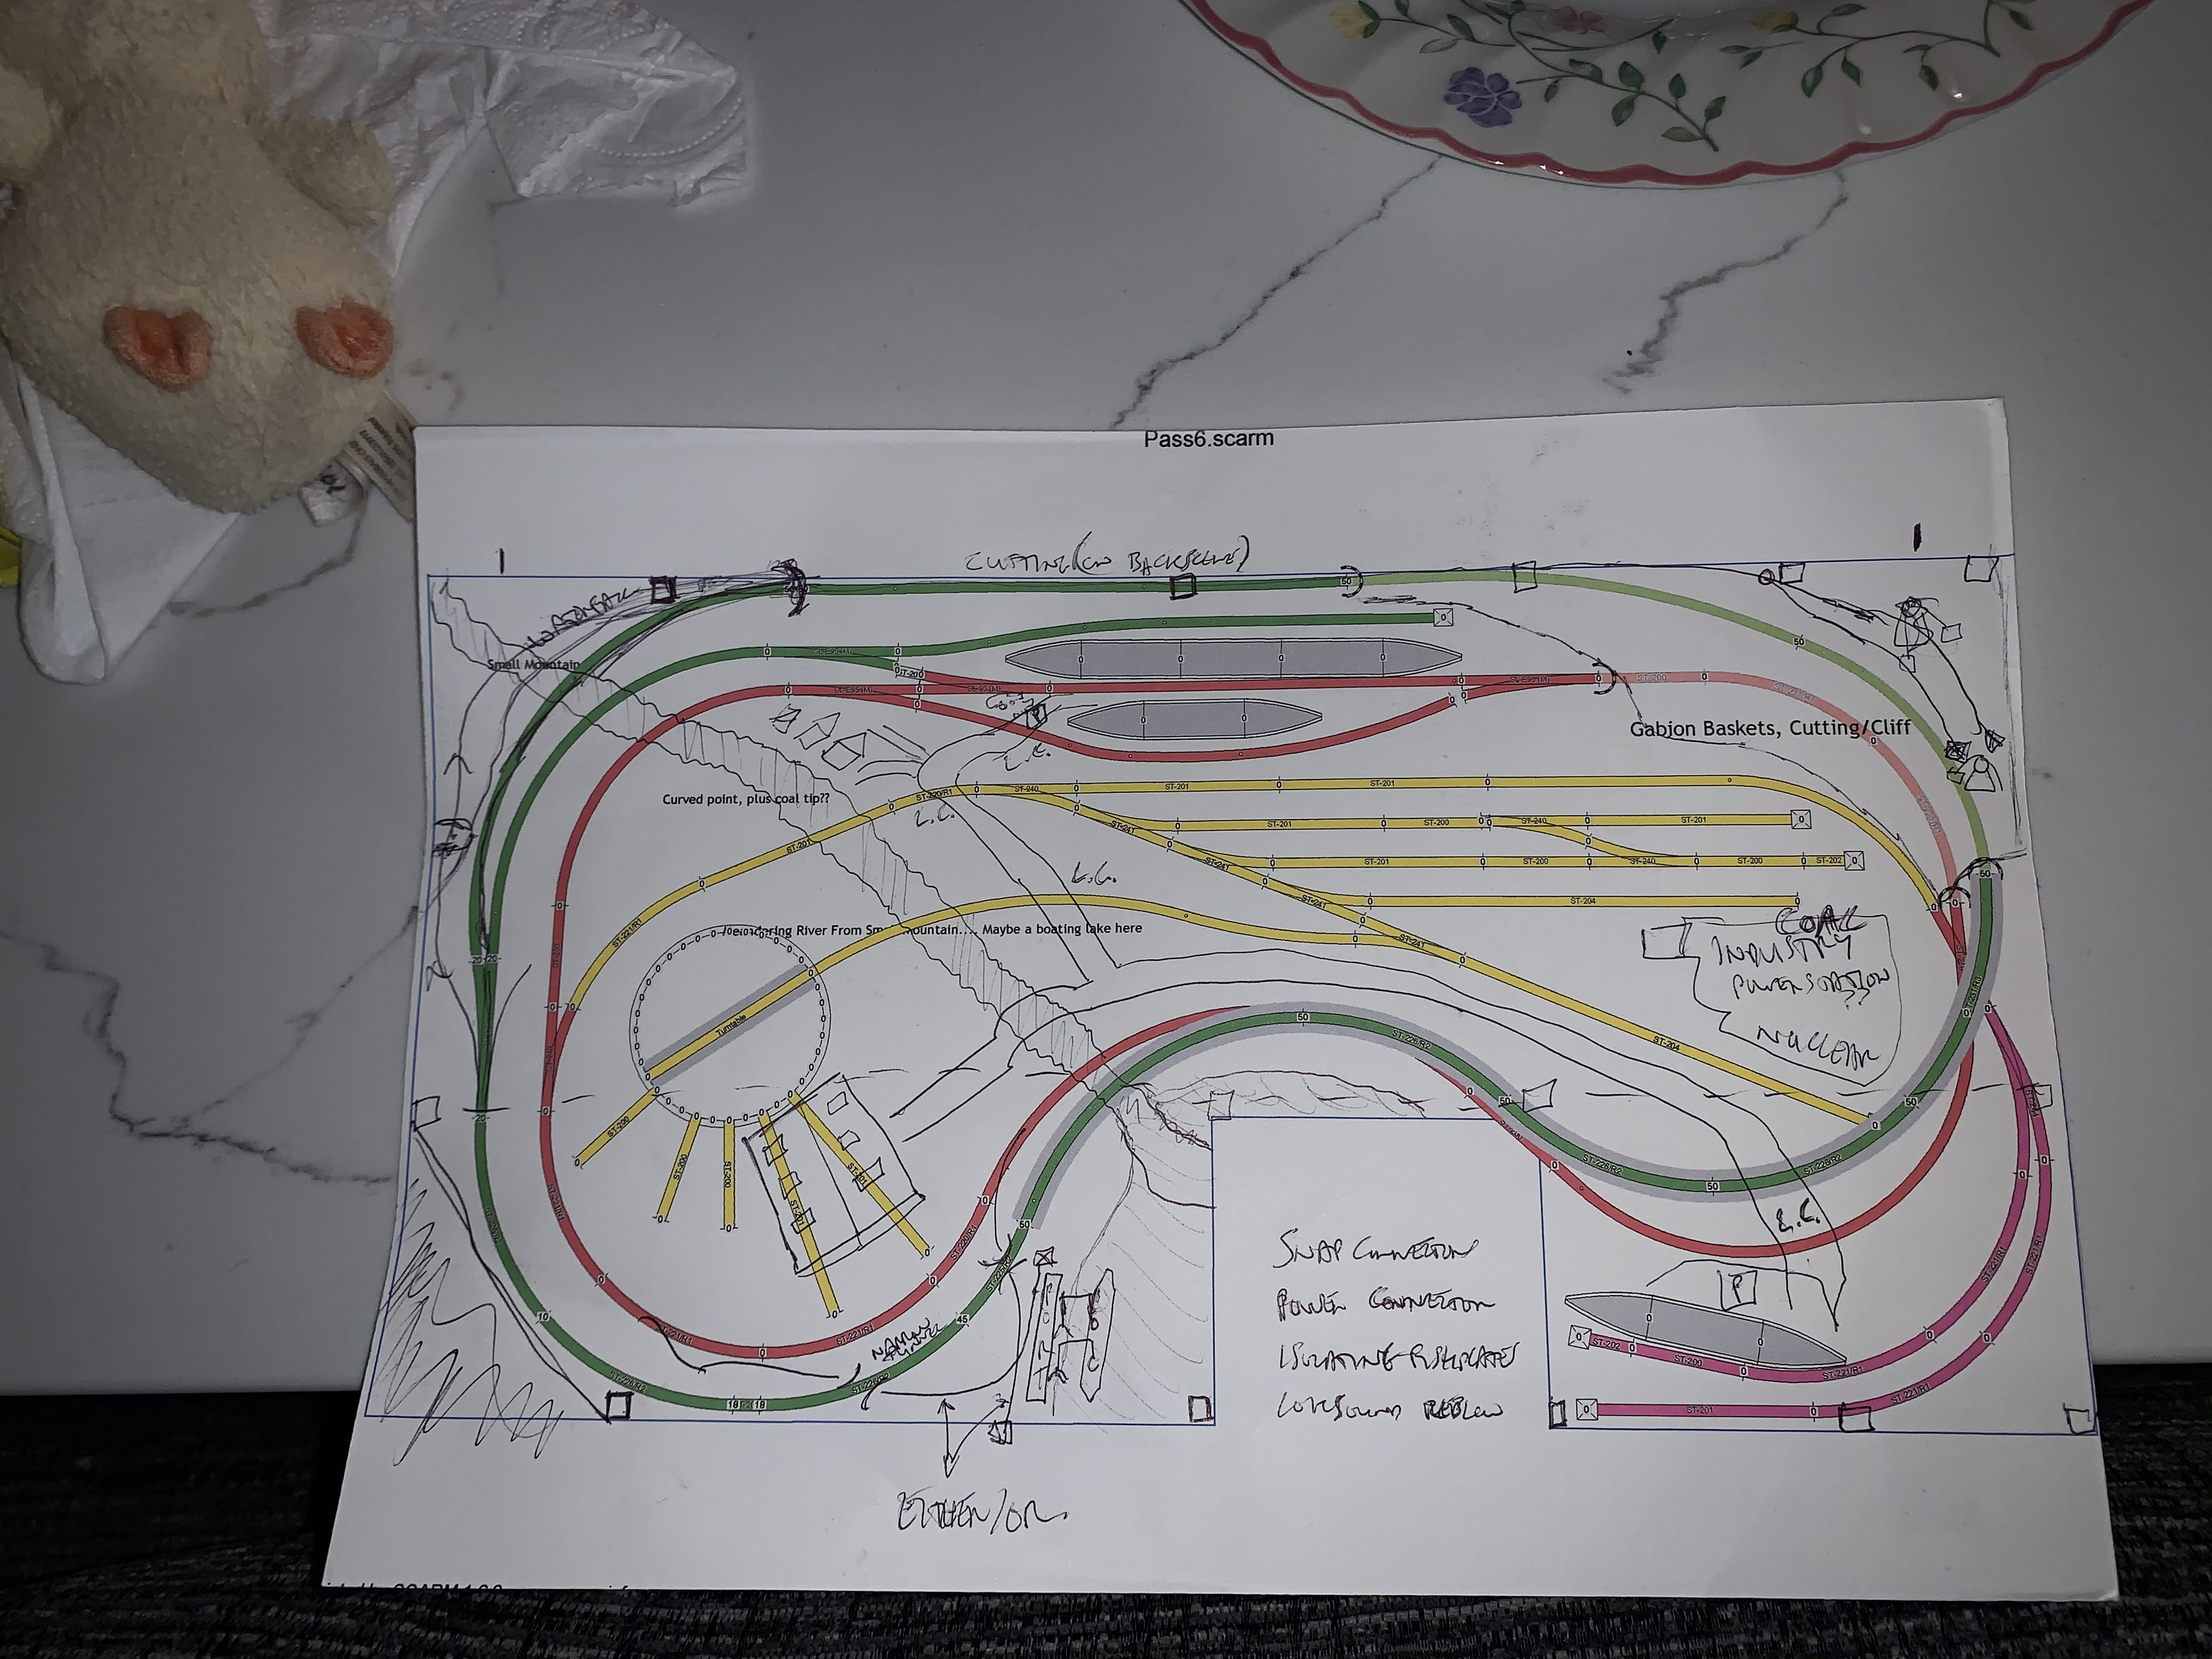
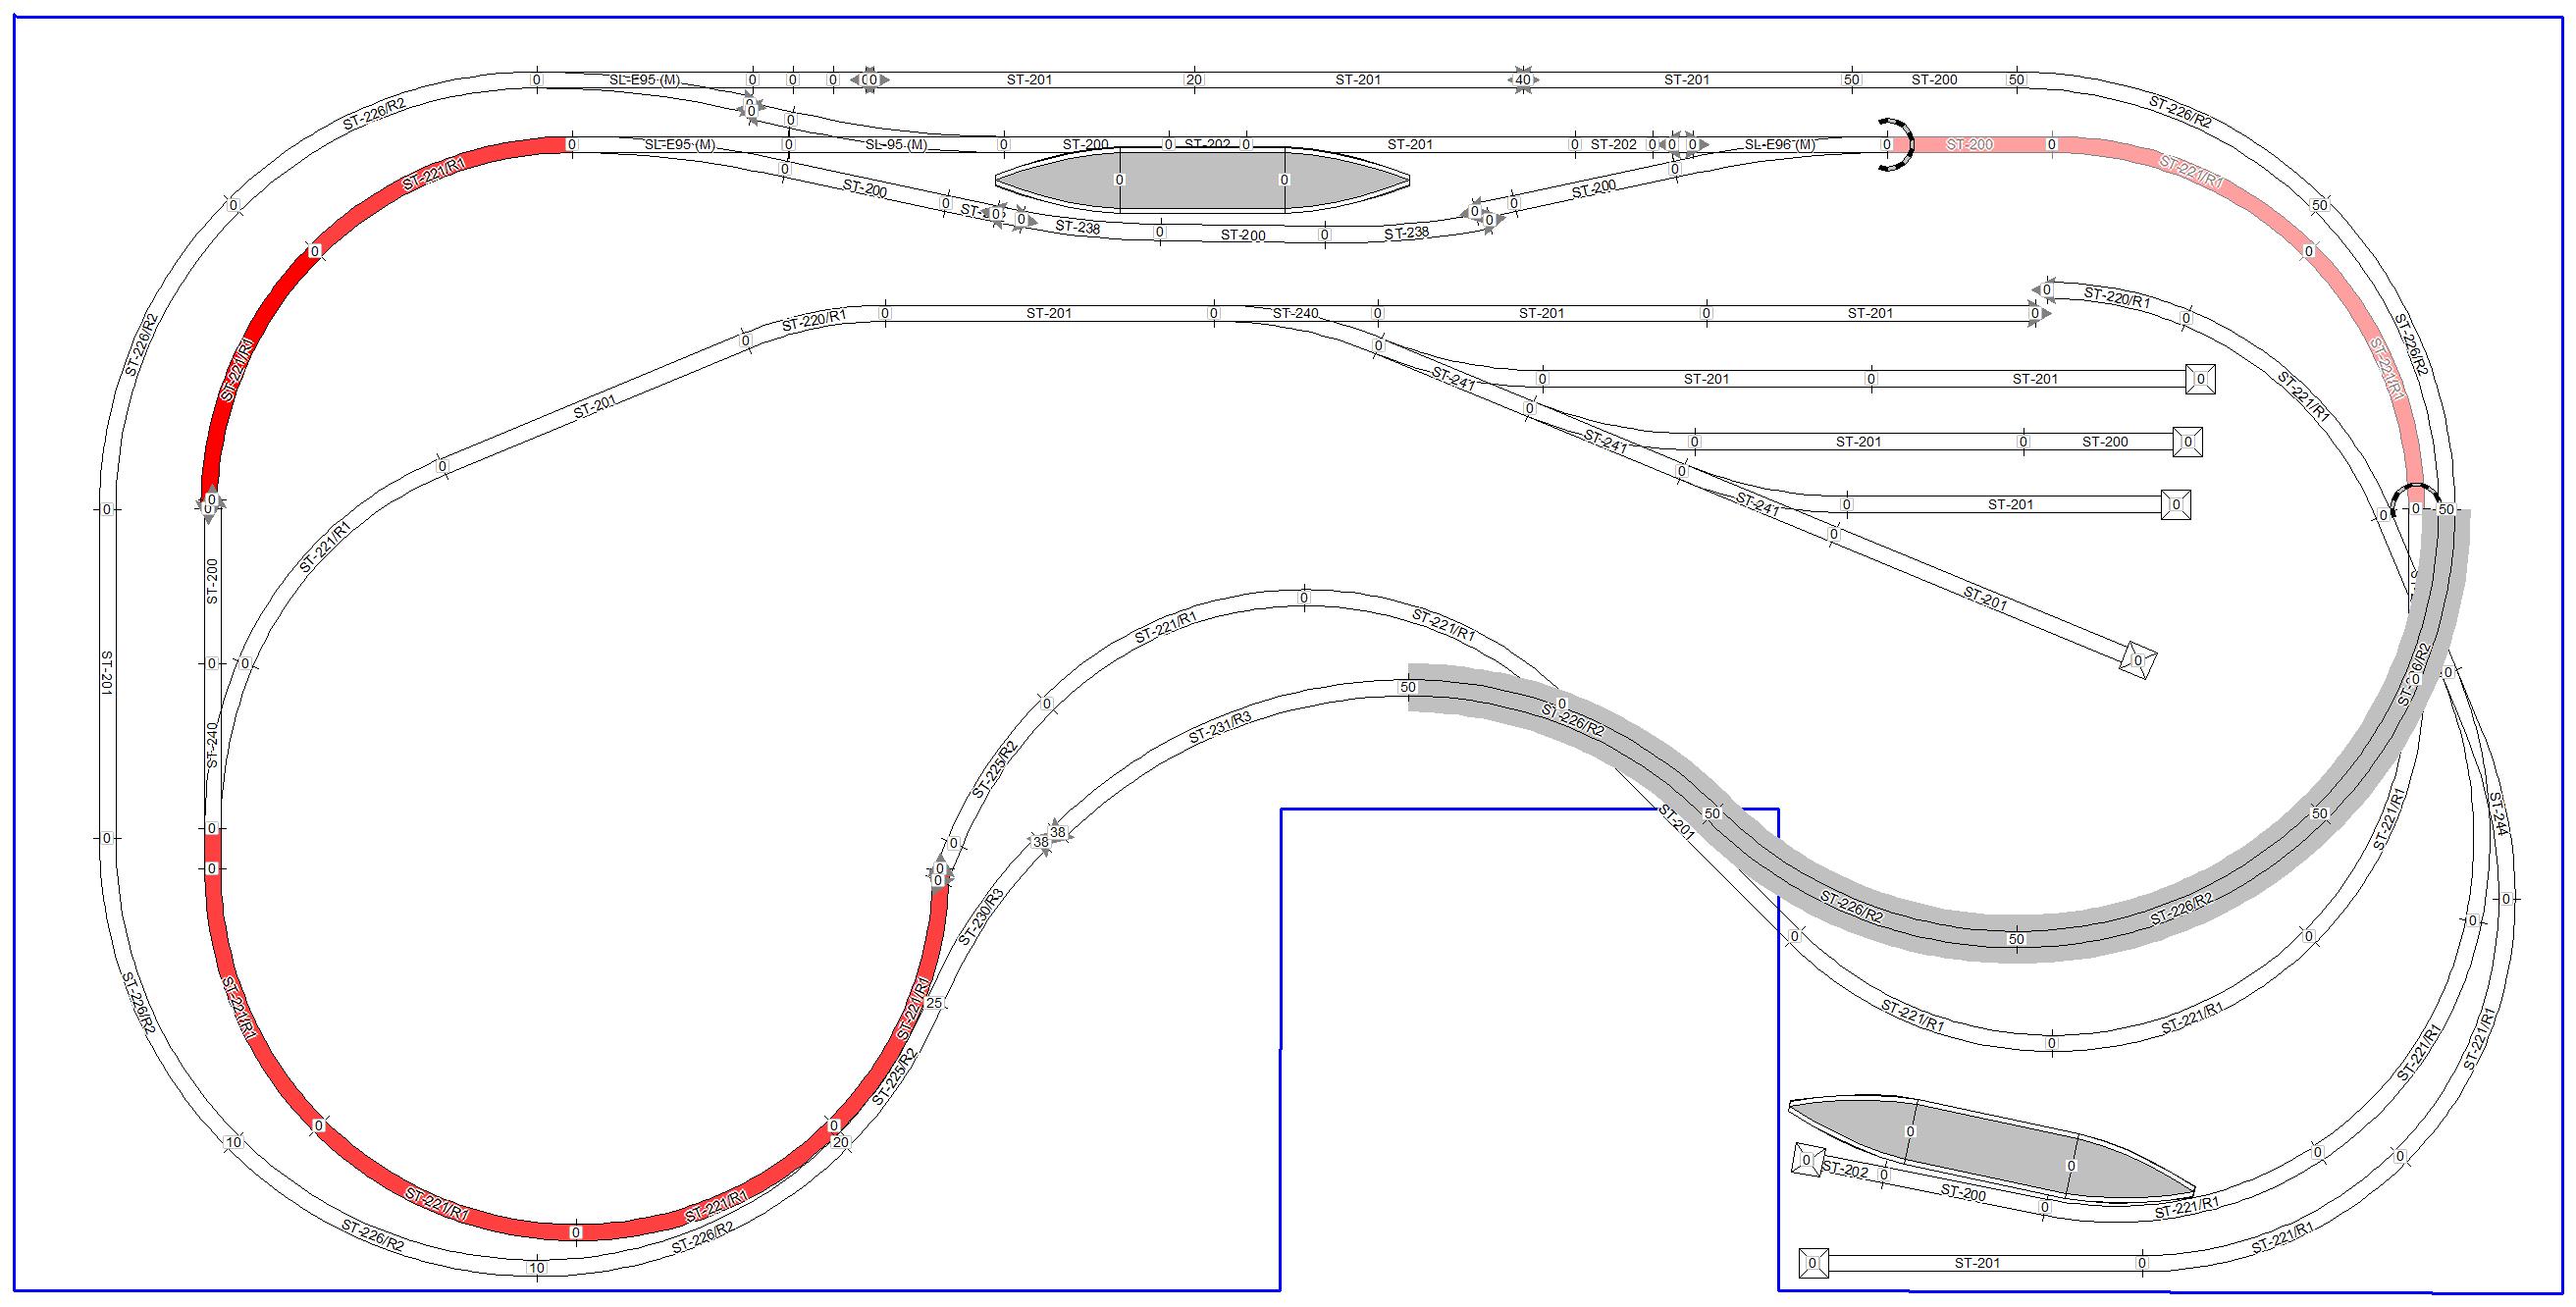
The eagle eyed amongst you will note that I have put the "nook" off-centre, that's because whilst playing with the Scarm software1 I realised (which I hadn't fully comprehended before) that even with 2nd radius curves the area required to have a loop of track is bigger than I realised. See my Layout Design Options for more discussion on this. The green line below is the 2nd radius curve from my SCARM design, it takes a big radius to complete the return.
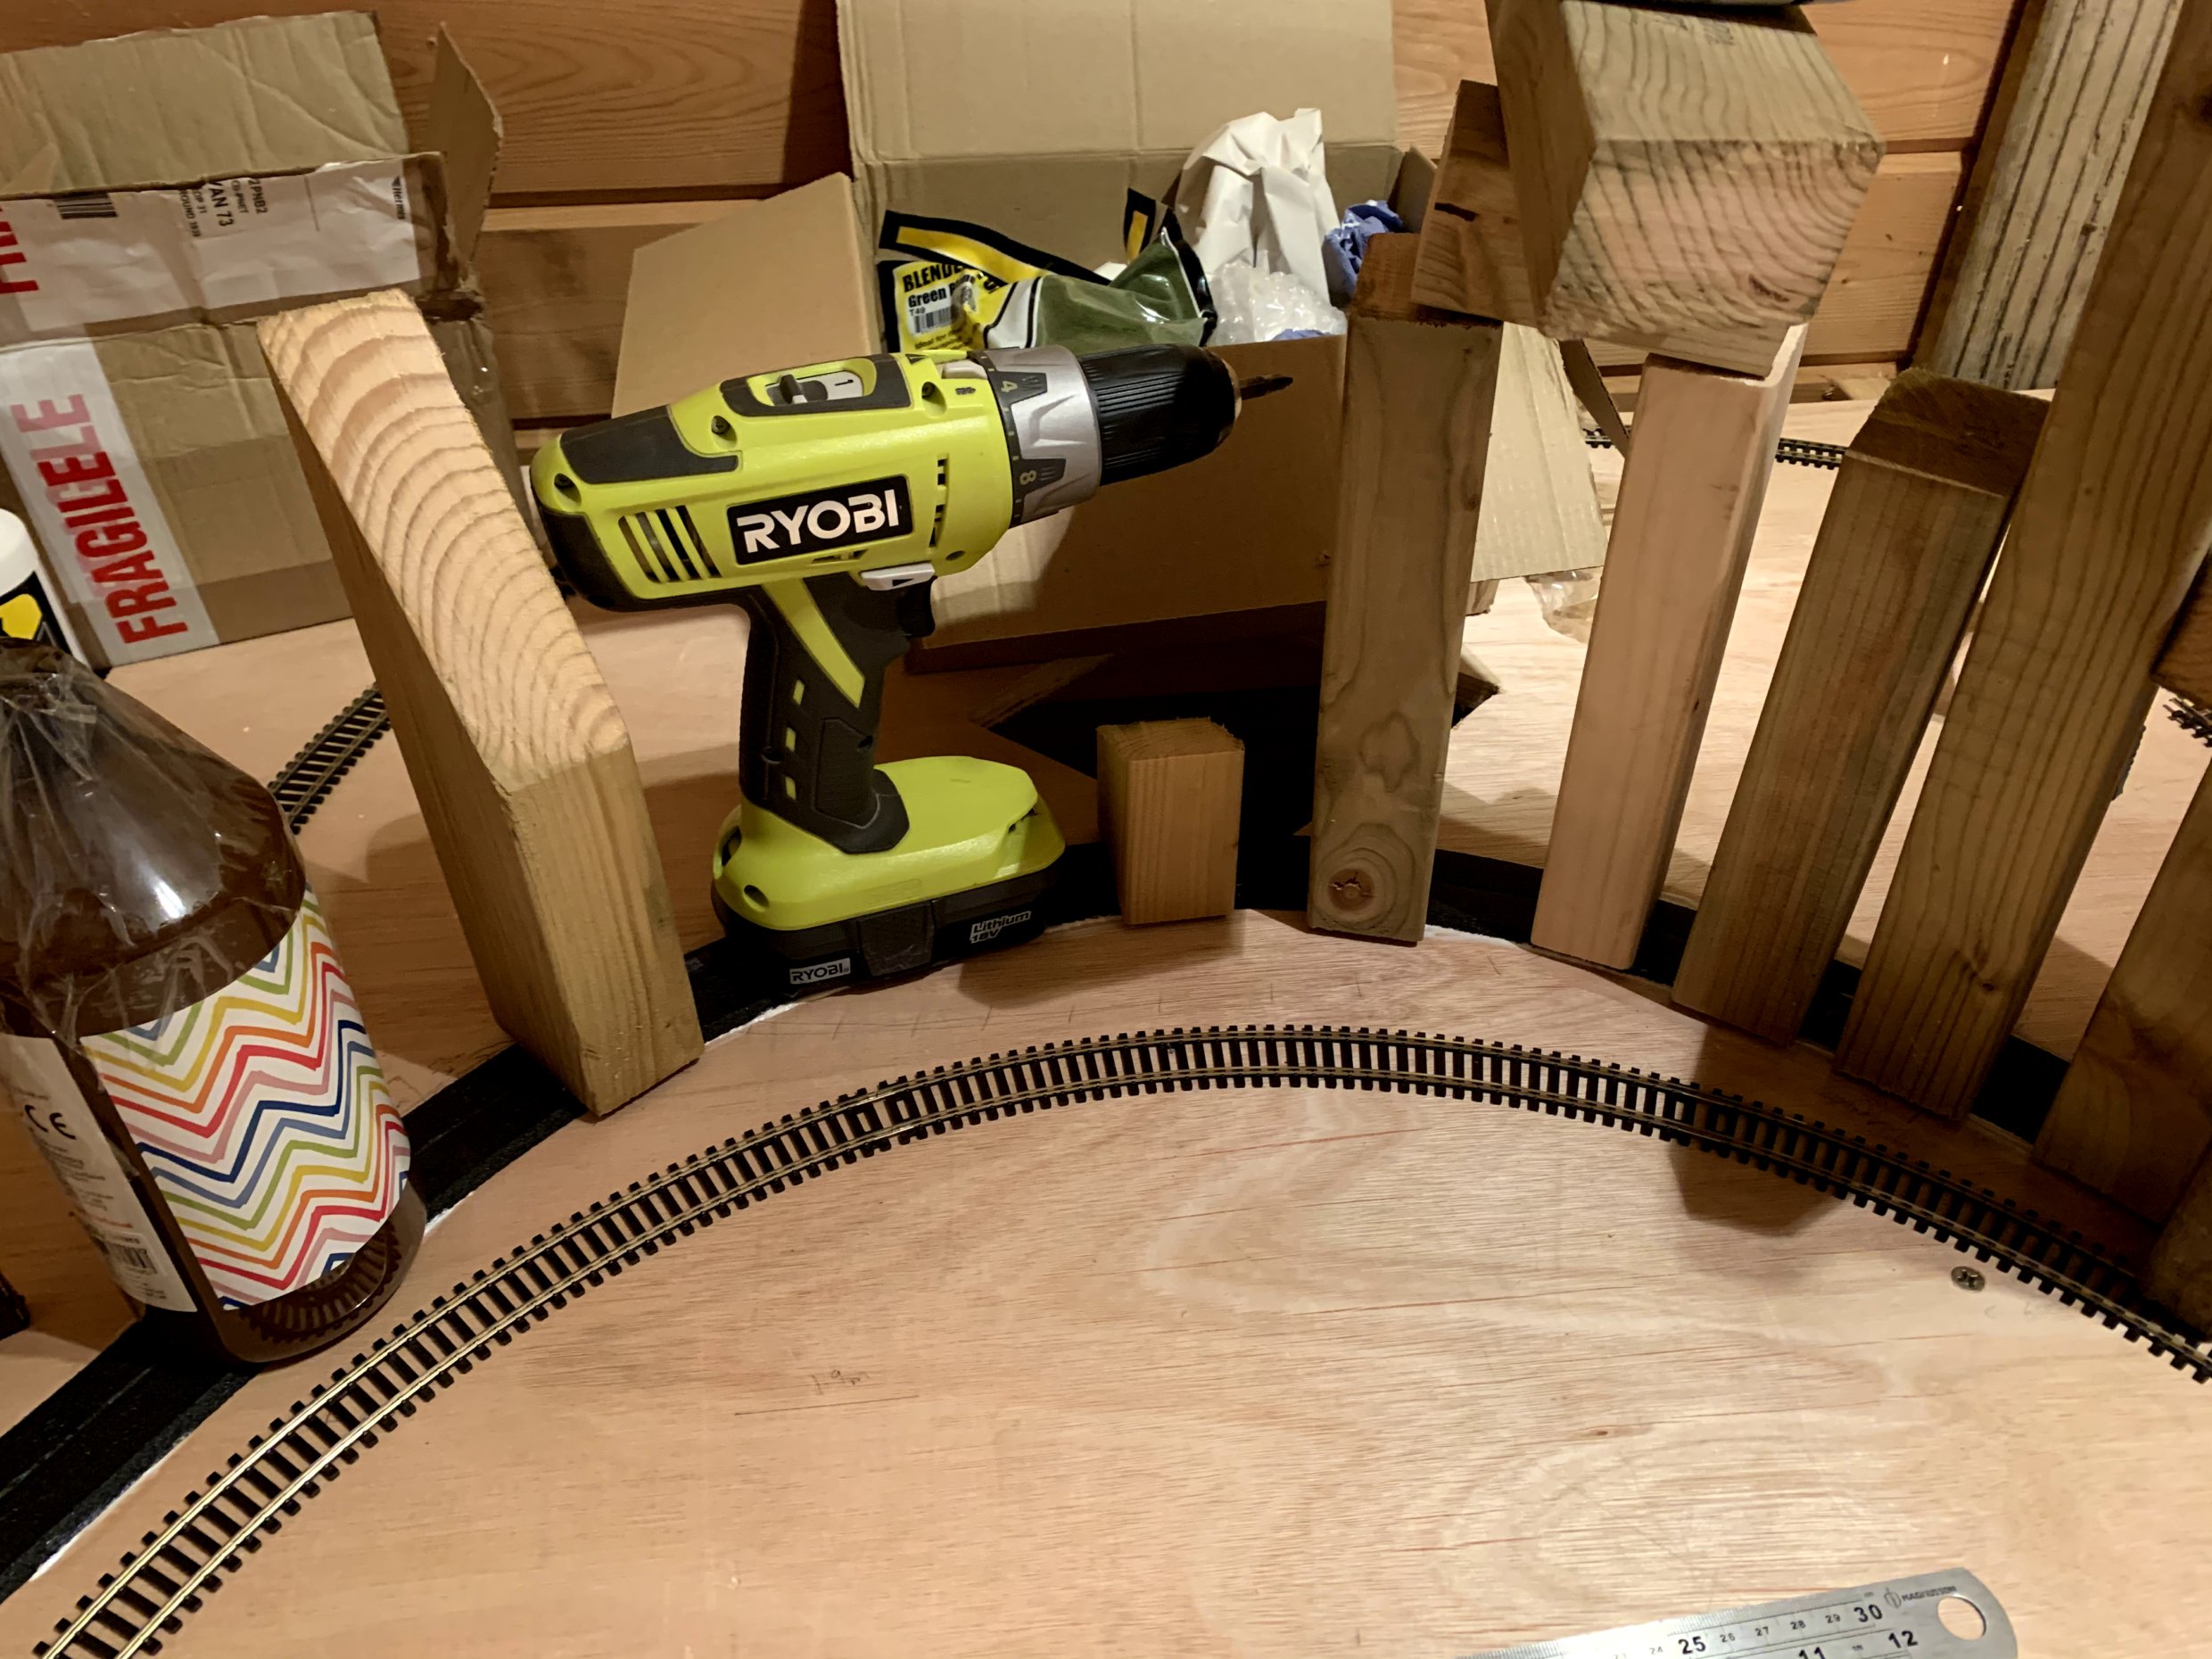
The equipment that I used to put the base together were fairly basic woodworking tools. I certainly don't have particularly good woodworking skills, but I think most people can do it, give it a go!
My Equipment (where I've found something slightly novel I have used affiliate links to them, I'm only recommending them as I have used them and found them to be useful, I get something like 50p if you purchase through the links, so trust me I am unbiased, I just like the idea that Amazon will pay me, whilst my viewers don't pay extra, it seems too good to be true, check out my YouTube videos to see them in action):
Costs to complete the OOGauge railways baseboard and legs etc:
Wood - for me around £150-175, (that's assuming I had to buy all of the wood). This has probably been skewed by the lockdown, it could be 30-40% cheaper, particularly if I hadn't used external grade ply, but I am really happy with it though, plus depreciated over 10 years it's not a big investment.
Screws - £1
Joist Hangers - £6
IKEA pencil - £priceless!
So the really exciting stuff now commences.... After the shed sprang a leak and I had to fix it, I did wonder when I would get back in the shed to crack on with the track laying.
Transferring the SCARM design into reality, playing track roulette, this phase took quite a while, and I did it for each individual section I was constructing:
 |
 |
 |
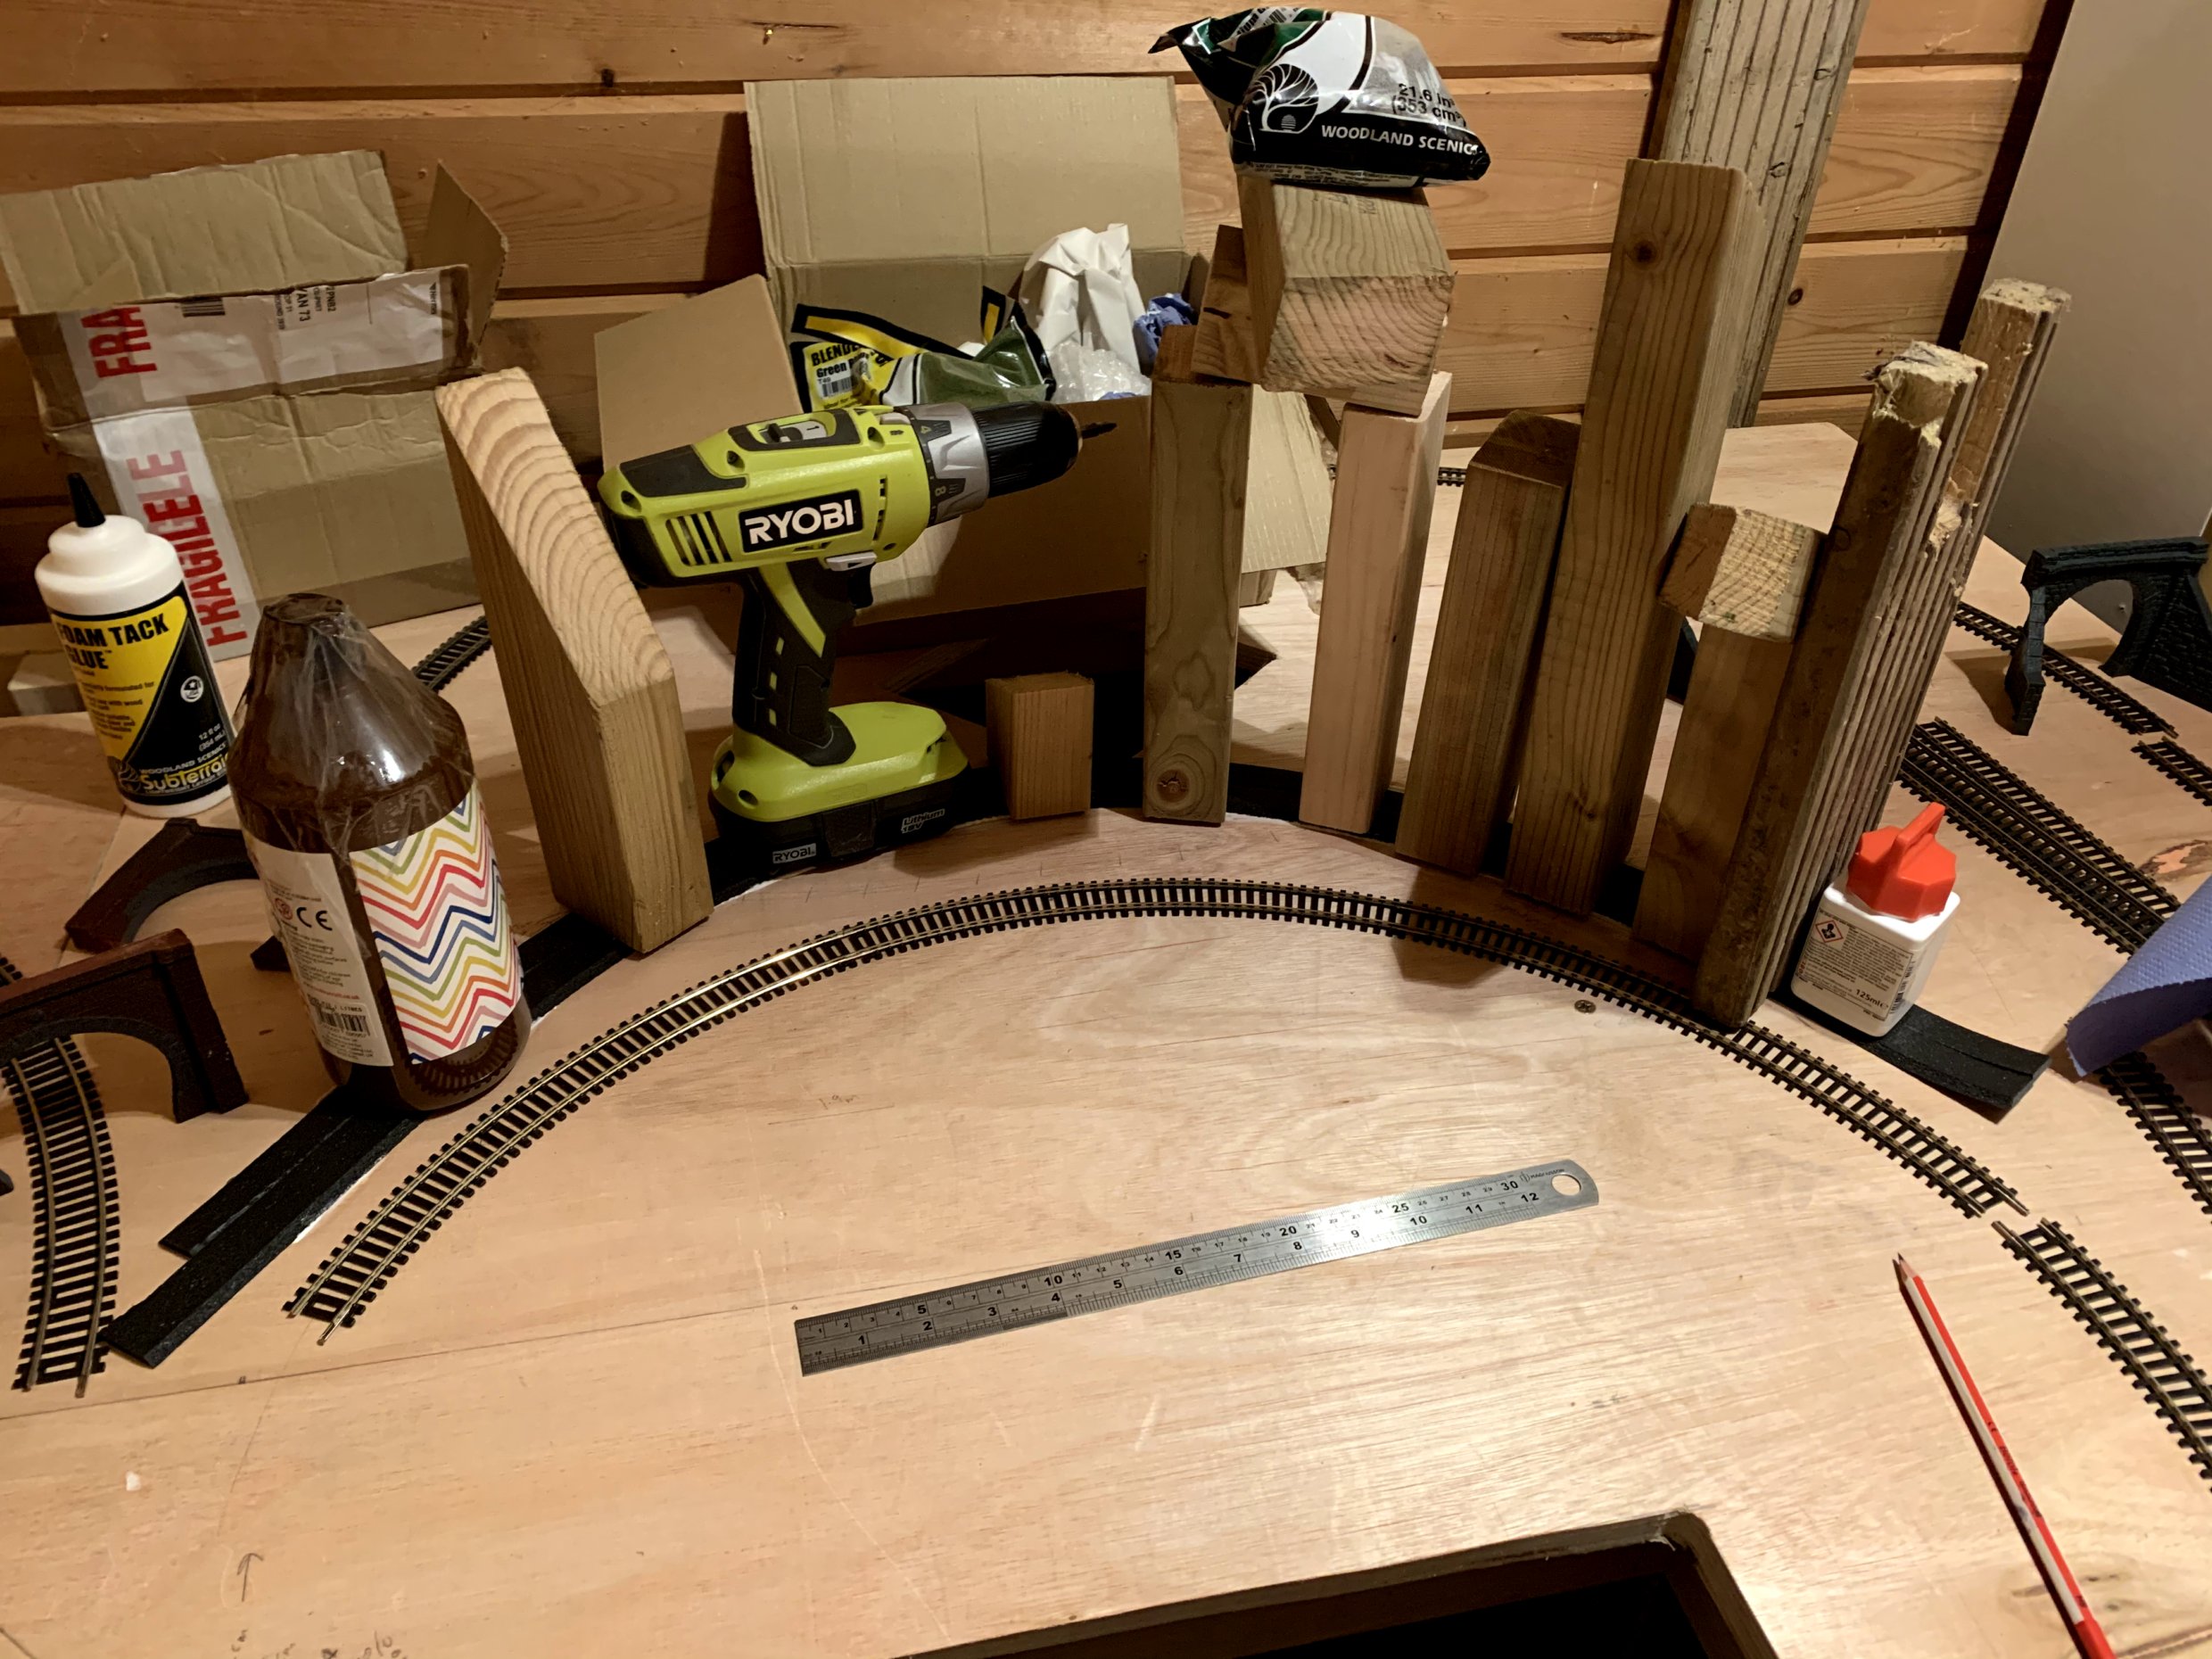
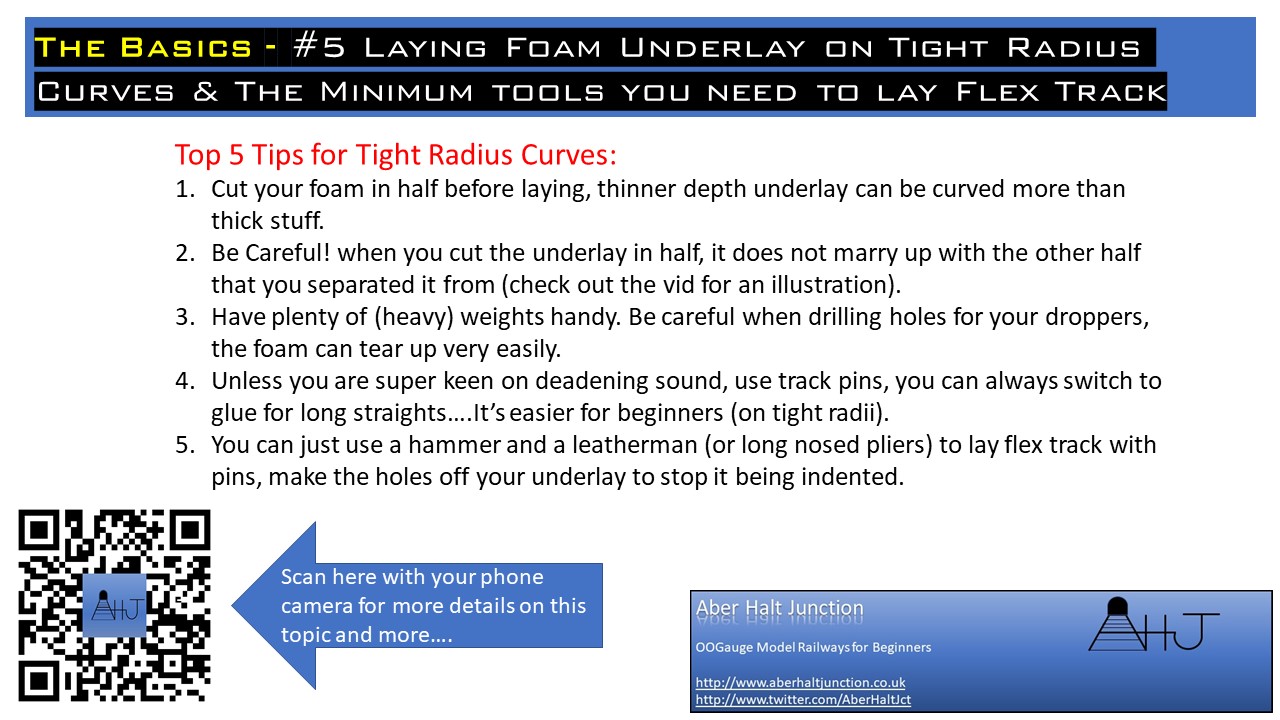
Laying the first foam track underlay from Woodland Scenics. To give me some practice I am doing the part under my mountain first. I am doing the tight first radius section first, I know some people debate whether to lay underlay under a mountain or in a tunnel but I think it will:
Due to the tgiht radii I am modelling I have gone for pins over gluing of track. I am planning on doing a sound test in an upcoming video to see how the foam performs.
 |
 |
 |
 |
.jpg) |
 |
This is the section that has been done so far:
Here's my Top 5 lessons learnt from my exploits. Also a few other hidden gems in my video below.
YouTube video currently (28/08/2020) in editing... AND HERE IT IS:
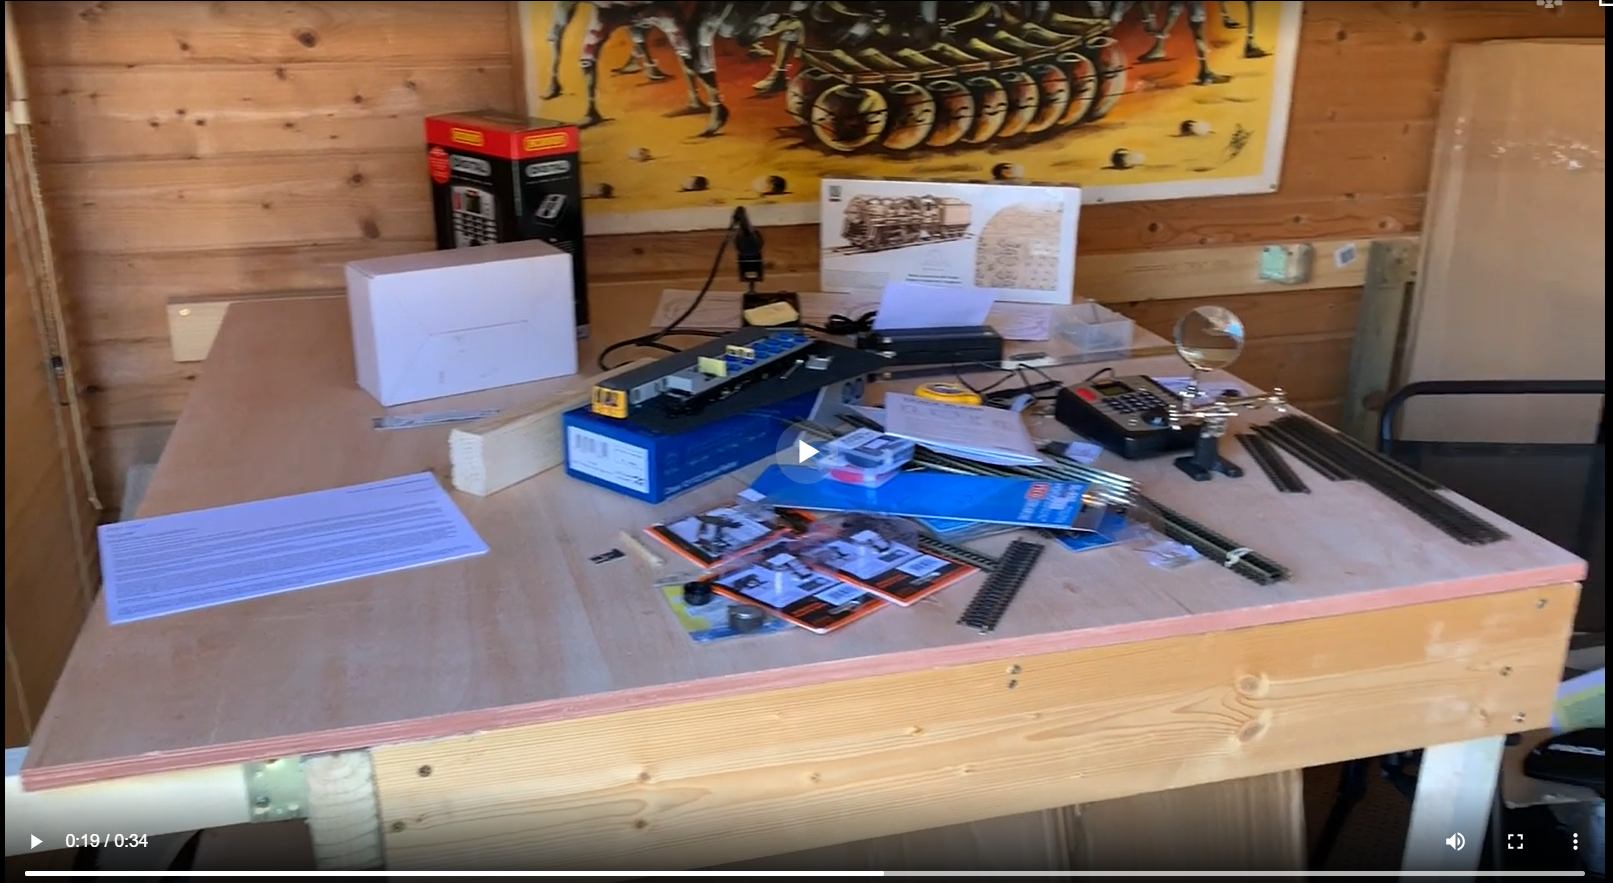
Equipment and supplies used:
Foam Tack Glue £15 from here
Leatherman £50 from here
IKEA Hammer in a £10 set from IKEA here
Woodland Scenics Foam Underlay £15 from here
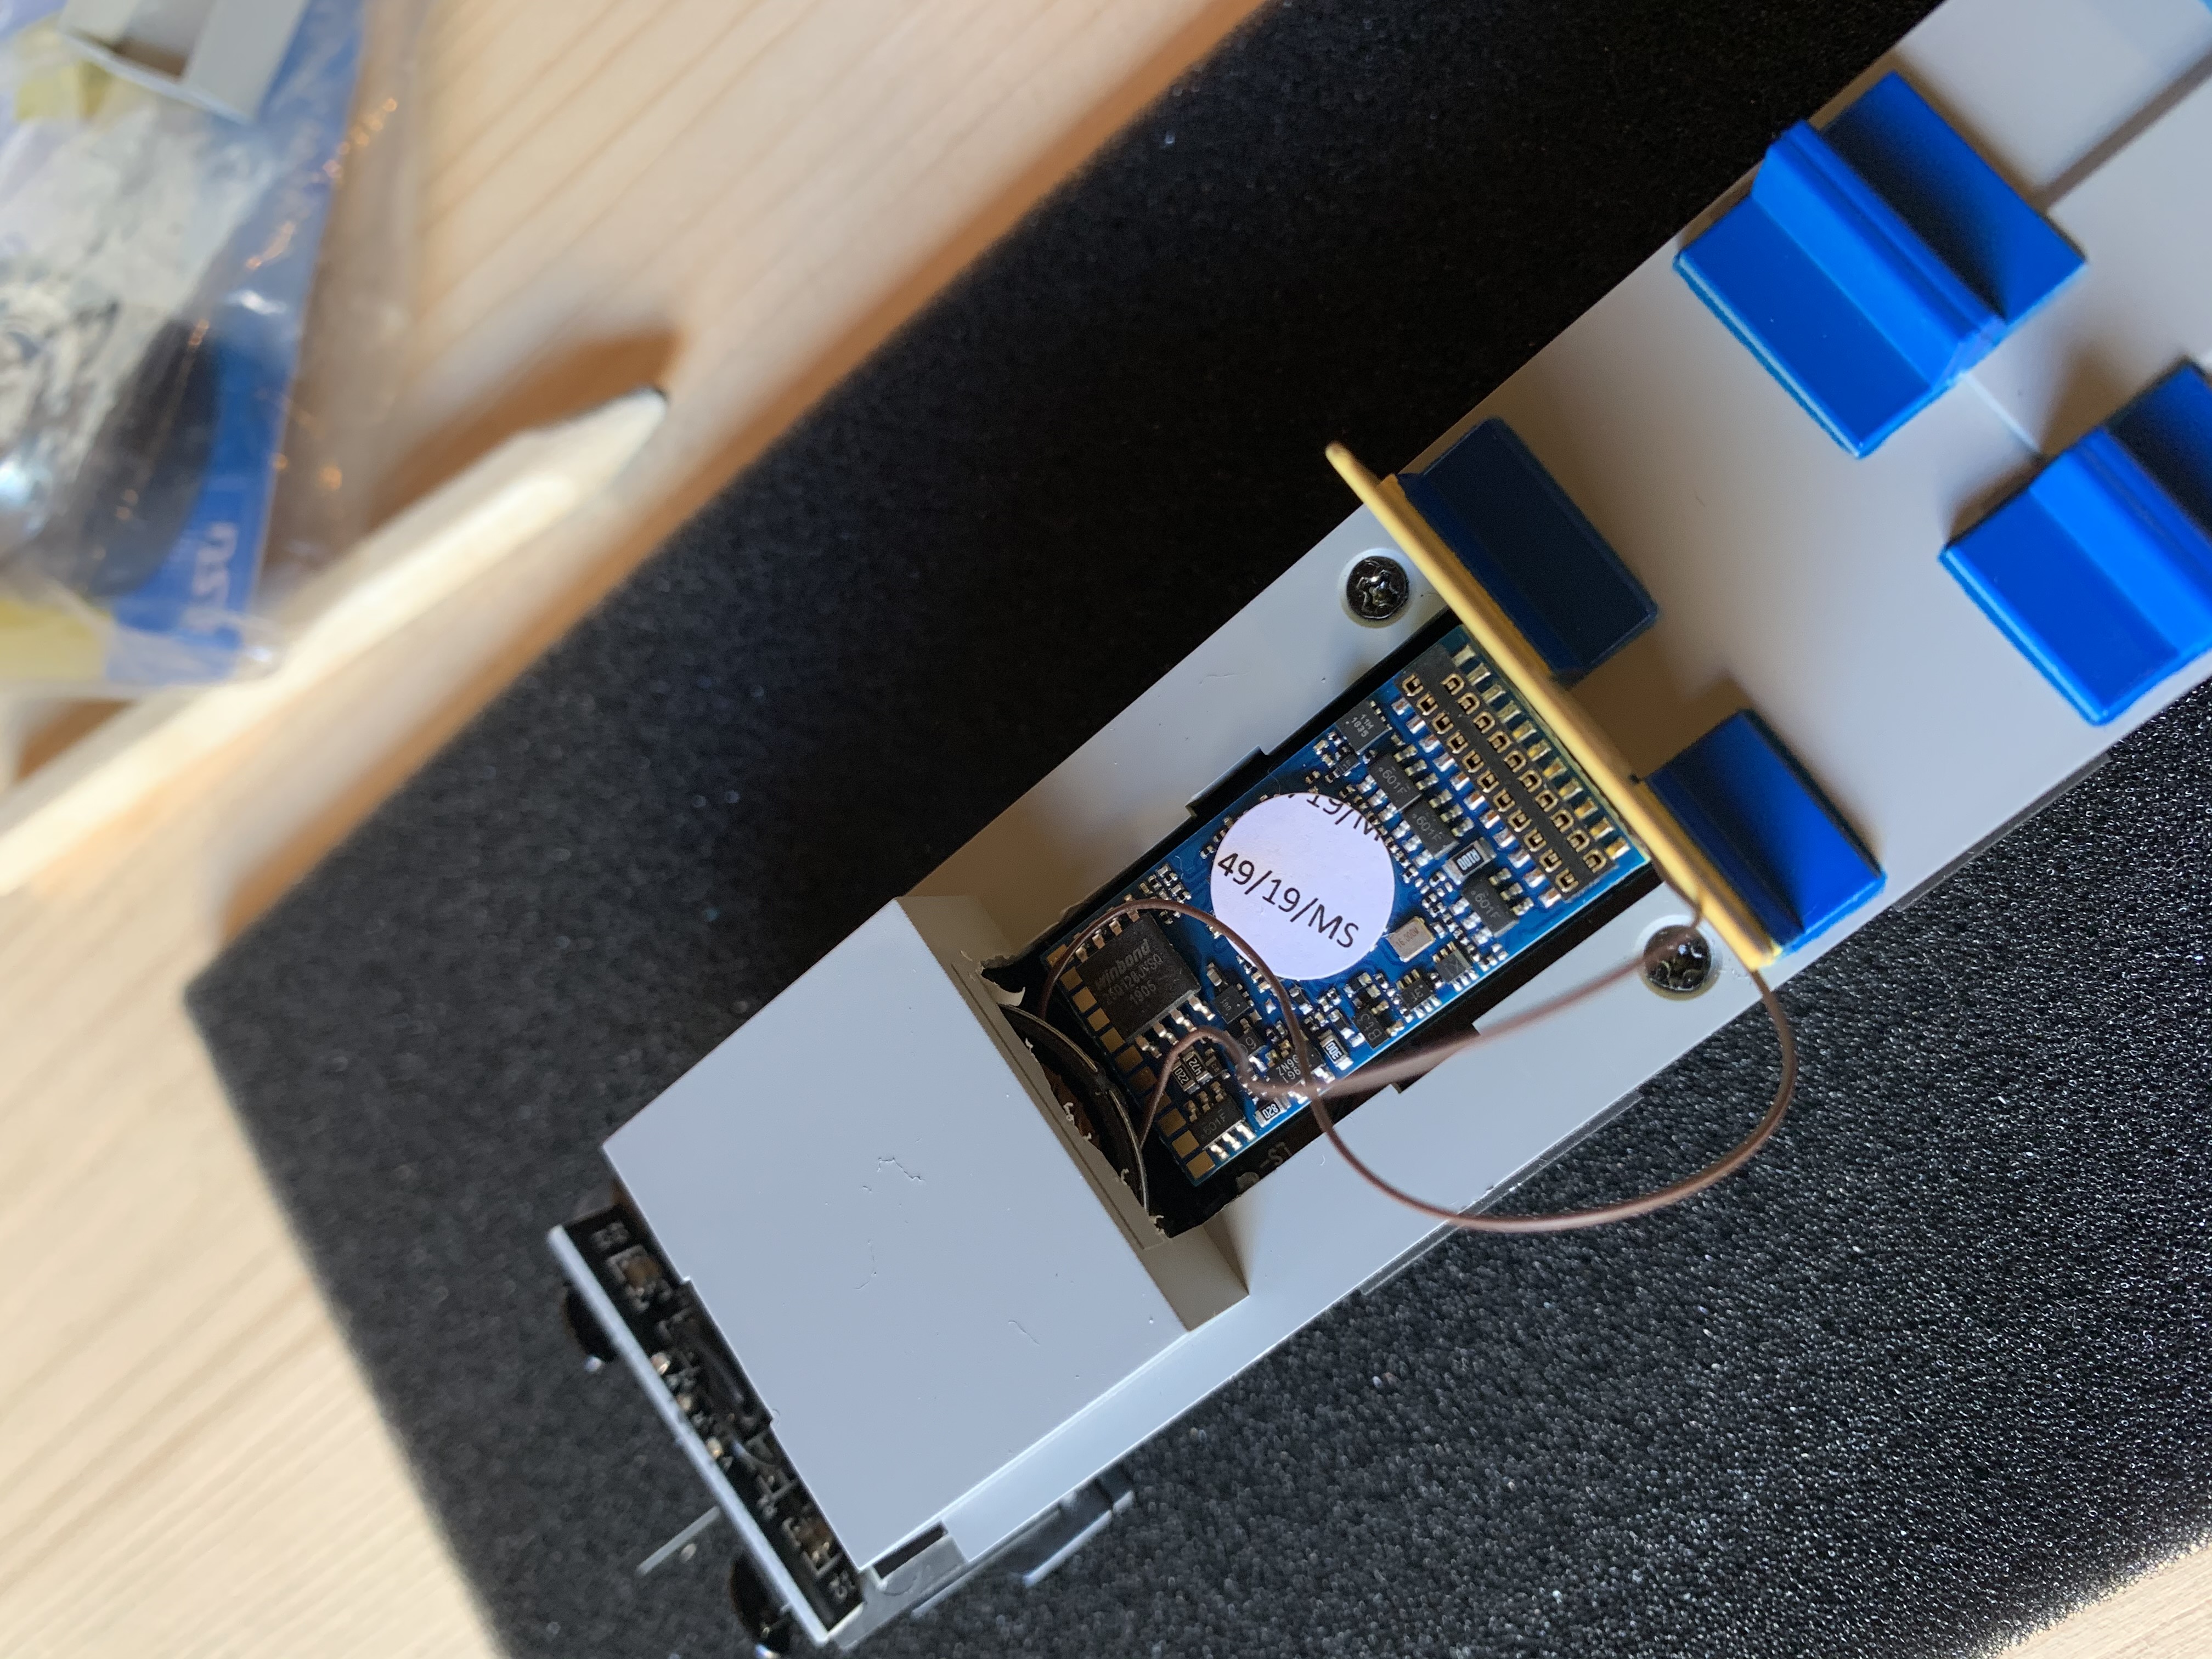
SL14 Track pins £3 from here, can also get it from Lendons.
Peco droppers from here as I was in a rush, although cheaper from Hattons.
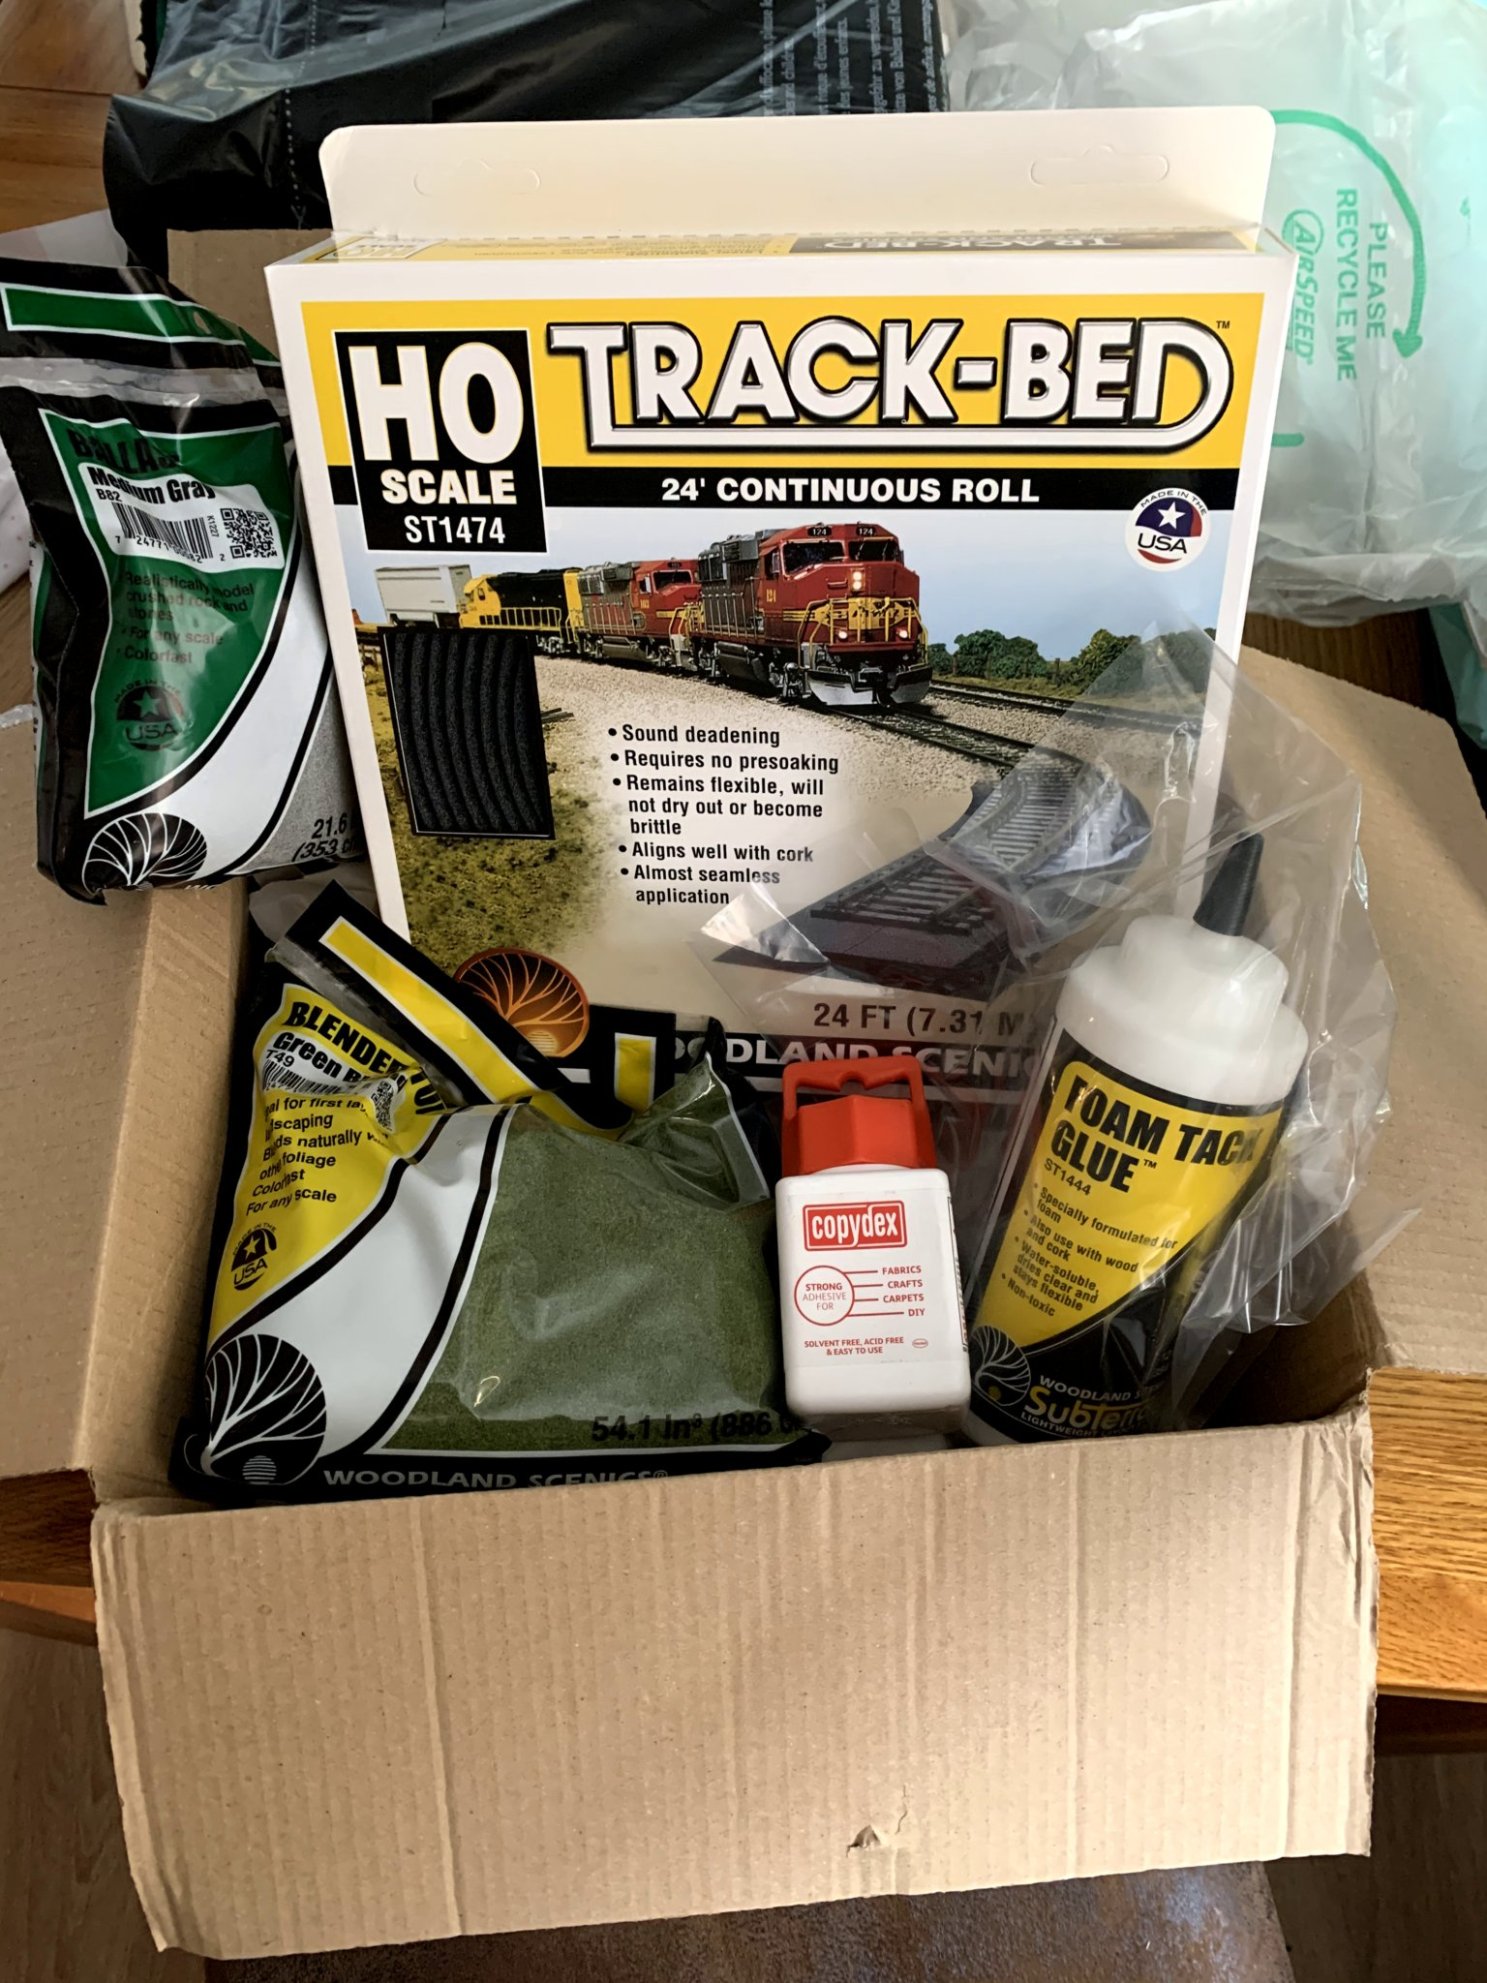
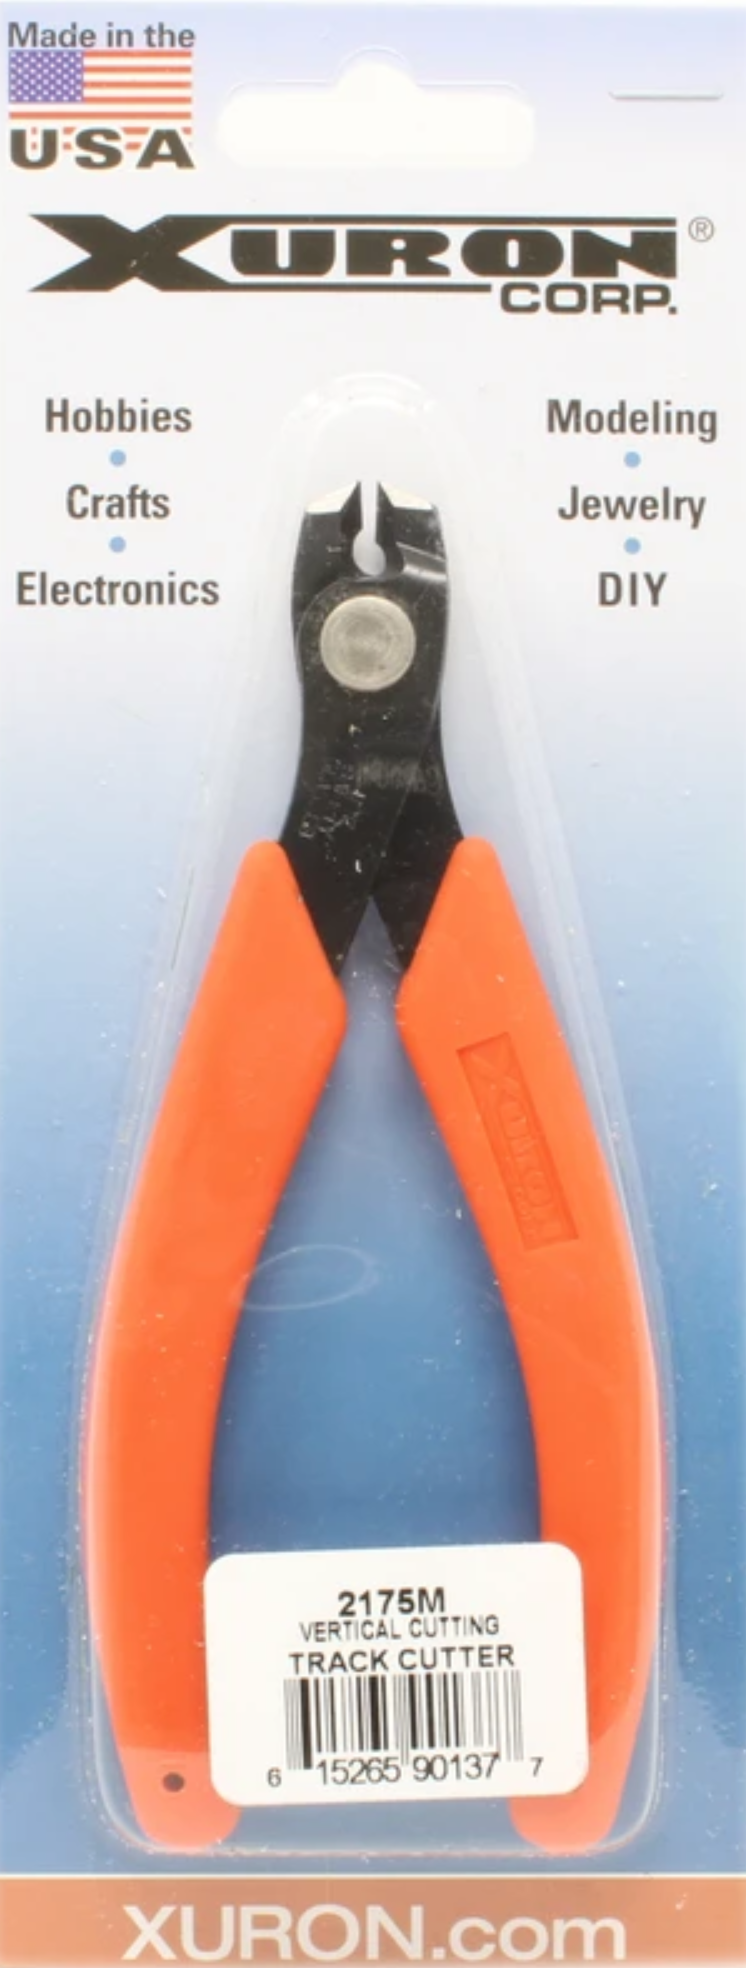
and also Xuron track cutters from Hattons for £18, just one note of caution wear safety glasses, the track REALLY pings off when you cut it. You will also need a small file to shape the rail post cut.
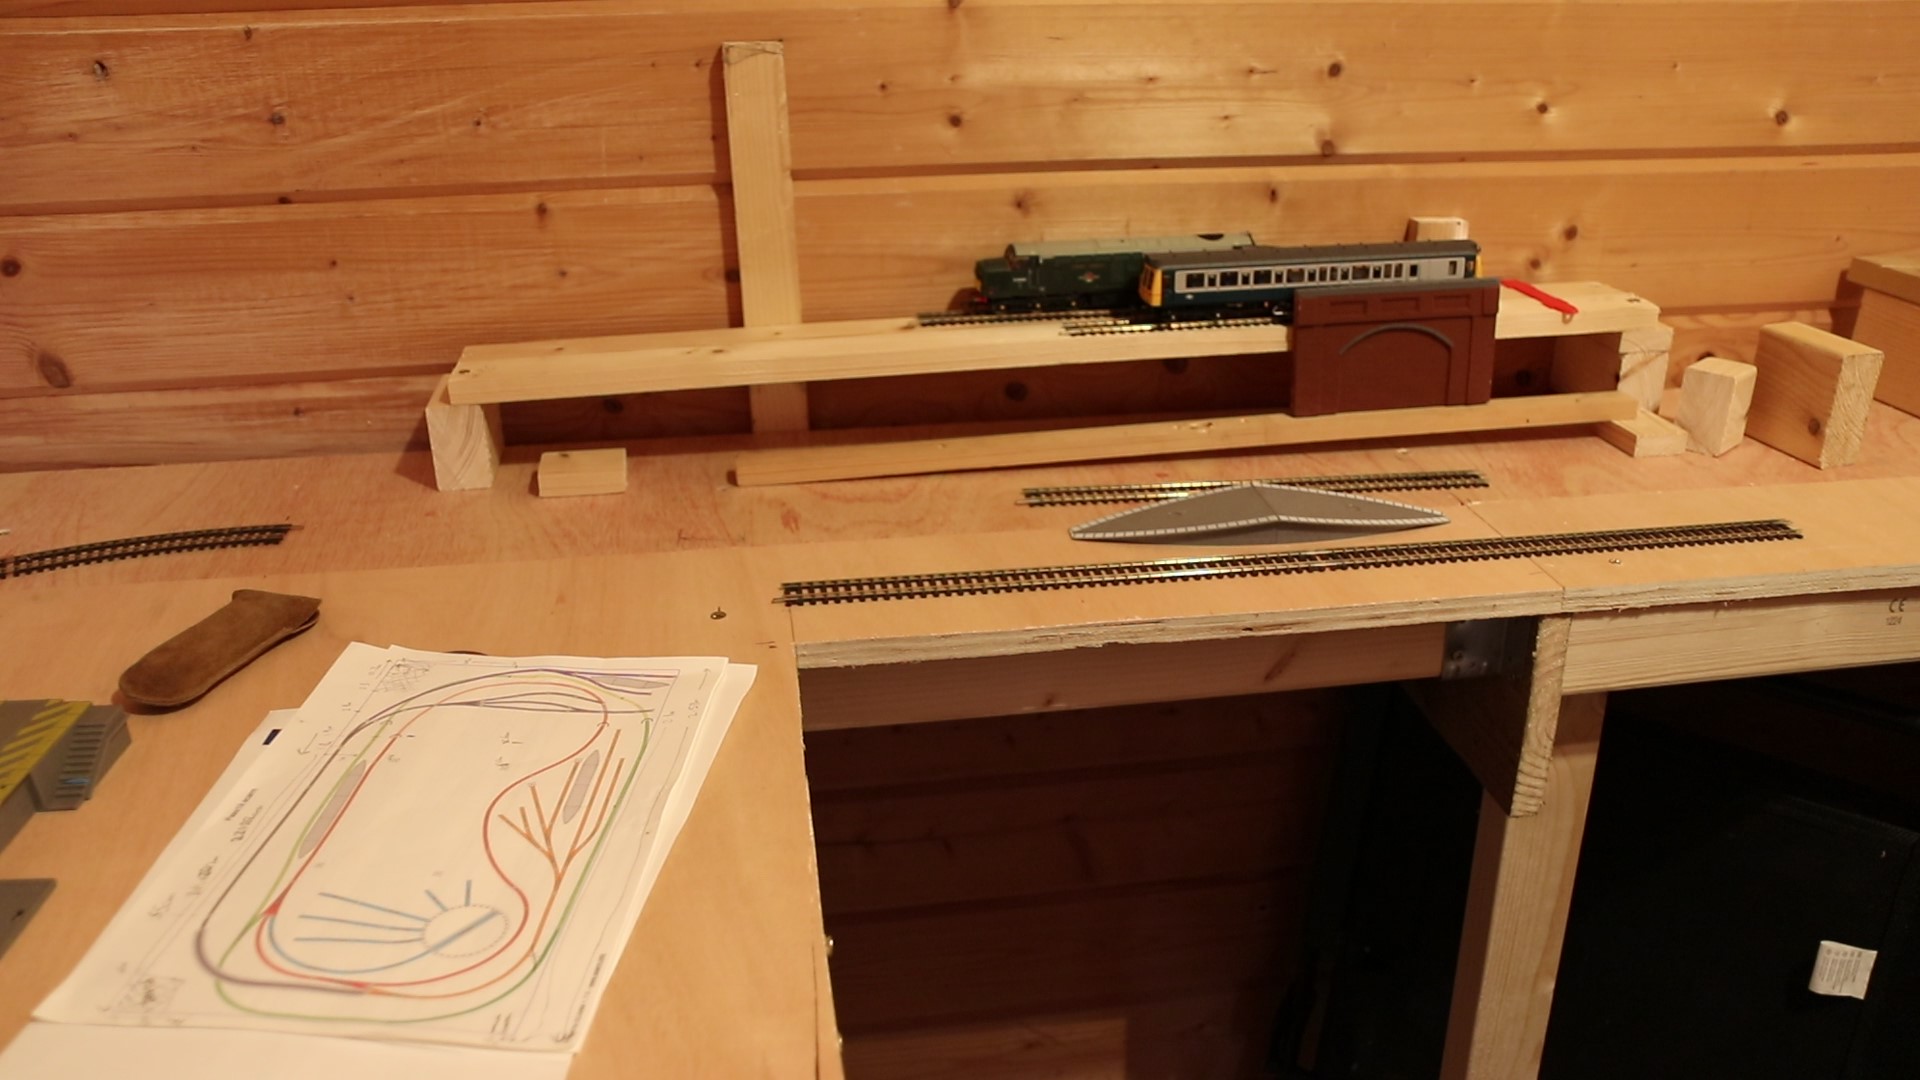
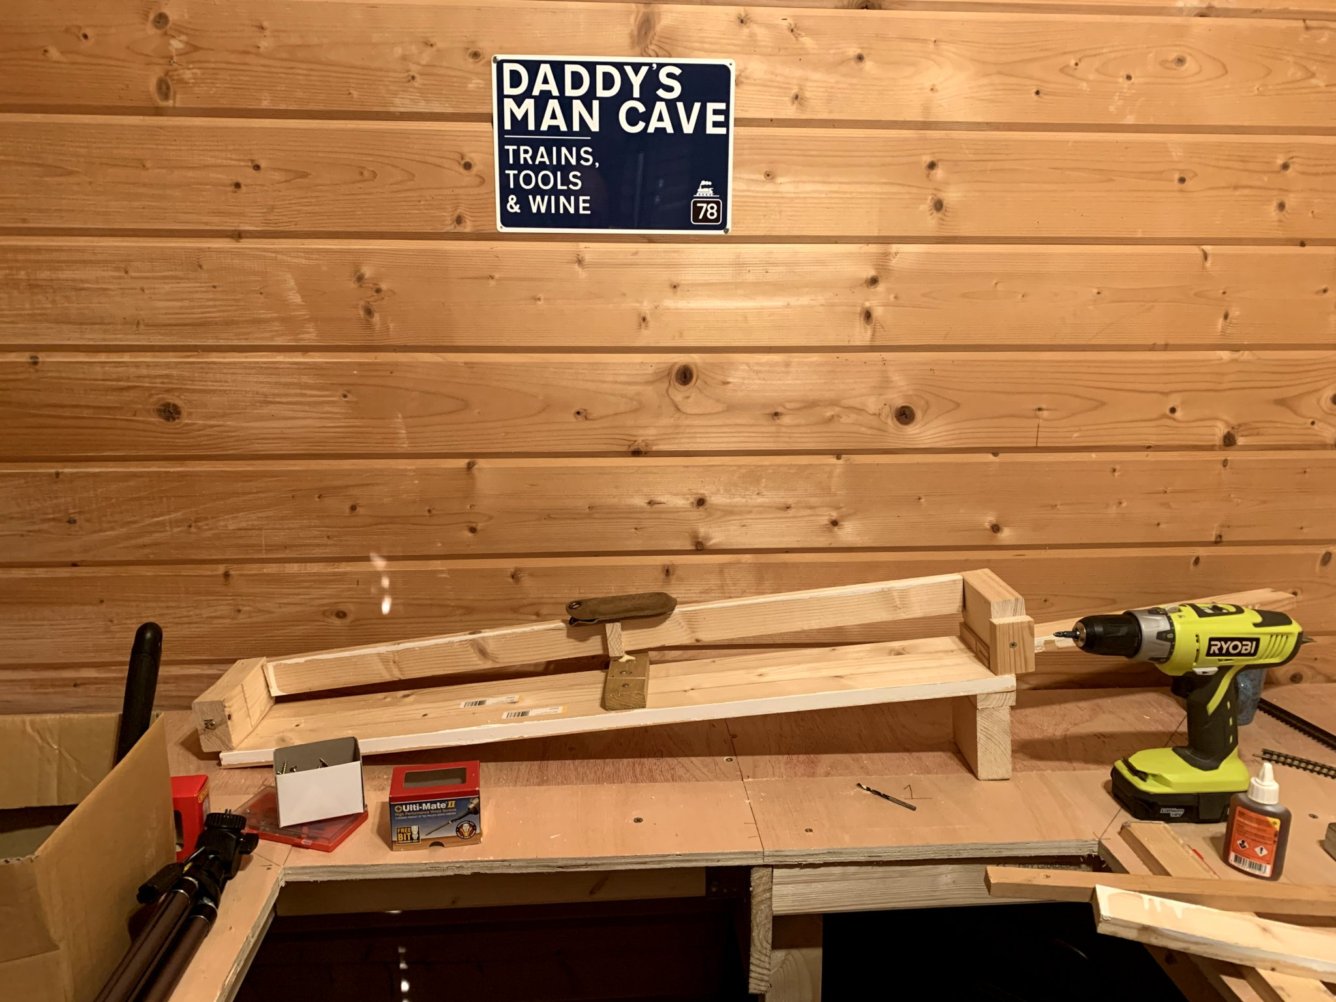
The section against the back wall is very tight, fitting all of the track is a challenge. Hence the first thing I did was construct the inclined section, to determine how much space I had available for the tracks and station.
Video coming soon showing more detail on this build...
This will be one of the most complex (for a novice scenics man) and one of the most impactful 3D areas of the layout, it will support: two lines; a coal mine; and a heritage station. The lines will be supported on wood and the rest will be supported on insulation boards. The construction will be further complicated as the main two loops will run underneath it and a tunnel will also be constructed in the mine. This will be one of the last pieces of the layout to be constructed and due to it's complexity it will also be detail designed before I commence it.
Within the mountain will be an underground mine, this has the potential to go badly wrong, luckily it comes quite late in the build and hopefully by then I'll be use to doing tunnel internals and complex scenics. I'm particularly looking forward to getting some LEDs in there, should be very atmospheric.... if I get it right.
Some initial thoughts.
I have begun constructing of my coal loading dock. I have so far installed the raised section, 2 x 27mm x 40mm batons from B&Q. I have also done a rough blue coat of paint on the baseboards to give some indication of the "wet" area. I have also begun the track planning "roulette" phase, I'm releasing a video (below) on Monday 28th June 1700 to get some feedback on my proposed layout. There are also two options for the crane placement which I am also seeking feedback on.
Here is the video showing the progress to date:
A few behind the scenes shots of how I got to this point:
.jpg)
.jpg)
.jpg)
.jpg)
.jpg)
.jpg)
The majority of my model scenery pieces have come from Any Scale Models:
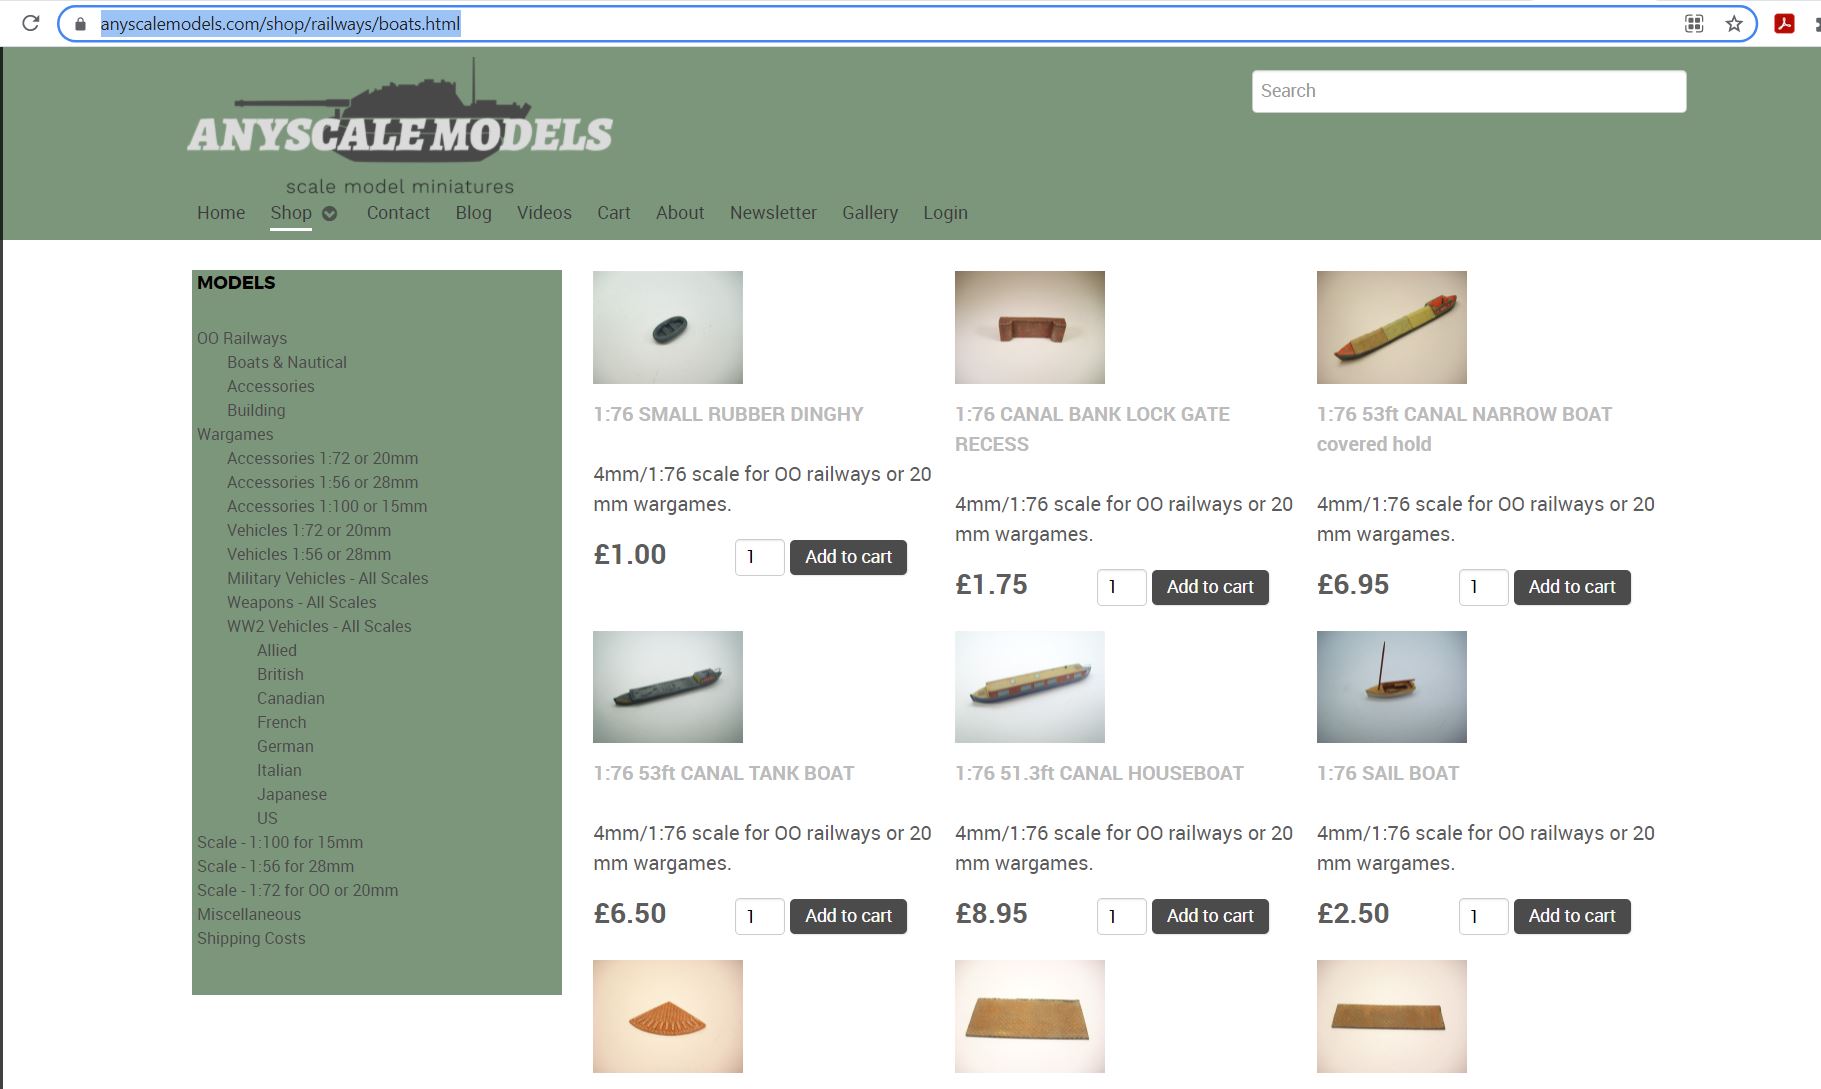
https://www.anyscalemodels.com/shop/railways/boats.html
My crane came from eBay, obviously my exact one is not available, but I found this search gave me the right type for coal loading here *AL.
My layout is based (to some extent) on the South Wales Valleys in the mid 1980's, there was typically coal mines up in the valleys and they discharged their coal loads down in the docks, typically at Barry or Cardiff. There was quite often some steep inclines/declines, not dissimilar to my layout (maybe not as steep :) ). Luckily the laden wagons went down the steep inclines, even though that also brought challenges. There was an ominous sounding incline in the vicinity of Aber Halt, it was called the "Big Hill", which tells you how long and steep it was! There were various methods for coal unloading at the docks, but I think the crane option is 1). easy to model and 2). Looks pretty good. I haven't ruled out a coal wagon tipping option in the future, but will only do it once I can make it actually work.
My eBay crane : £30
Barge: £7.50
Walls: £10
Dinghy: £1
Lighthouse: £7
Steps, slipway etc: £13
Wood: £12
I hope you enjoy your visit around my website, I hope you find it is an improvement on my last incarnation. If you have something which puzzled you for ages and then you managed to fix, please feel free to share it with me, I'm sure you won't be the only person who has the issue. Please feel free to drop me an email, sign my guestbook (very 80's I know) or tweet me with any recommendations that you may have, I'm always learning.
|
 |
 |
 |
 |
Read all about it on my home page here.
My Hornby Affiliate Link: 
Contact me with any comments or questions, I'm always keen to learn:
OOGauge; Model Railways; Model Railroad; aberhaltjunction; hornby; hornby select; dapol; class 121; ESU; Loksound V5.0; Hobby; Shed; Class 121; Class 37; Beginners; Trains