A lot of the items on my Goodies page could be classed as useful tools, however on this page I aim to cover the absolute essentials that have made my modelling experience a darn side easier.
| Designing Your Layout / Inspiration | |
|
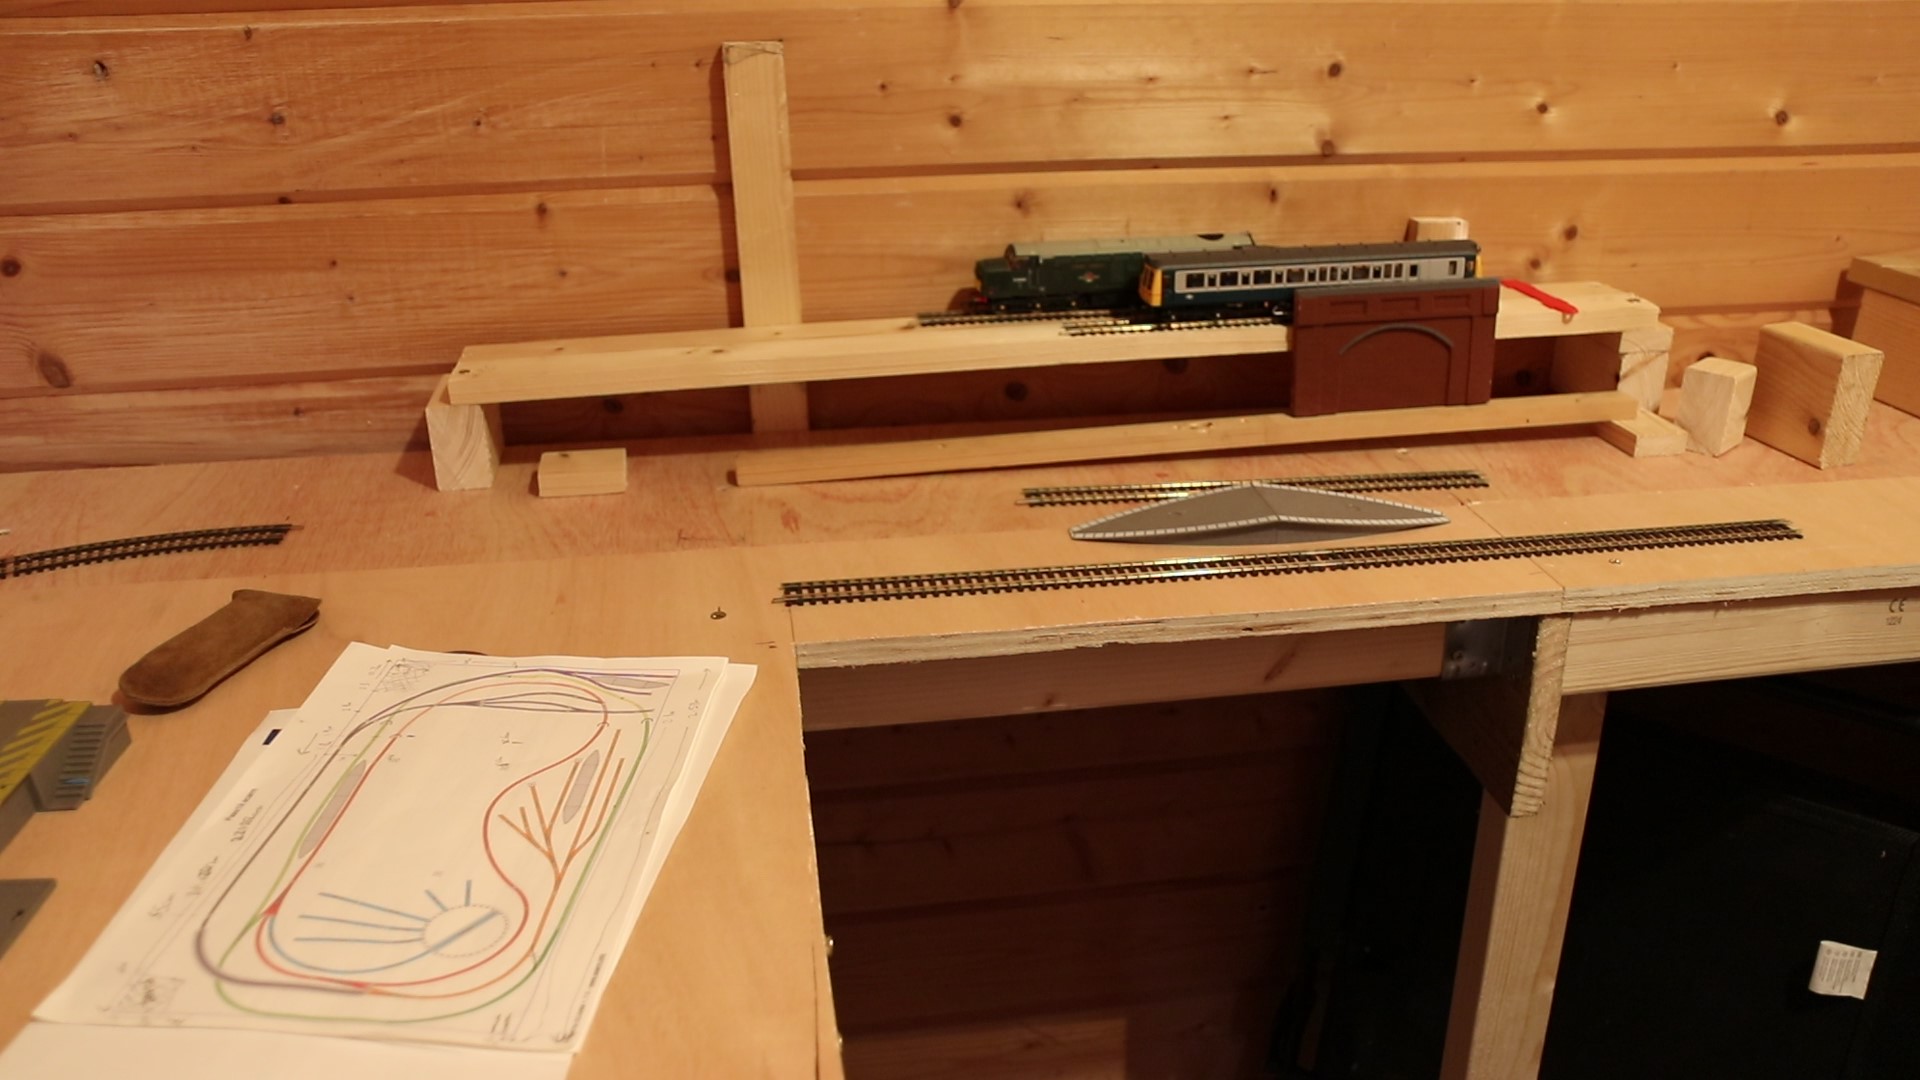
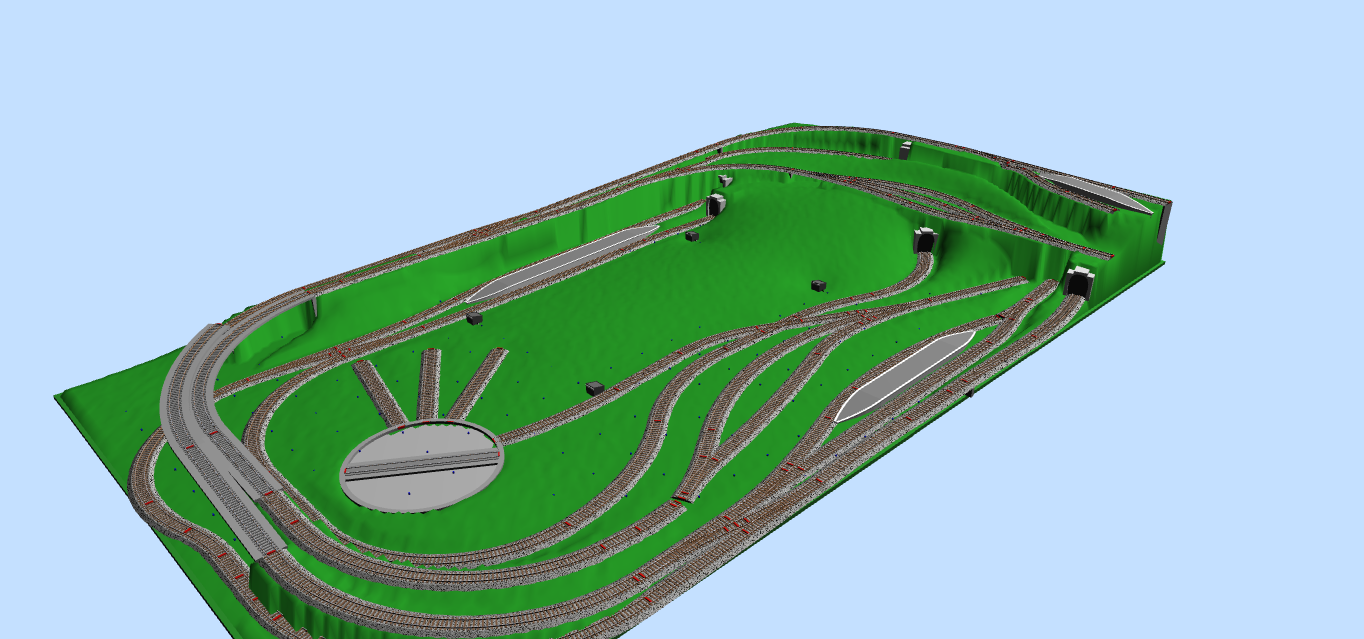
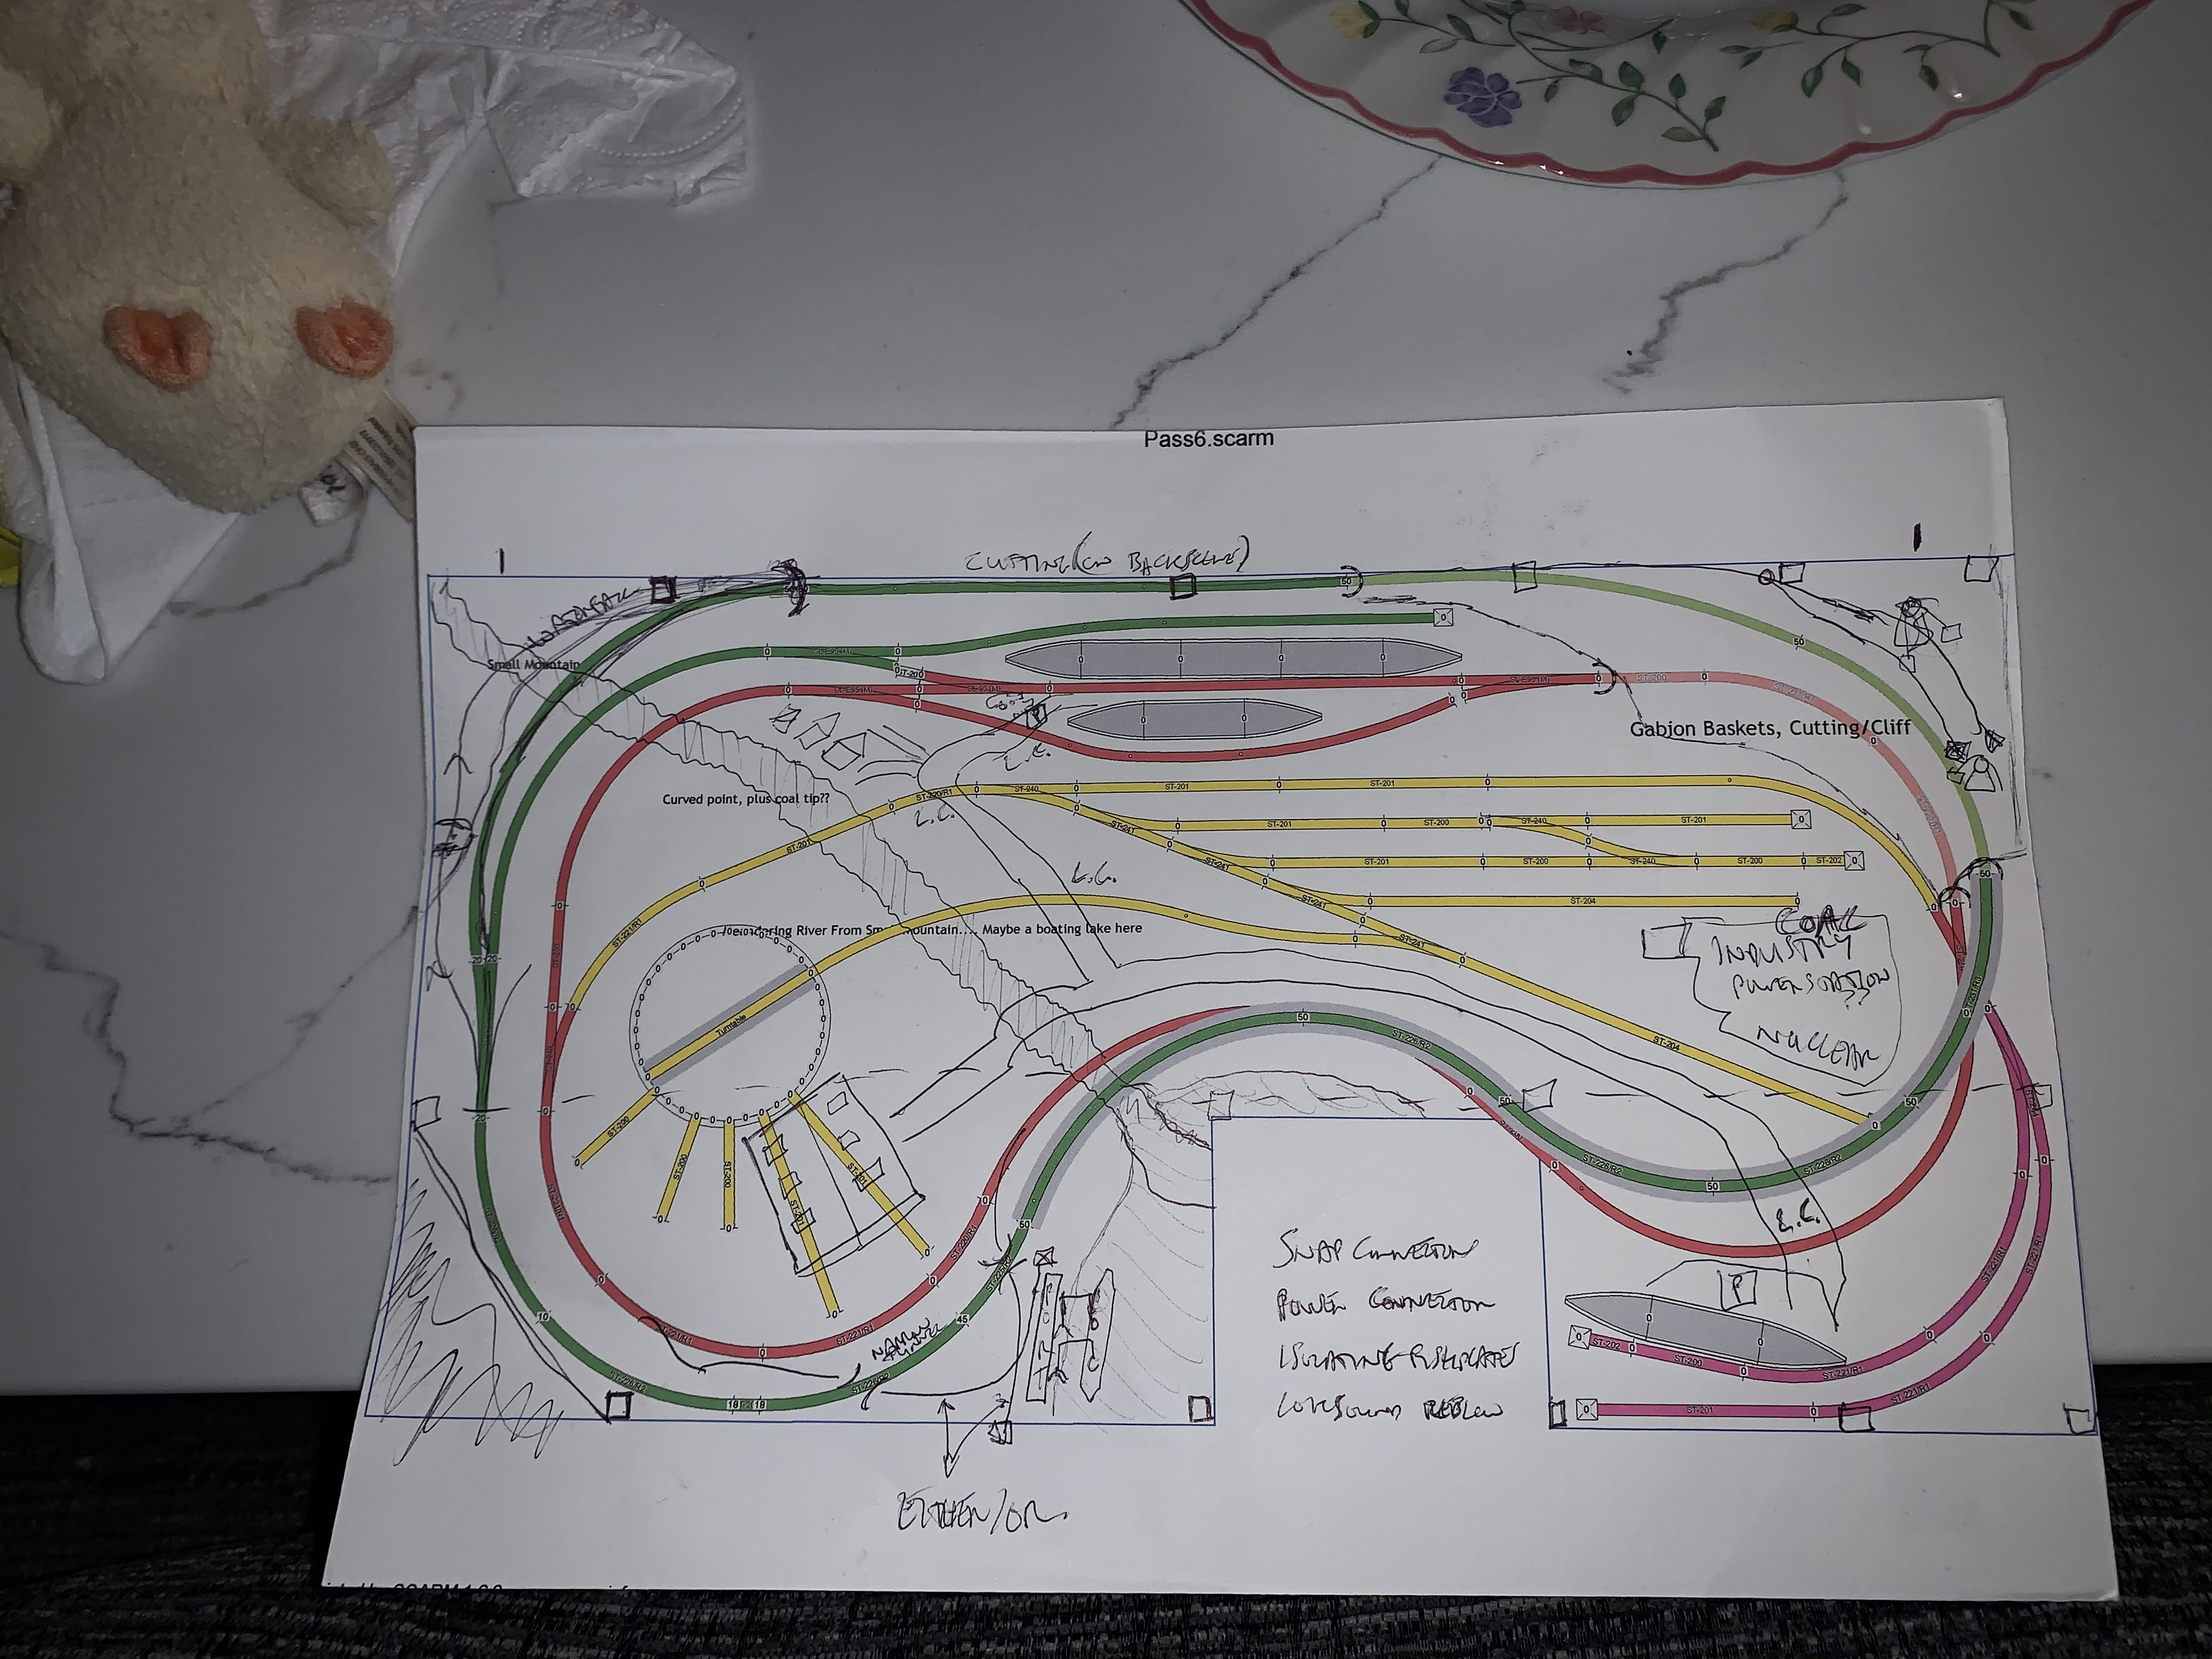
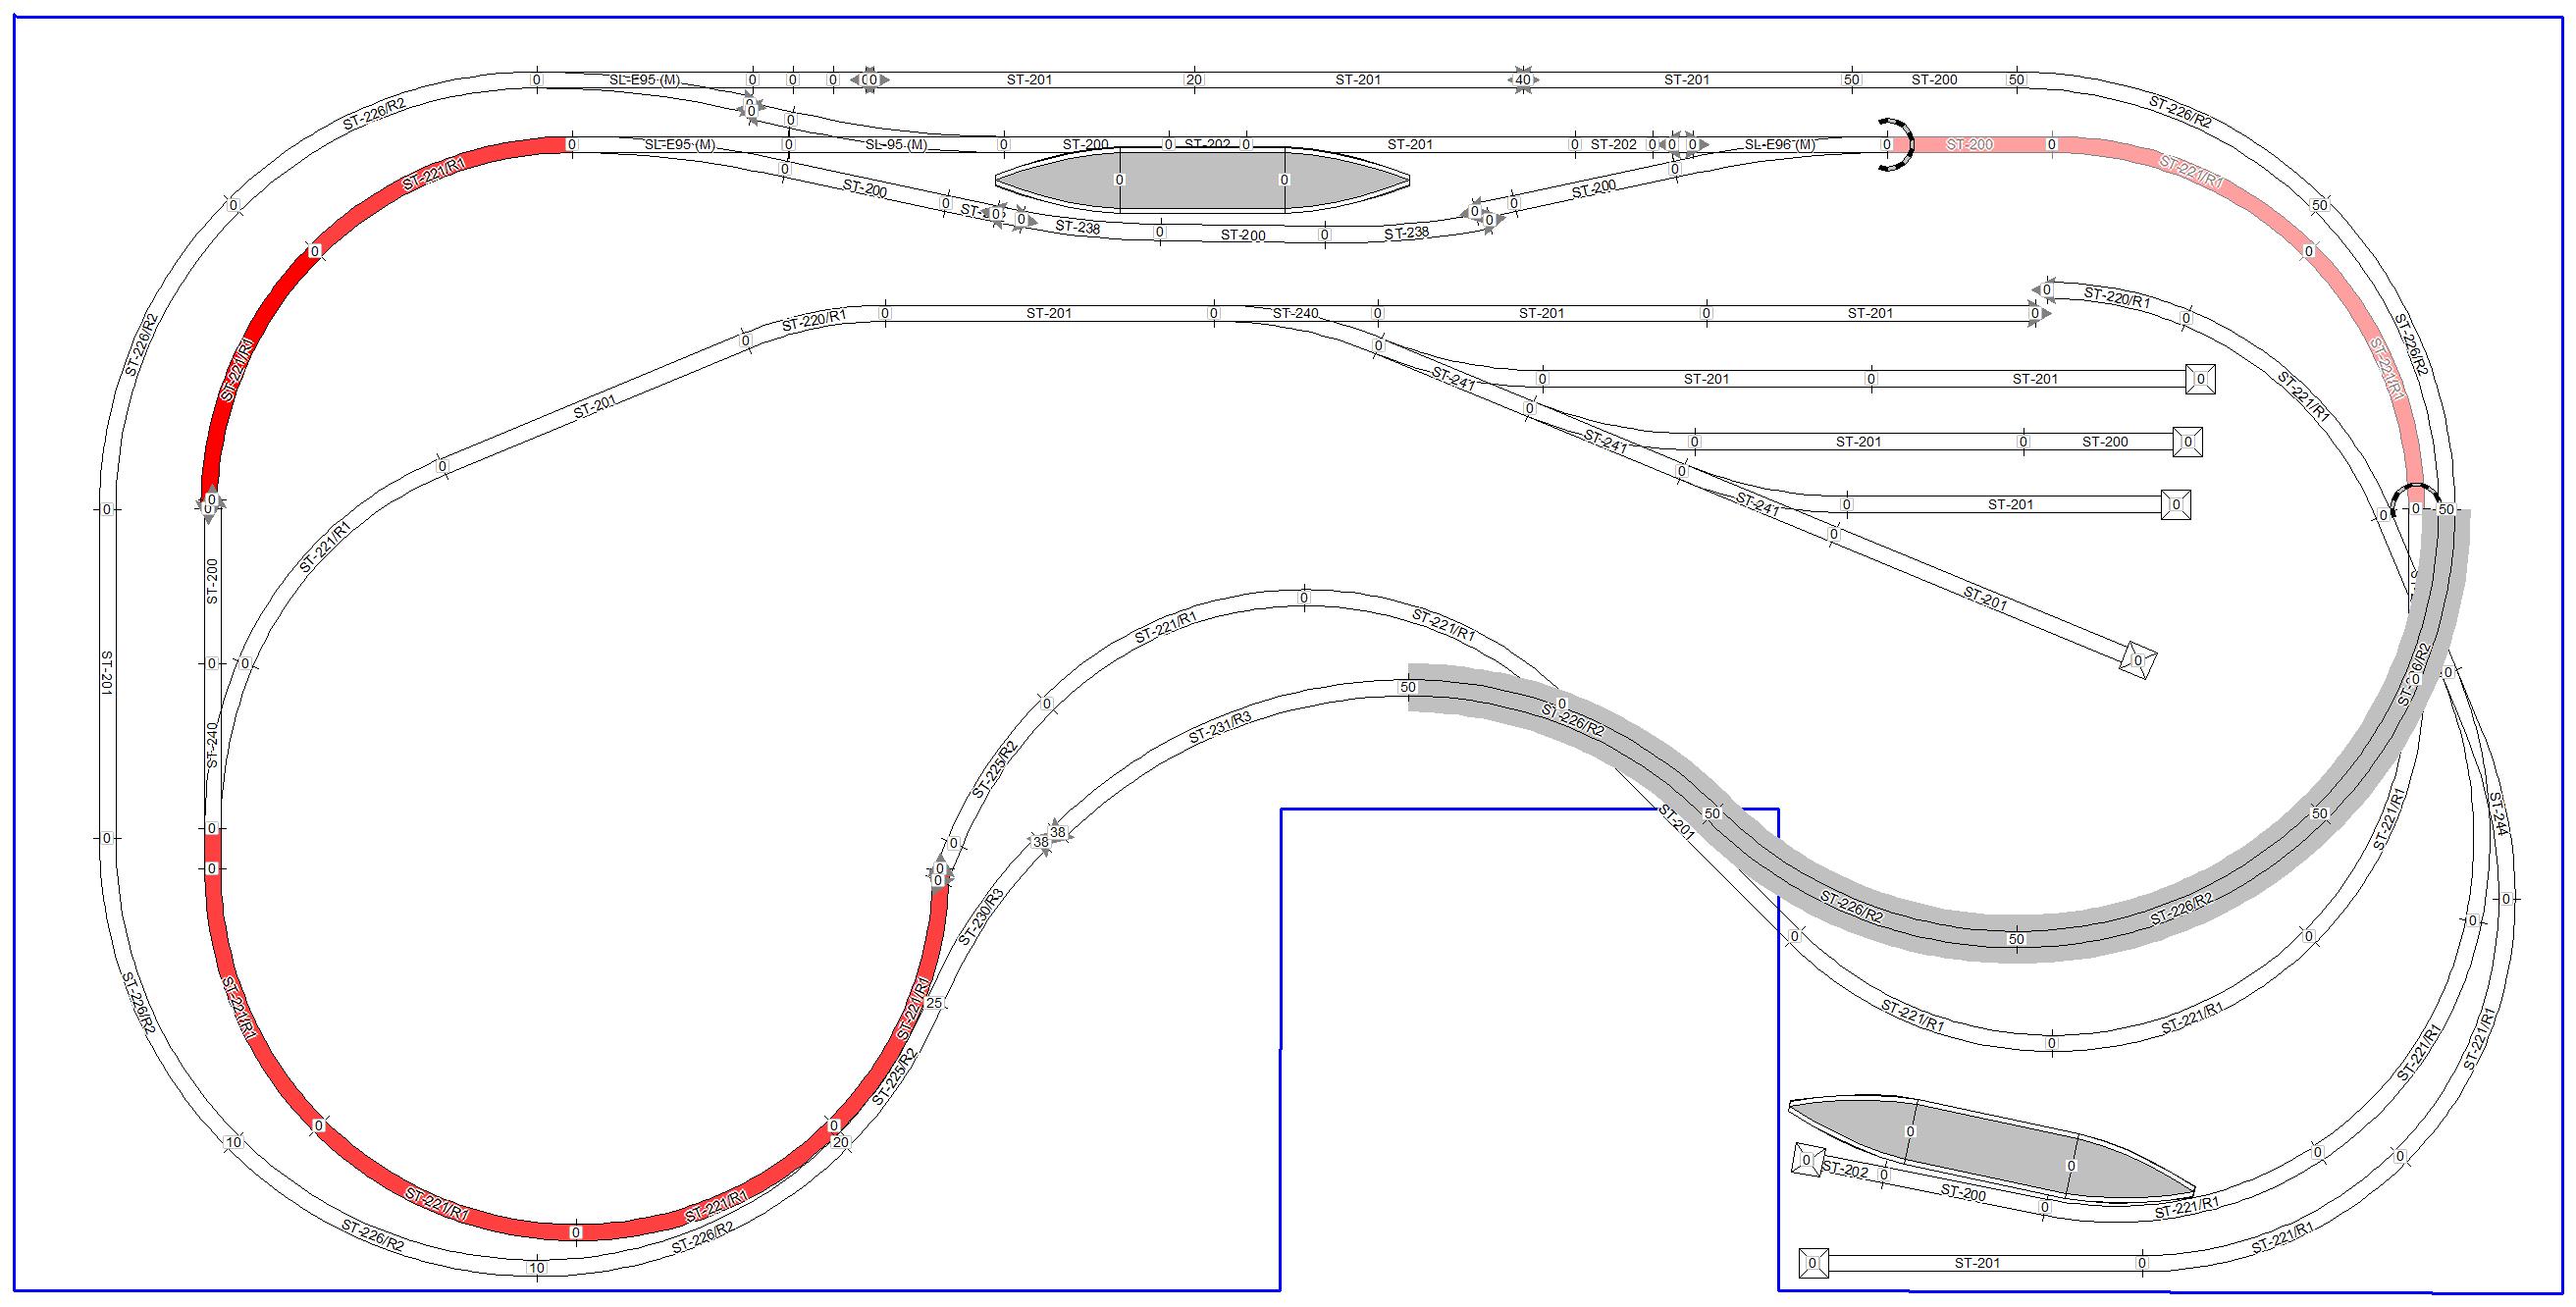
If you'd like to move away from squared paper and laying out track, a good starting point to visualise what you can potentially do is to get your ideas on to a computer. Use a free or purchased railway modelling software package to design your track and scenery. Like I have done here, it's easier than you think: One of my most popular videos. Great piece of software. |
 |
| Now you come to the nitty gritty. Peruse the forums for inspiration and get yourself a track plan book, I had the Hornby Track Plan book when I was younger and I just enjoyed reading it, dreaming of having a 4 loop layout!! Yowser. For this time around I have used the Peco Track Plan book for inspiration , Mr Freezer is an absolute genius, and even if you are not going to build a layout they are a good read. The other great thing is they are a steal, the link*AL on the right is about £2.50 and I think as opposed to something on a website it's more tactile reading a real book, he says as writing a website!!! D'oh!! |  |
| Laying Your Track | |
| Ever wondered how the likes of the big players on YouTube have such perfectly parallel running lines on the layouts? Well now you can too for less than the price of a coffee... Check back here for useful tools to make the model railway hobby that little bit easier, useful physical tools that I have in my collection, including the peco 6' way gauge, a steal at just £1.50 from a small supplier on AmazonAL* . If you want straight "protoypical" spacing and gaps between streamline and set track then this is a quintessential tool. Very useful when you are laying out track and wondering what will fit where. |  |
| If you are not a huge fan of soldering, or would just like to get started without forking out 30 quid for a soldering iron, then these are for you, for less than a tenner for 4 pairs of droppers ([from a small supplier on AmazonAL* ](which is sufficient to get a small loop with a siding going)) you are up and running. You will of course have to extend the wires to reach your controller if you do not have a main bus, but this can easily be done with chock bloc connectors if you don't fancy soldering.... but do you know what grab the nettle, it's not as bad as you think, even I can do it. |  |
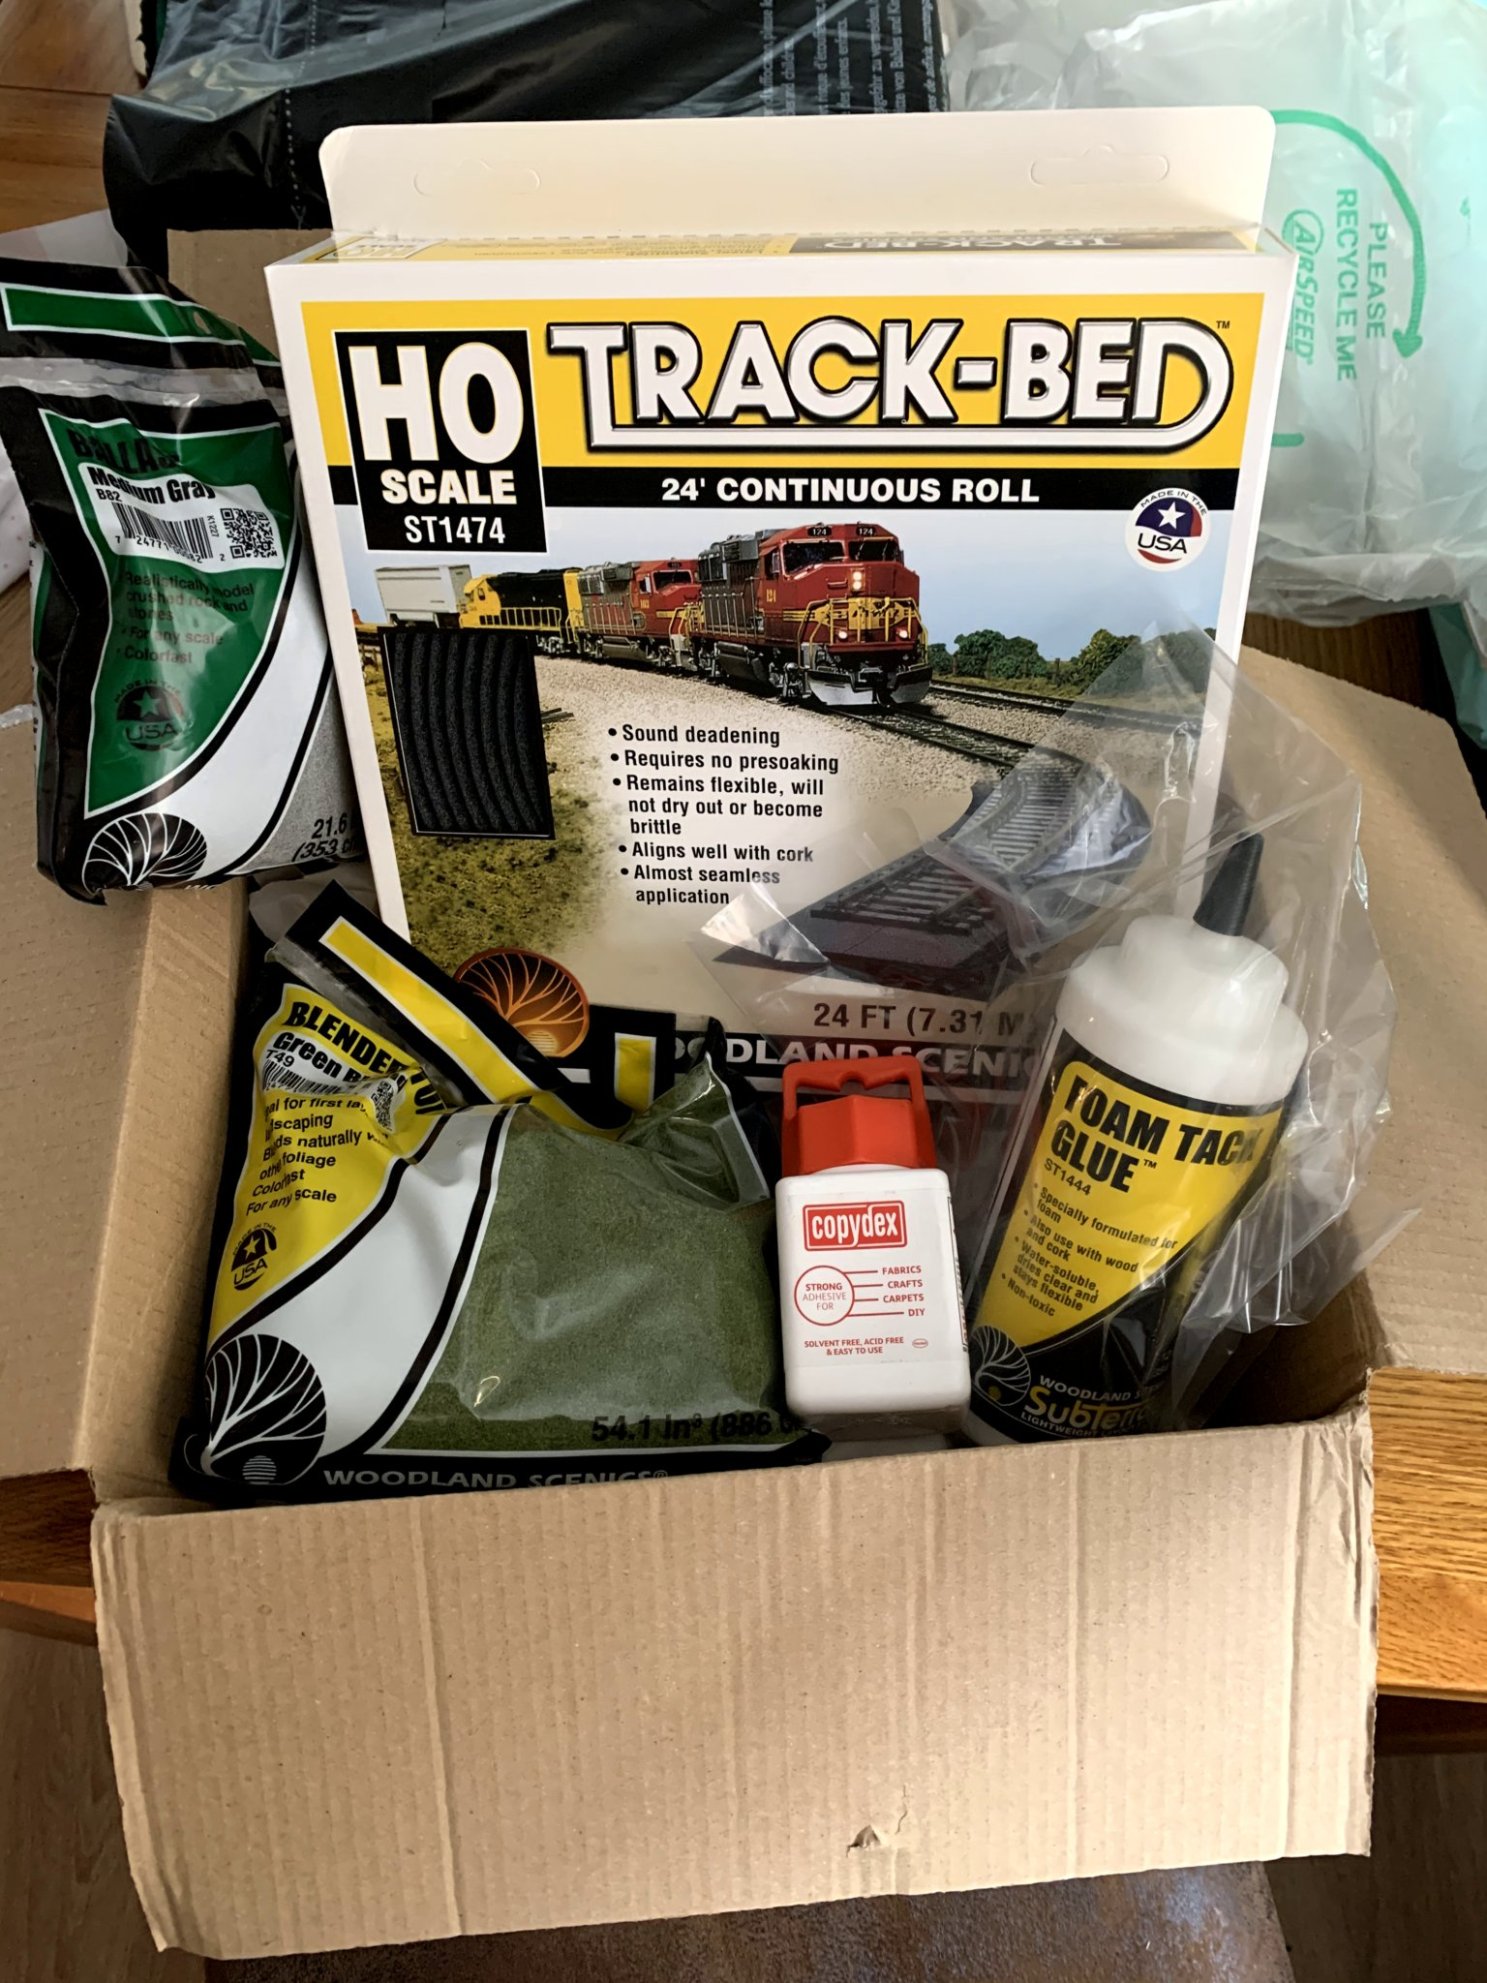
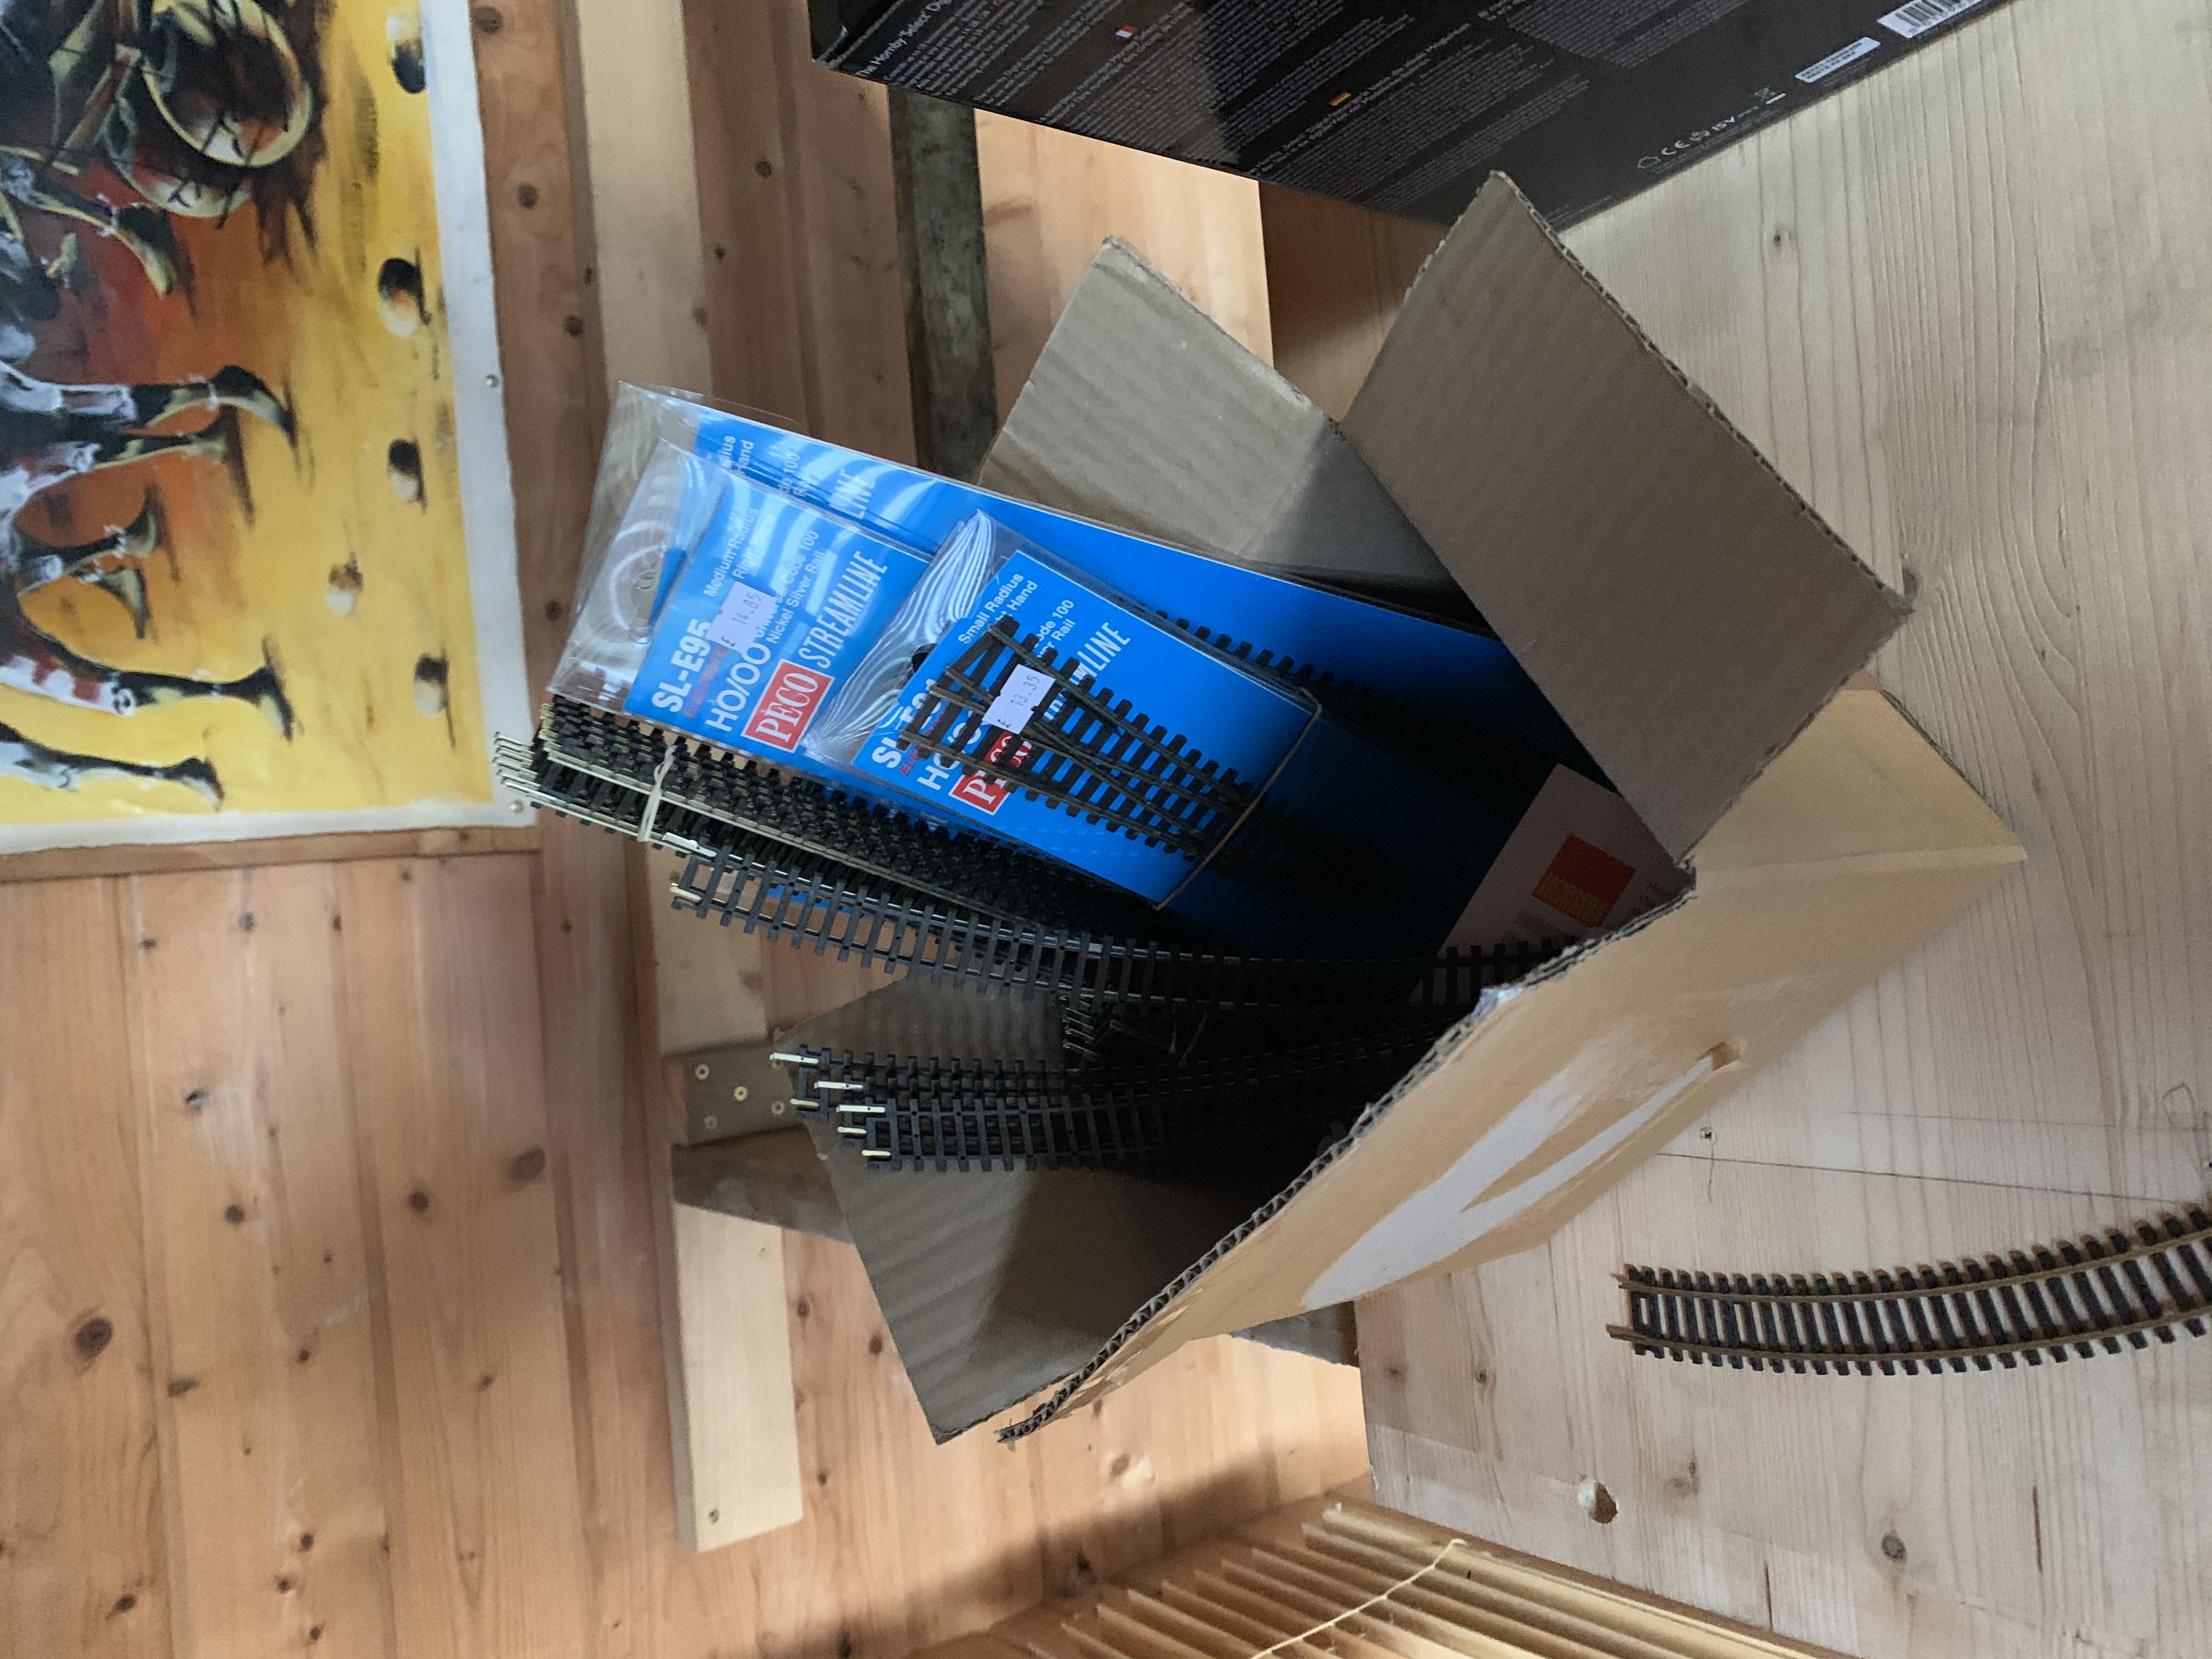
| So, this bag of goodies arrived in the post, a big part of what I need to get going on the track laying. When I first set out in this hobby I thought I would use cork and nails to lay my track. After quite a lot of research and due to the slightly damp environment in my shed I have decided to go down the foam route. I have bought Woodland Scenics underlay and I am also using Foam Tack Glue from Woodland Scenics. The ballast and grass ground cover is also from Woodland Scenics and I got it from HobbyCraft, spend over 20 quid for free delivery, you can also get the ballast from AmazonAL* and the scenics here, at a bit of a bargain as at the 28th of August 2020. |
Foam Underlay: 24 ft, 8m. £14.82 - Amazon Foam Tack Glue: £16.99 - Amazon |
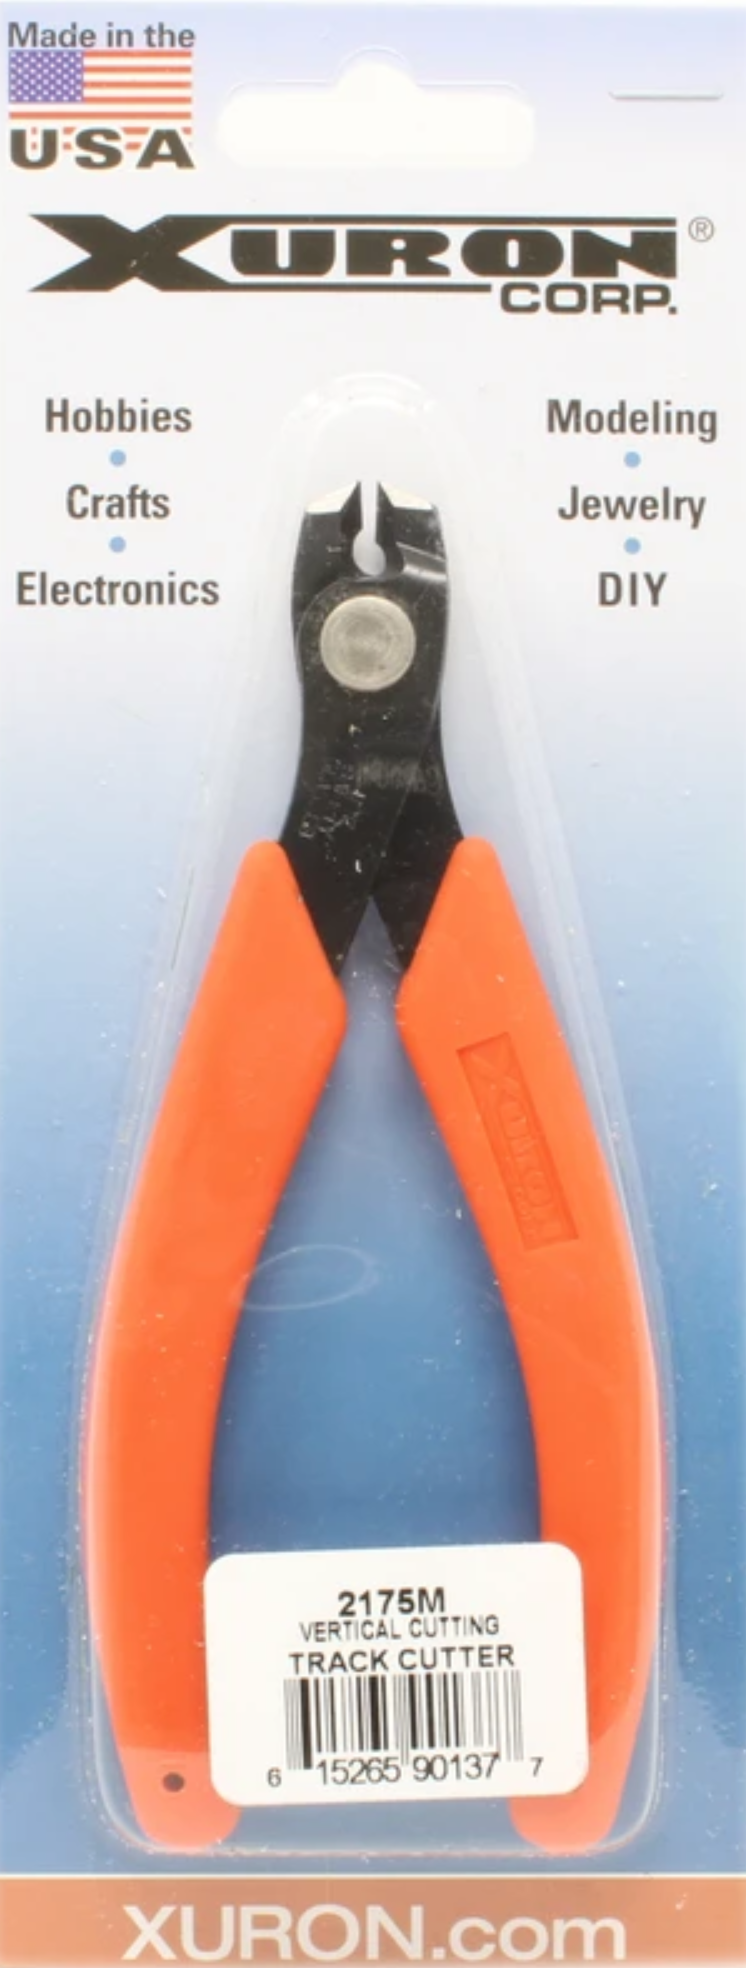
| The final piece of the puzzle is an essential if you are into flexi track, i.e. not set track (ready curved pieces of set length), track cutters. When you bend flexi track particularly into tight radii the inner track of the curve does not align with the outer one, as it doesn't have to travel as far (check out the photo on the left for an example illustrated by my foam). There are several different options for track cutting, Dremmel (or equivalent) rotary cutters, these cost around 30-70 quid dependent on which one you choose. You can use pliers, I have even used my leatherman, the problem you face is that the tracks get squashed and it takes a fair while to file them back to normal. I decided to make things prettier (and less derailments) by buying Xuron cutters, which are cheaper than a Dremmel, if I needed a Dremel for something else I would've got them. I have also gone for the vertical cutters to ensure I can cut track even when it is in place. You can shop around to get it slightly cheaper than Hattons, but remember Postage and Packaging, unless you can physically get to a model shop. I also found them on Rails of Sheffield for a couple of quid cheaper: https://railsofsheffield.com/products/13936/gaugemaster-xu2175m-any-scale-vertical-cutting-track-cutter. |
£18.00 from Hattons. You can shop around to get them a bit cheaper, I combined the P&P so used Hattons. |
An incline calculator, this is a companion piece to my video on what gradients a Class 121 and Class 37 can climb, use the form below to input the height you need to gain and the distance over which you have available to do it, it'll do the rest and let you know if you are in the realms of possibility.....
It's the perennial question, you want to add some 3D, some elevation to your layout, and why not, done well this really adds another dimension (literally) to your layout. Some of the Swiss and German guys really do have beautiful alpine scenes with plenty of elevation change (and tunnels, but that's a whole other topic).
So, how steep can/should you go?
Here's a little Calculator to help you out...
Firstly a few basics to help you out....
I've had some feedback, and as always I'm willing to listen to it. So two common things: I'm aware that the video is long, I have broken it into chapters, so please pick the ones you'd like to watch, I try to give good snippets of information all the way through, but I'm aware you're all very very busy people and need to crack on with the modelling :) ;
Secondly, I have only really referred to gradients as 1 in....5, 10 etc, suppliers often use % gradient, so if you need help with this conversion, please find below the common numbers:
1% = 1 in 100
2% = 1 in 50
3% = 1 in 33
4% = 1 in 25
5% = 1 in 20
Hope that helps.... Please provide me with any further comments that you may have, you can email me or contact me on Social Media. I'm all ears.
There are some Golden rules to follow:
If you have any feedback on your experience with inclines please email me on the link below, leave a comment below my YouTube video or tweet me, thanks for coming.
| Date | News |
|---|---|
| 25/12/2021 | Added a Class 153 to my fleet, got it in the bargain section from Hattons, nice looking loco. |
| 02/09/2021 | Finalised my coal loading dock plan https://youtu.be/wKKmraWlGFQ |
| 24/07/2020 | Finally got the Incline Calculator working (I hope) *wipes sweat off my brow*, Website V 2.0 fully functioning. Now just need to edit the video!!! |
| 23/06/2020 | New Home Page constructed. New design and feel. New pages added, including a "How To" section.... |
| 11/06/2020 | For those of you have suffered my terrible website to date, I have decided to write a new one. Started the new coding today, will probably take me a week or two to get a V2.0 uploaded, until then I can only apologise. |
| 15/05/2020 | I have a new loco!! My fleet has doubled. Got a lovely new ViTrains Class 37 "Caerphilly Castle" |
| 12/05/2020 | Finally worked out how to get my Guestbook up and running: http://www.aberhaltjunction.co.uk/guestbook/gbook.php?a=sign |
| 11/05/2020 | Updated my Layout Construction page |
| 10/05/2020 | Got my first few YouTube subscribers, THANK YOU all!! |
| 10/05/2020 | Uploaded my first "real" YouTube video, introducing my layout. |
| 04/05/2020 | May the forth be with you! Joined MRYCG on Facebook, what a great place, so much inspiration, from basic to expert. |
| 01/05/2020 | Uploaded my first ever YouTube video!!  |
| 01/05/2020 | New version of website uploaded, landing page complete plus "About Me" Section. |
| 30/04/2020 | Work started in earnest on the New (improved hopefully) Website. |
| 30/04/2020 | Hornby affiliate account kindly accepted by Hornby, thanks!  |
| 26/04/2020 | Draft 1 of the website launched. YouTube Channel created, with no videos yet! |
I hope you enjoy your visit around my website, I hope you find it is an improvement on my last incarnation. If you have something which puzzled you for ages and then you managed to fix, please feel free to share it with me, I'm sure you won't be the only person who has the issue. Please feel free to drop me an email, sign my guestbook (very 80's I know) or tweet me with any recommendations that you may have, I'm always learning.
|
 |
 |
 |
 |
Read all about it on my home page here.
Contact me with any comments or questions, I'm always keen to learn:
OOGauge; Model Railways; Model Railroad; aberhaltjunction; hornby; hornby select; dapol; class 121; ESU; Loksound V5.0; Hobby; Shed; Class 121; Class 37; Beginners; Trains